How to fit a green roof to a shed
 Lee Burkhill: Award Winning Designer & BBC 1's Garden Rescue Presenters Official Blog

Green roofs are incredibly versatile and beneficial to any garden. This guide on how to fit a green roof will show you how easy it is to green up your back garden shed. What has caused the increasing popularity of green roofs, though?
Green roofs can slow down the flow of torrential downpours, enabling sewers to cope better. They also are super drought tolerant whilst keeping temperatures inside the building cooler. Green roofs can encourage wildlife into your garden and reduce the grey landscape of man-made structures. They also increase the lifespan of your roof by reducing UV damage and reducing extremes in temperatures. There really is no drawback to a green roof. Let's start by looking at one of the most common forms of a green roof. The green sedum roof.
Green roofs are made up of a growing 'living' layer of plant material on top of a roof. Meaning that the roof of the building is completely covered in plants which are fantastic for both wildlife and slowing down rainfall or flood risks.
Green roofs have been used for centuries in various cultures around the world. However, their origins can be traced back to ancient times, with some of the earliest examples found in Mesopotamia, where people used mud and vegetation to cover their homes for insulation and cooling purposes. Similarly, ancient civilizations such as the Greeks and Romans also utilized green roofing techniques.
In more recent history, green roofs became popular in Northern Europe, particularly in countries like Germany, Norway and Switzerland, during the 19th century. The modern green roof movement gained momentum in the mid-20th century, with Germany emerging as a pioneer in green roof technology and implementation. The concept spread to other parts of Europe and North America, where it continues to evolve and gain popularity as a sustainable building practice.
Green roofs require adequate drainage and a substrate or growing medium to exist relatively maintenance-free.
There are two types of green roofs.
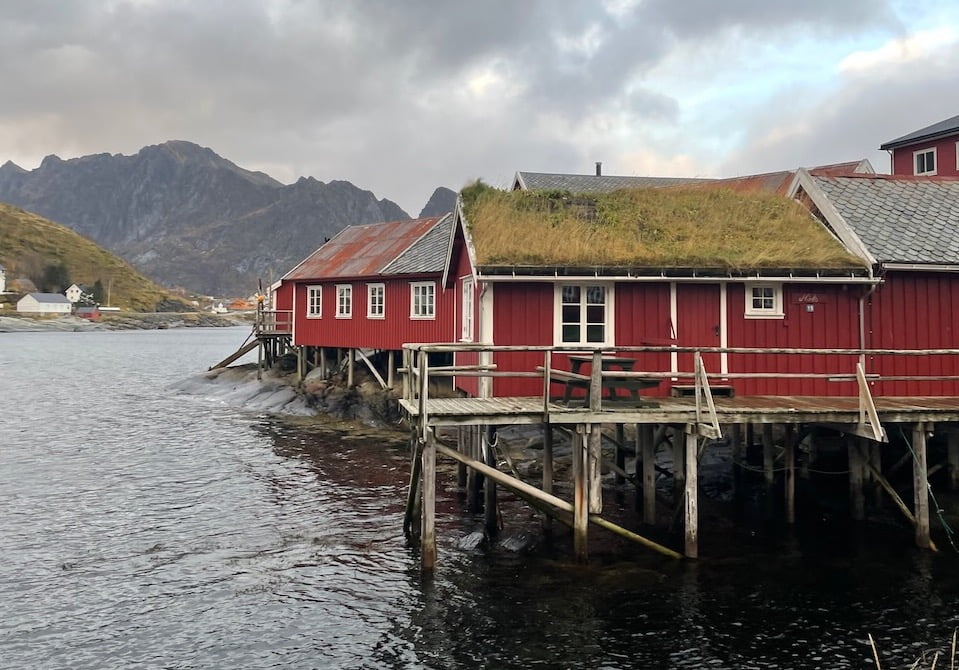
A sedum green roof is an area of a roof that's covered in a blanket of closely-knit Sedum plants. The roof will have been prepared to house a substrate layer and then a mat or blanket of sedum. Sedum only requires a very thin layer of substrate and is relatively lightweight.
So a green roof is an excellent choice for domestic settings and is super easy to install. Sedum is incredibly resilient and low maintenance and an excellent choice for a low-maintenance green roof.
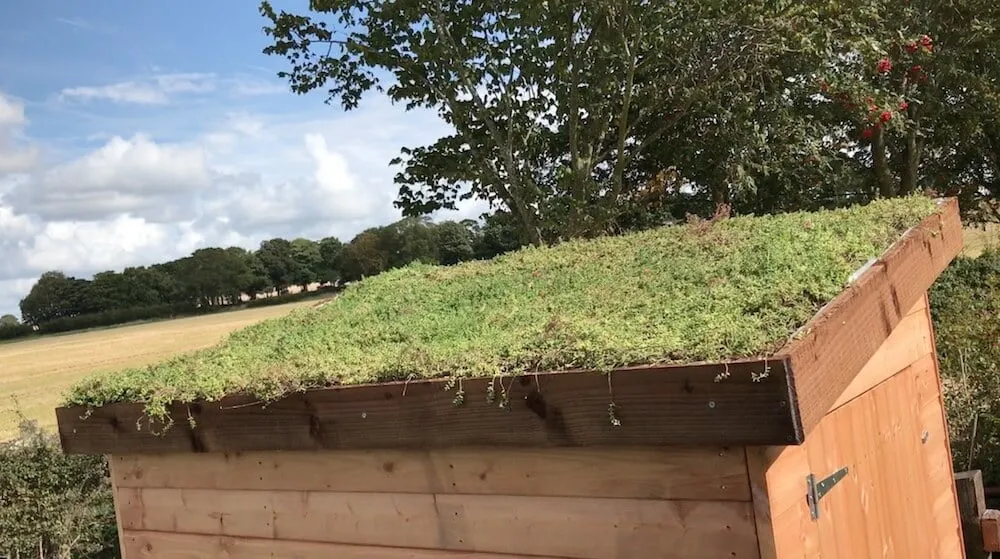
This guide shows you how to fit a green roof onto a garden shed. If you want to fit a green roof to your house or garage, it is always recommended that you take specialist advice as drainage and specific protective layers may be required that are usually out of the skills of most common gardeners!
This sedum green roof and its components for my video guide were supplied by Green Roofs Direct. They are one of the only suppliers to be fully carbon neutral, cut their Sedum rolls only when ordered and also offer sea-hardened Sedum. They really are the top dogs of green roof supplies!
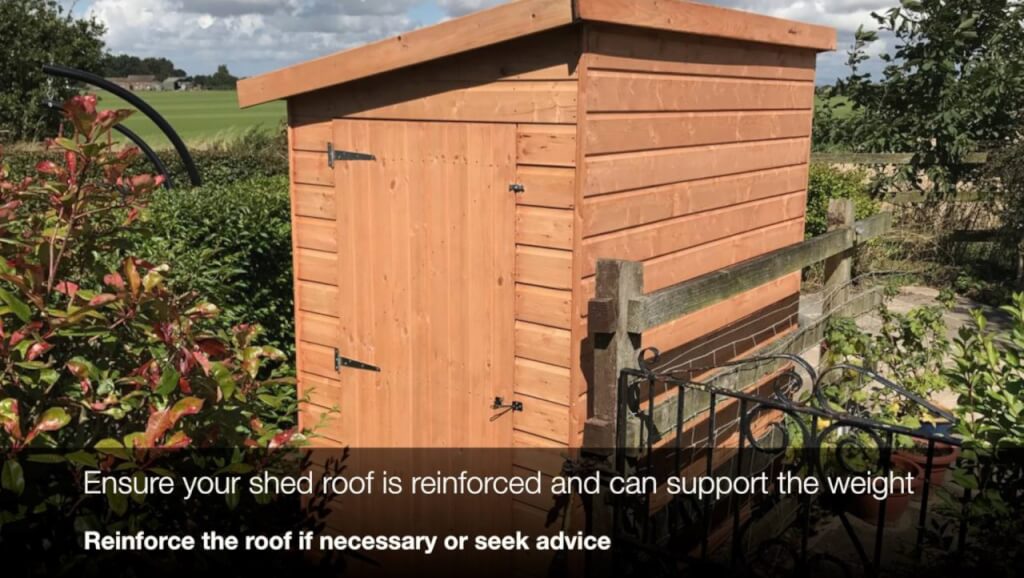
When fitting a green roof to a shed, make sure that your shed roof can take the increased weight load from a green roof. It is always best to go for a reinforced shed when buying a shed for this purpose. Alternatively, you can reinforce and brace the internal shed structure and roofing joists before fitting.
Fitting a green roof to a shed will take you roughly 8 hours of a weekend's worth of work.
You will need the following tools to fit your own green roof:
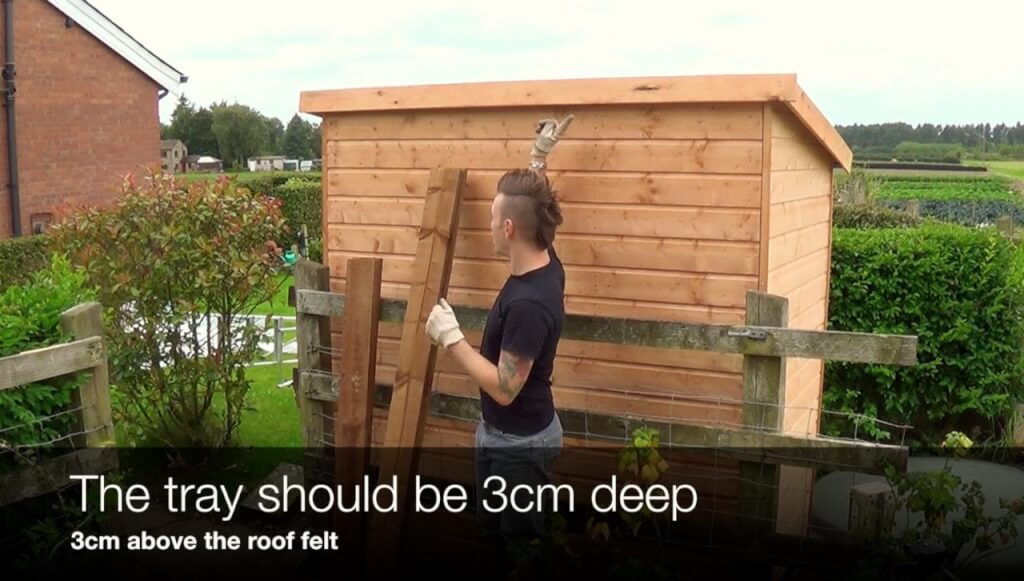
You will need to build a tanalised wooden frame to your existing shed roof. In this example, I have used a pent-shed roof, rather than an apex, which is easier to demonstrate on. Build the frame, so it provides a 3cm lip around the roof felt for the substrate and sedum blanket to be placed into.
Leave the front lip (lowest part of the roof) off until you've fitted the waterproof membrane.
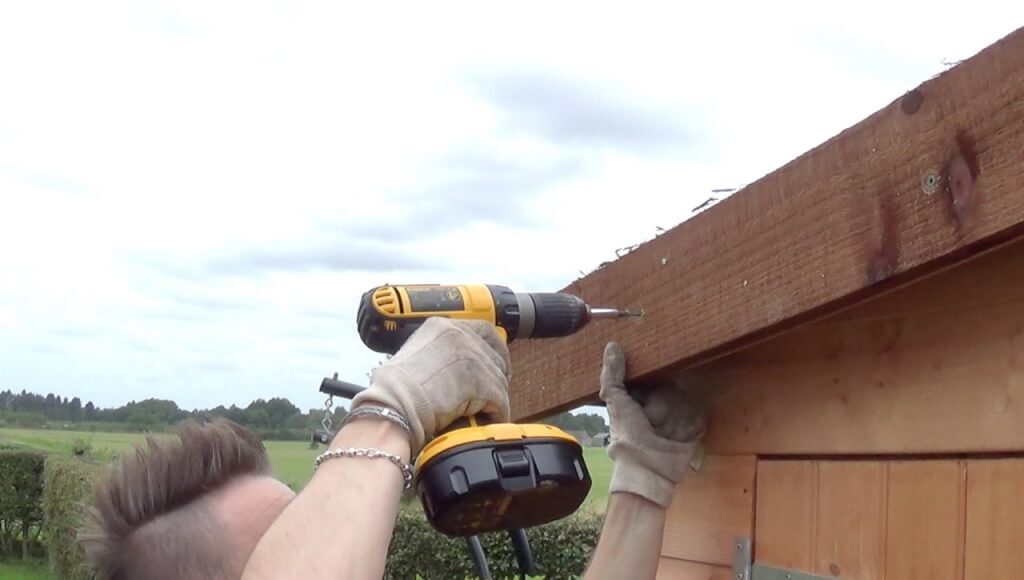
These galvanised screws are rustproof, making them ideal for a water-bearing green roof. Pre-drill pilot holes so you don't split the wood.
Once the frame is attached, measure and cut to size a waterproof membrane or piece of pond liner. This is then attached inside the frame to completely watertight the existing felt roof.
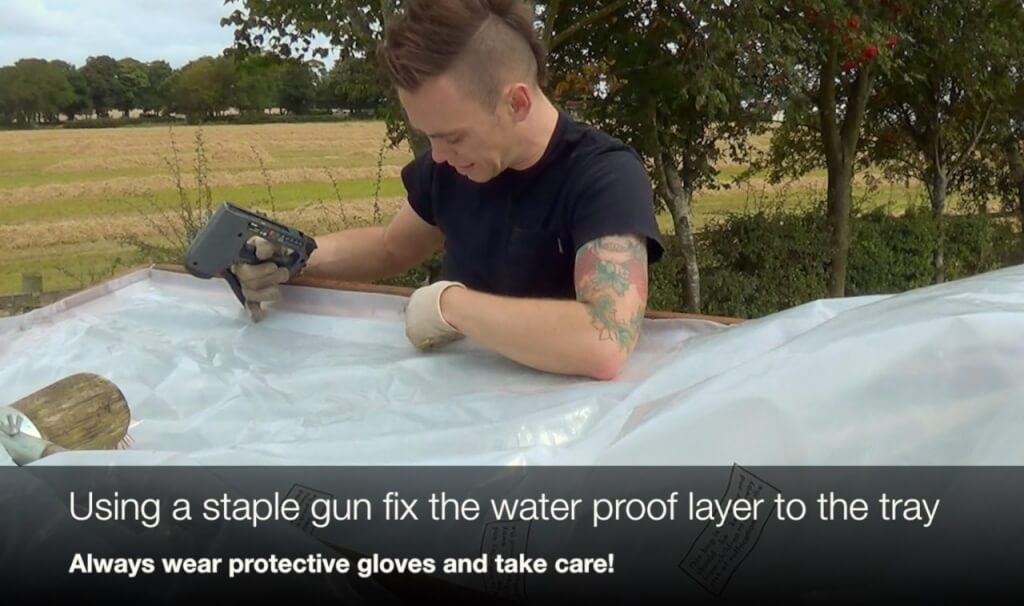
A heavy-duty staple gun is used to carefully attach the waterproof membrane to the inside of the frame, creating a waterproof frame within the frame. This means that the water that filters through the sedum can drain quickly. If not, the damp Sedum in bad weather can sit wet on the felt and cause it to degrade quickly. Use a staple gun to attach this carefully.
Once the waterproof layer is in fit, the final front part of the frame. Ensure you leave the front waterproof membrane overlapping the edge of the roof felt. This allows water to drain off only at this point. So this front point will fold over the roof felt, and the front lip holds it into place.
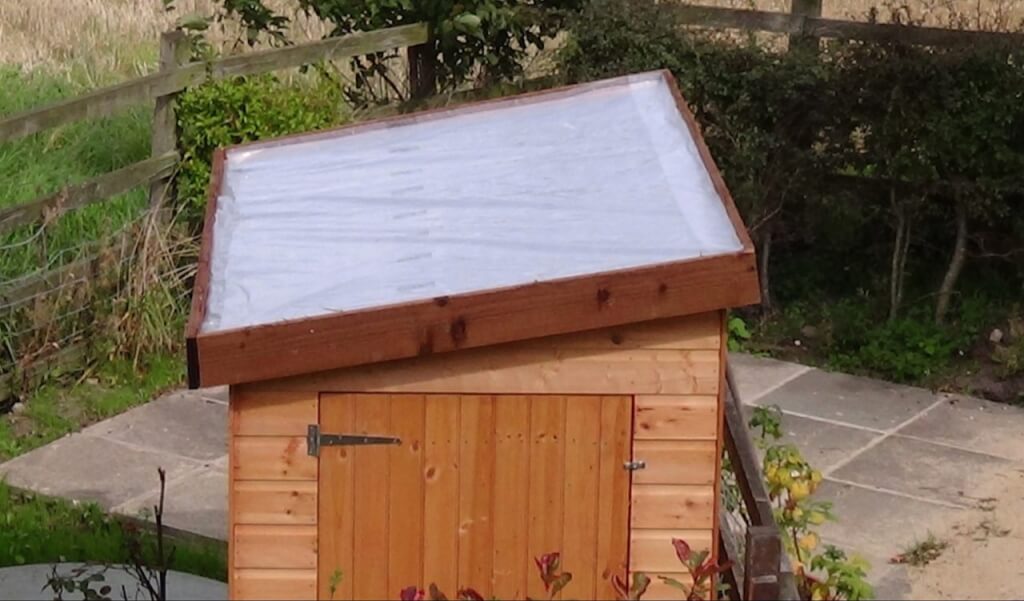
Then, cut the same size in protective sedum fleece. This acts as a barrier for the sedum as it grows and its roots spread to form a mat. It's impermeable to the roots and helps protect the roof and the sedum.
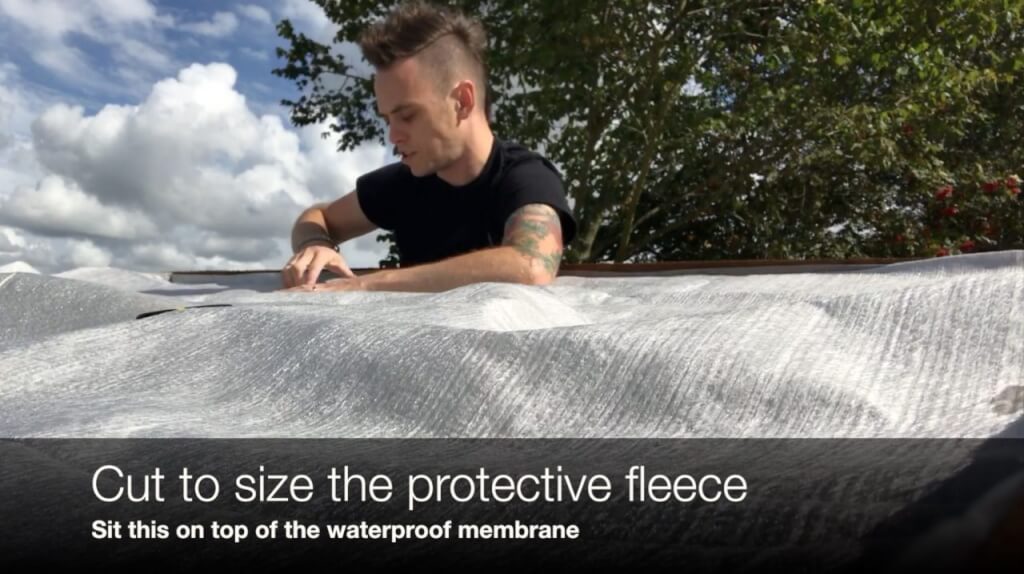
Spread out a 2cm layer of growing substrate onto the fleece and frame.
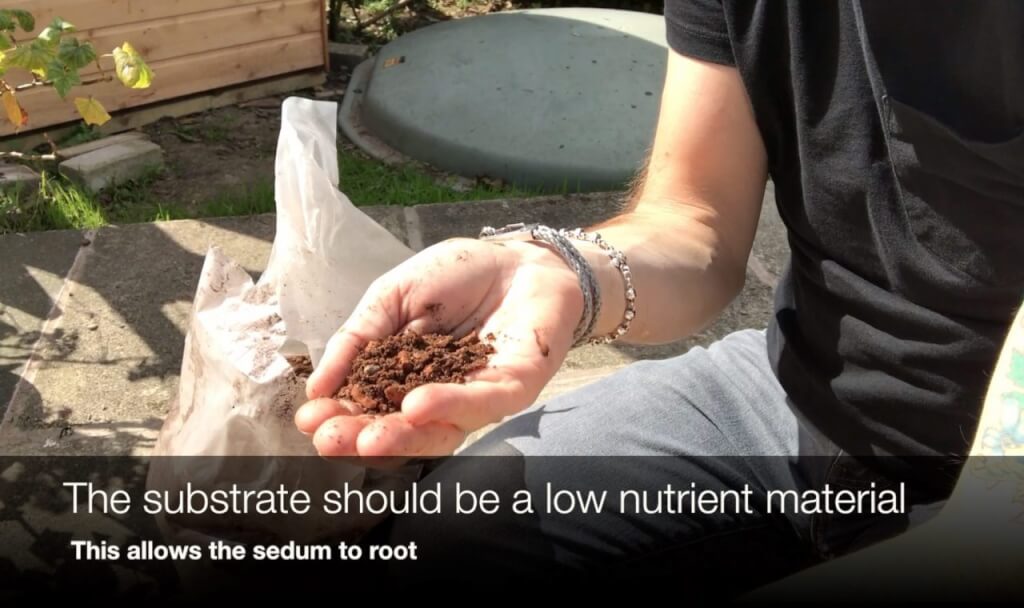
The growing substrate should be low in nutrients, with absolutely no compost or top soil. It should be made out of inert crushed rock, sand and grit so it is free draining. If in doubt, make the green roof growing media lightweight and free-draining. Perlite, grit and some alpine plant potting mix will work.
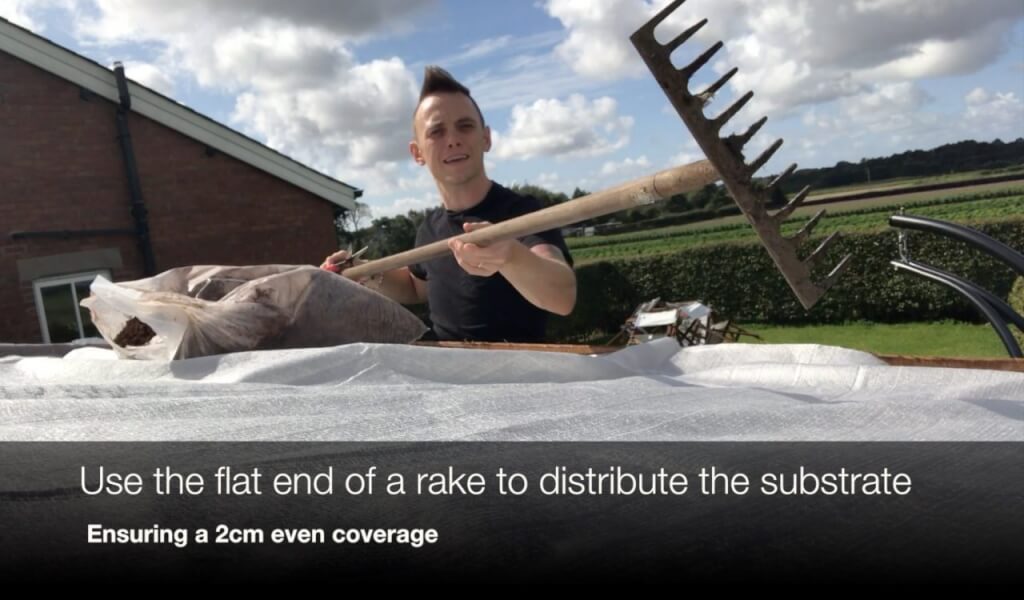
Spread this neatly using the back of a rake across the roof for even coverage. A 2cm layer is sufficient.
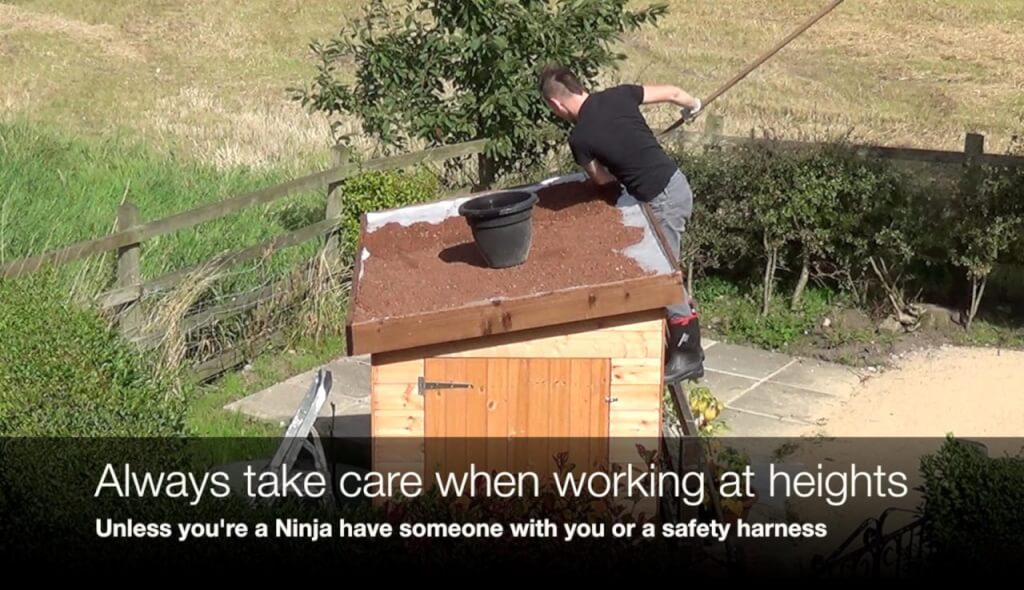
Cut to size your sedum blankets using a sharp knife or scissors. Water them before you install and then lift and unroll them on the roof. Ensure all joints are butted up tightly. This example uses Sedum album, also known as White stonecrop. It's a little like laying turf, you can see my guide for that here!
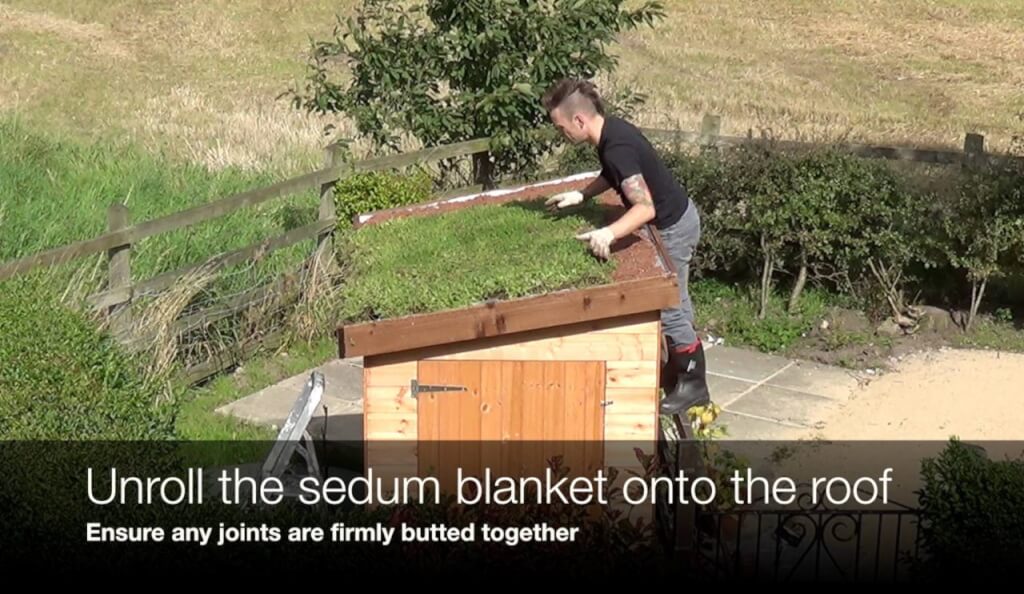
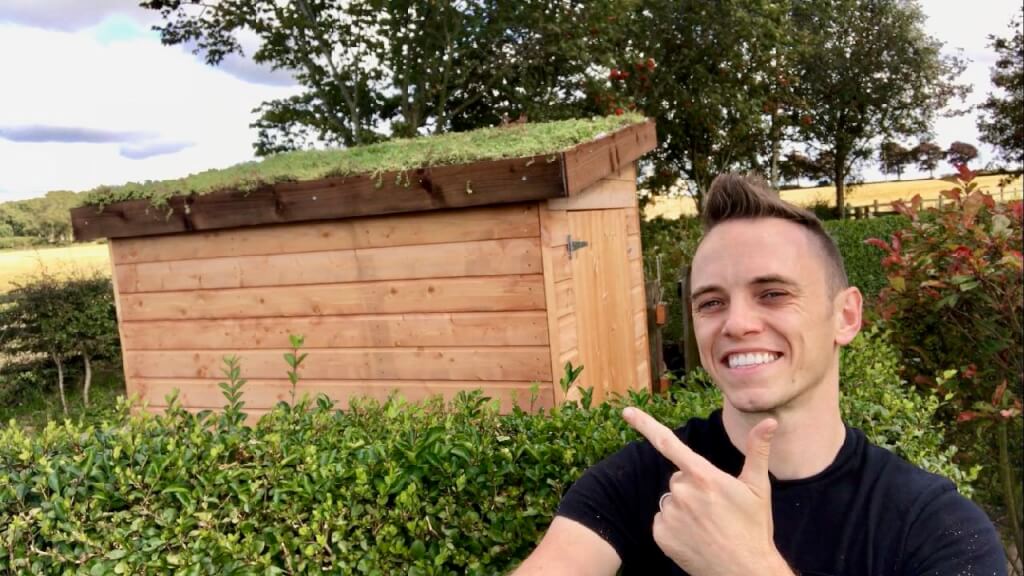
Once installed, give you green sedum roof a good water twice a week for the first few weeks until established. There you have it, a beautiful and ecologically sound green roof!
Wildflower turf roofs are becoming more popular, too, especially for substantial buildings like garages or extensions. They are unsuitable for sheds as they hold much more water than a sedum roof.
If you want to fit a turf roof, follow the guide above, but you'll need to add 30% soil to your growing media. Apply wildflower-rolled turf to the roof and water well.
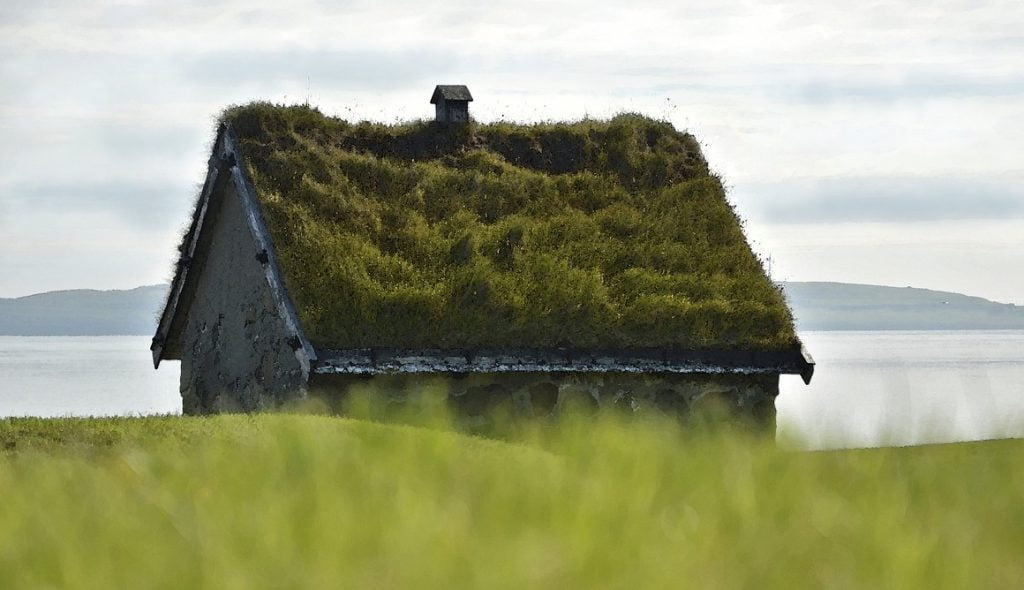
Please ensure with wildflower turf roofs that the building is structurally sound for them. Wildflower turf roofs are far heavier than Sedum green roofs.
What if you don't have an extra strong shed for a green roof? Can you still fit one? Yes, you can! I demonstrated a lightweight green roof on Garden Rescue by using used plant pot holders, which I recycled from a local garden centre.
Build your shed or roof frame as per the guide above, but rather than adding the 2cm of heavy growing media and Sedum blankets, place the pots upside down first. This helps keep the growing area lightweight.
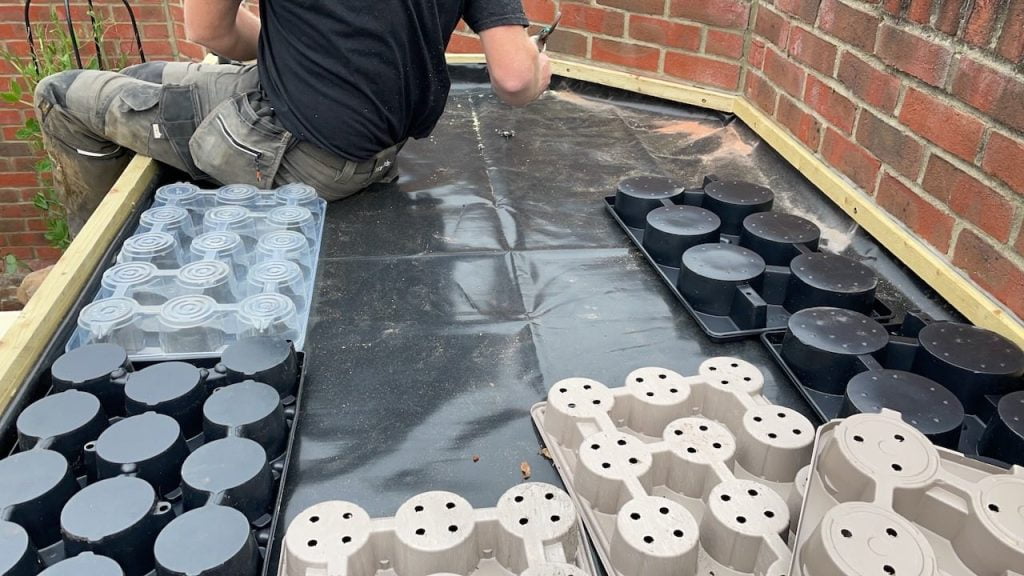
Once you've covered the area add a mix of compost, perlite or LECA. LECA is an acronym that stands for lightweight expanded clay aggregate. It helps keep things light yet moisture retentive. I then chose to mix individual Sedums and other ground covers like Ajuga. Spacing them out so they can grow and mesh together.
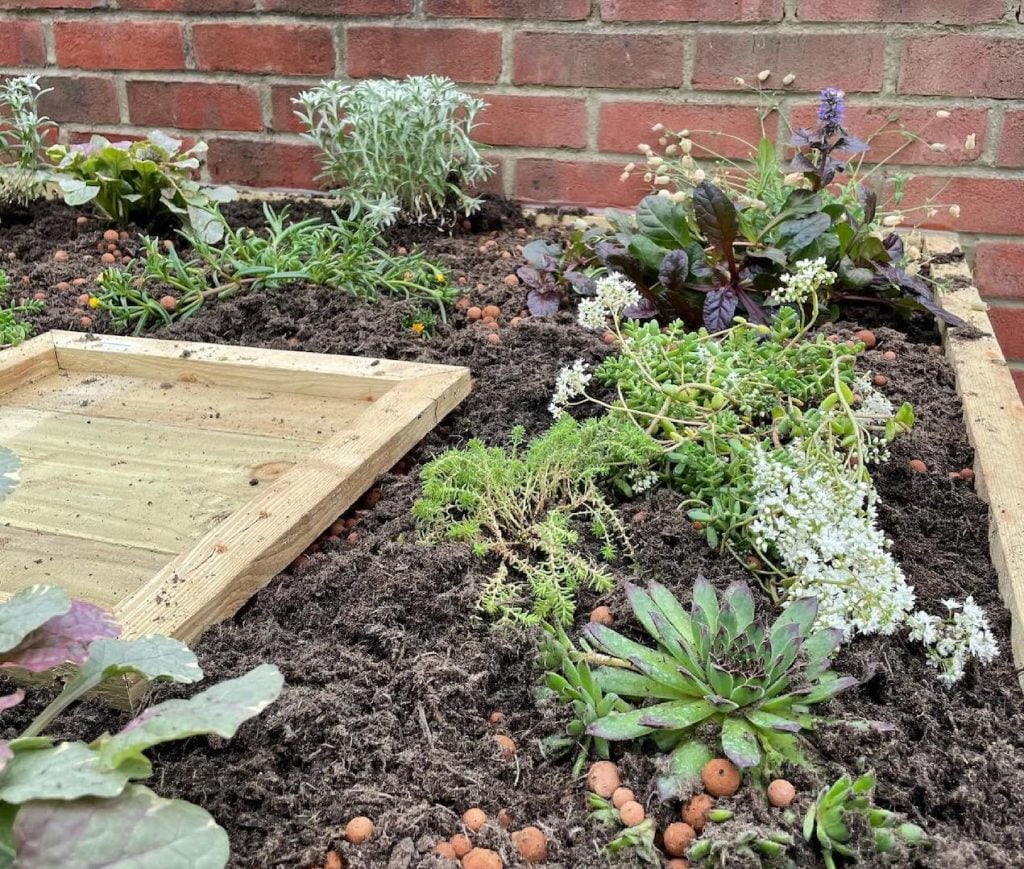
This solution saves money and enables even a bird table to be fitted with a green roof if followed. This is a super lightweight and cost-effective green roof solution!

Did you know that you can take my course and learn how to become a Garden Ninja yourself? Click here for details
Your green roof should bring you many years of lush green coverage if fitted correctly and looked after with some yearly weeding and feeding.
On my many travels around the globe, one area stands out for amazing green or living roofs: Norway, Sweden and Finland. If you're wondering why they have so many of them let's look at why green roofs are popular in Scandinavia:
Green roofs align with Scandinavian values of sustainability, environmental stewardship, and quality of life, making them a popular choice for both residential and commercial buildings in the region.
Plants for green roofs need to have a few key attributes and qualities to make them suitable.
Green roof plants need to be relatively low-growing to deal with the wind and exposure. They also need to be relatively drought-tolerant and also able to cope with full sun and wind. Plants that creep, spread slowly and need little soil are the best options for a green roof. If they can cling to a mountainside or be battered by harsh winds and thrive, then they are suitable for a green roof!
The best plants for green roofs in order of suitability are listed below:
It is important twice a year to provide a balanced plant fertiliser in granular form. Chicken pellets can be useful if sparingly scattered. Given that green roofs have little substrate and little chance of taking up any feed from soil it means that a feeding regime each year is highly benefical.
A watered-down solution of 1:30 comfrey tea can work well as an organic homemade plant feed.
Feed your green roof in early spring and autumn to keep it looking fantastic for many years to come.
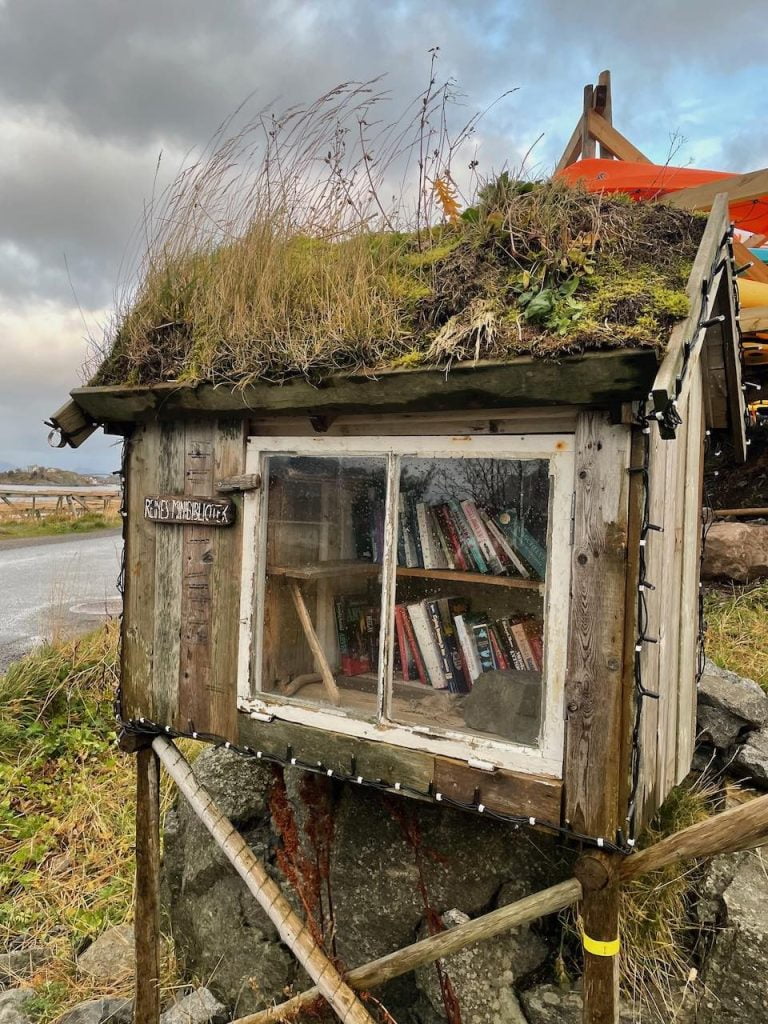
It's also advisable to check it periodically to remove any weeds that may take seeds there and any spent flowers. You may find tree saplings start to emerge and will need to be removed. What's interesting is in Norway, the home of the green roof, there are thousands of turf-covered roofs, some with silver birches practically bursting out of them! In this case, the log cabins they are on are sturdy enough to cope with this. In contrast, our common garden sheds are not!
Other than that, it is pretty much maintenance-free!
Fitting a green roof is a great way to help out Mother Nature and also encourage wildlife in your urban garden. They help slow down rainfall, add much-needed pollen for bees and also soften our harsh, hard landscaping in urban areas.
So why not give Mother Nature a helping hand and also reduce all that runoff of rainwater by installing a green roof? Let me know or share if you have found this guide useful.


You must be logged in to post a comment.

JOIN THE NINJAS
Be the first in line for new Guides, Discount codes and Offers
Hi Lee,
Thanks very much for your Green Roof Guide, it’s very useful.
My studio has a pent roof cover in EPDM/Single ply waterproof rubber like material, so far so good, however it also has 3 opening, portrait oriented, velux windows evenly spaced in a horizontal row on the lower half. Can I still add a sedum roof to this?
One thought I’ve had is to proceed as you describe but also build a 3cm high frame around each velux which is braced against the external frame with 3 cm high batons running up and down the pent slope. This would be to stop the plants spreading over the actual windows. Could you advise Lee?
Presumably I could skip the waterproof membrane stage as the roof covering is already waterproof?
I would be most grateful for your thoughts. Many thanks, Meryl
Hi Meryl, I think that sounds like an excellent idea. Don’t forget that sedum will only root into a substrate and has a very limited root span. So it won’t creep very far over a window. It’s not as voracious as ivy with its roots! What you have planned sounds like a solid idea. Go forth and green roof with confidence! Do send a picture on the Garden Ninja forum when complete. You can view the forum here. https://staging.gardenninja.co.uk/forum/ All the best. Lee
This is so helpful thank you! I am building a shed in my allotment space and hope to include a green roof. The council is asking for LOADS of details before approving – do you have any weight calculations of a grren roof built in this way? Or can you let me know the products that you used for the waterproof layer and protective fleecing so I can find detailed product specs?
Thanks!
Hi Rosie, I’m afraid not. It depends on the thickness of sedum and how much growing media you put on. You really don’t need huge amounts of gravel under the sedum it will pretty much grow anywhere. Happy green roofing! Lee