-
Hardening Off Plants: Why and How to Do It Properly
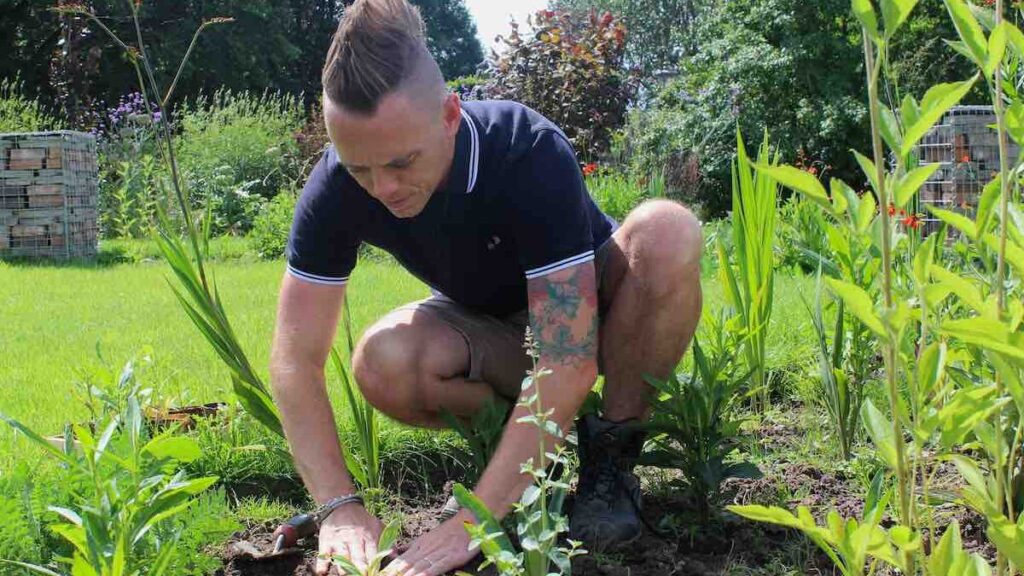
 Lee Burkhill: Award Winning Designer & BBC 1's Garden Rescue Presenters Official Blog

Hardening off plants is a term often used by experienced gardeners, but for new growers what does this mean and when should you do it? Hardening off ensures the continued success of your new plants from greenhouse to the outdoors. I guide you through why you should harden off your new seedlings and vegetables and how to do this.
Hardening off is the process of gradually acclimatising indoor-grown plants to outdoor conditions over 7 to 14 days before planting them in the garden. Start by placing plants outside in a sheltered spot for 3 to 4 hours daily, gradually increasing exposure to sun, wind, and temperature fluctuations. This prevents transplant shock and strengthens plants for permanent outdoor life.
Let’s have an honest chat about one of the most overlooked yet absolutely crucial steps in the seed-starting journey: hardening off your plants. I’ve lost count of the number of times I’ve seen perfectly healthy seedlings that have been lovingly nurtured for weeks indoors, only to be unceremoniously plonked straight into the garden bed and promptly curl up their toes within days.
It’s heartbreaking, wasteful, and entirely avoidable if you understand what hardening off actually means and why your plants desperately need this transitional period.
Over my years as a garden designer and presenter on BBC’s Garden Rescue, I’ve learned that the difference between gardening success and failure often comes down to these seemingly small details that many gardeners rush past in their enthusiasm to get planting.
Hardening off is absolutely one of those details, and getting it right will transform your gardening results from disappointing to brilliant. Let me show you exactly how to do it properly, based on what actually works in British gardens rather than the idealised conditions you might read about elsewhere.
What Is Hardening Off and Why Does It Matter?
Hardening off is the gradual process of acclimatising indoor-grown or greenhouse-raised plants to outdoor conditions before permanently planting them in the garden. Think of it as boot camp for your baby plants, toughening them up for the harsh realities of life outside the cosy environment they’ve known since germination.
It’s the next step between growing your own plants from seed and transplanting them into the ground outside of the protective greenhouse.
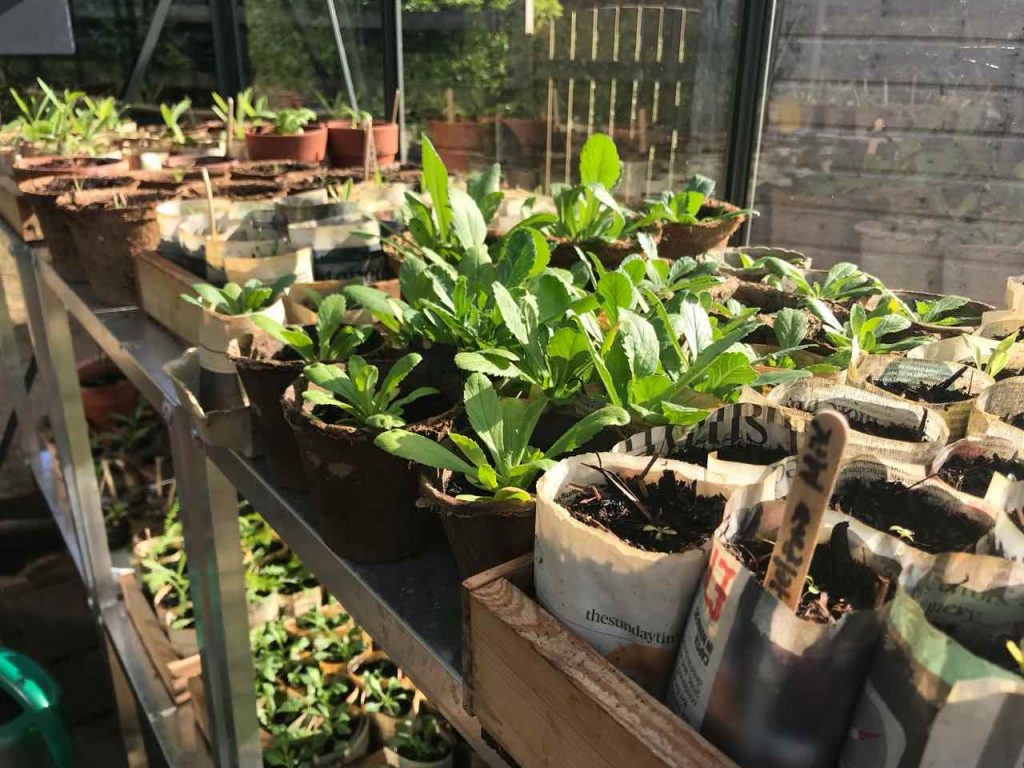
Your seedlings have been living in what amounts to a five-star hotel: consistent temperatures, no wind, filtered light, and regular watering. The great outdoors, particularly in unpredictable British weather, is more like a budget camping trip with fluctuating temperatures, strong winds, intense UV rays, and the occasional downpour or unexpected frost.
When you expose plants to these outdoor stresses gradually, rather than all at once, several important physiological changes occur that prepare them for survival. The cell walls thicken, the waxy cuticle on leaves becomes more pronounced, carbohydrate production increases, and root development accelerates. The plant essentially shifts from soft, pampered growth to tougher, more resilient tissue that can withstand environmental challenges. Without this transition period, plants experience what horticulturalists call transplant shock, a stress response that can stunt growth, damage foliage, or even kill the plant outright.
When Should You Start Hardening Off Plants?
Timing is absolutely critical when it comes to hardening off, and this is where many gardeners trip up by either starting too early when conditions are still too harsh or leaving it too late and rushing the process.
You should begin hardening off plants approximately 7 to 14 days before your intended planting-out date, which typically falls after the last expected frost date for your region. In southern England, this usually means starting the hardening-off process in mid to late April, whilst gardeners in northern England and Scotland might need to wait until early May. The key is to check your local frost dates and work backwards from there.

The plants themselves also need to be ready for this transition. Your seedlings should have at least two sets of true leaves and be filling out their pots nicely before you begin hardening them off. If they’re still tiny and spindly, they need more growing time indoors first.
Conversely, if you’ve left them too long and they’re becoming rootbound, you’ll need to either pot them up into larger containers or begin the hardening-off process immediately, even if outdoor conditions aren’t ideal yet. You’ll also want to stop feeding your plants about a week before starting the hardening-off process and slightly reduce watering to encourage more compact, robust growth.
| Plant Type | Start Hardening Off | Key Considerations |
|---|---|---|
| Hardy Plants (Brassicas, Lettuce) | When night temps reach 7°C | More cold-tolerant, can handle light frost after hardening |
| Half-Hardy (Tomatoes, Peppers) | When night temps reach 10°C | Need frost protection, sensitive to cold shock |
| Tender Plants (Courgettes, Basil) | When night temps stay above 13°C | Most vulnerable, require gentle introduction outdoors |
The Proper Method for Hardening Off Plants
Now we get to the practical bit, and this is where I’m going to give you a realistic approach that actually fits into a busy life rather than some idealised schedule that assumes you can pop home multiple times a day to tend to seedlings.
The traditional advice of bringing plants out for two hours, then four hours, then six hours sounds lovely in theory, but who actually has time for that level of micromanagement? I certainly don’t, and I suspect you don’t either. Here’s the method I’ve developed over years of professional gardening that delivers excellent results without requiring you to be a full-time plant babysitter.
Days 1 to 3: Protected Introduction
Start by placing your plants in a sheltered spot outdoors during the warmest part of the day, ideally somewhere with dappled shade or next to a south-facing wall. This could be a porch, a cold frame with the lid propped open, or even under a garden table that provides wind protection.
Leave them there for about three to four hours on the first day, bringing them back indoors before temperatures drop in the evening. Choose an overcast day if possible for this first outing, as cloudy conditions are far more forgiving than harsh sunshine. If you can only do this at weekends due to work commitments, that’s absolutely fine. Plants are remarkably adaptable, and a slightly irregular schedule won’t ruin your efforts.

Days 4 to 7: Increasing Exposure
Gradually increase the time outside and start exposing plants to more direct sunlight and natural wind. By day five or six, your plants should be staying outdoors for most of the day, from mid-morning until early evening. Continue bringing them inside overnight unless temperatures are consistently staying above 10°C for tender plants or 7°C for hardier varieties.
This is also when you start reducing watering frequency slightly, though never let the plants actually wilt. Young plants in small pots dry out quickly, particularly on windy days, so check them regularly. I’ve found that grouping pots together helps maintain moisture levels and provides mutual wind protection.
Lee’s Garden Ninja Tip: During one particularly hectic April when I was filming for Garden Rescue and couldn’t follow my usual hardening-off routine, I discovered that using a mini-greenhouse structure (those cheap pop-up ones from the garden centre) with the door left open worked brilliantly.
The plants got outdoor exposure during the day whilst I was away, and I could quickly zip them up at night if frost threatened. It’s not the traditional method, but it absolutely works, and it’s far better than skipping the hardening-off process altogether.
Days 8 to 14: Final Preparation
In the final phase, your plants should be living outdoors permanently, spending both day and night outside unless a late frost is forecast. Keep a close eye on weather reports during this period, as late April and early
May can still throw some nasty surprises our way in Britain. If temperatures are predicted to drop below the safe threshold for your plants, either bring them inside or cover them with horticultural fleece overnight. By the end of this two-week period, your plants will have developed the resilience needed to handle permanent outdoor life, and you can plant them into their final positions with confidence.
Common Hardening Off Mistakes to Avoid
Even experienced gardeners can make errors during the hardening-off process, and I’ve certainly made my fair share over the years. One of the most frequent mistakes is being too gentle and overprotective, treating the hardening-off process like some delicate operation that requires kid gloves.
Plants are tougher than you think, and whilst you shouldn’t shock them with extreme conditions, a bit of breeze and cooler temperatures is exactly what they need to develop properly.
The opposite mistake, rushing the process because you’re impatient to get planting, is equally problematic and usually results in a setback or plant loss. Another common error is forgetting to reduce watering and feeding in the week before hardening off begins, which encourages soft, vulnerable growth rather than the tough, compact growth you’re aiming for.
Ignoring weather forecasts is another mistake that can undo weeks of careful work in a single night. That unexpected late frost can devastate tender plants even after several days of successful hardening off, so always keep fleece handy and check the forecast religiously during this period.
I also see gardeners forgetting about wind protection, focusing solely on temperature and light exposure. Wind can be incredibly damaging to soft foliage, causing physical tearing and excessive moisture loss through the leaves.
Finally, many people fail to harden off plants purchased from garden centres, assuming they’re already garden-ready. Whilst some commercial growers do harden off their stock properly, many don’t, and those plants still need a transitional period, particularly if they’ve been kept in heated greenhouses.
Garden Ninja’s Essential Hardening Off Checklist
- Check local weather forecasts daily, particularly overnight temperatures
- Reduce feeding and watering one week before starting
- Choose a sheltered location with some shade for first exposures
- Keep horticultural fleece on standby for emergency frost protection
- Monitor plants for signs of stress: wilting, leaf discolouration, or stunted growth
- Group plants together for mutual protection and easier management
- Never let plants dry out completely, even when reducing water
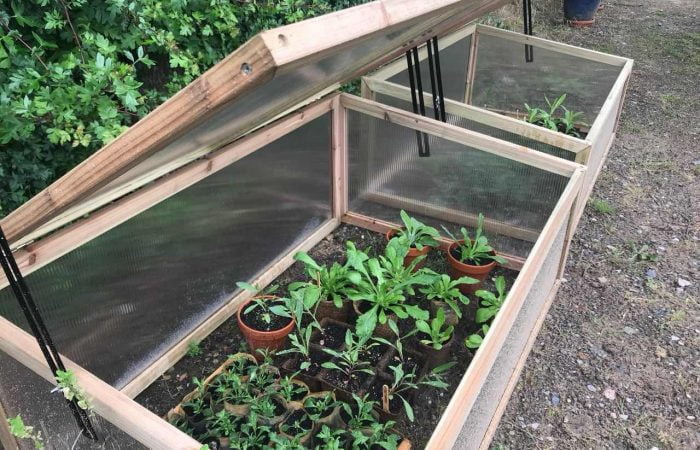
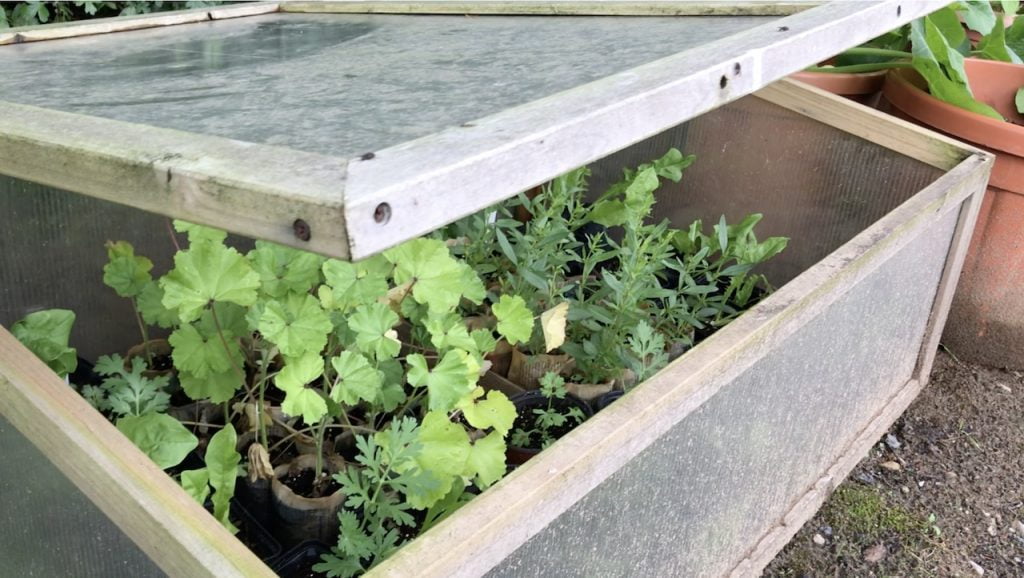
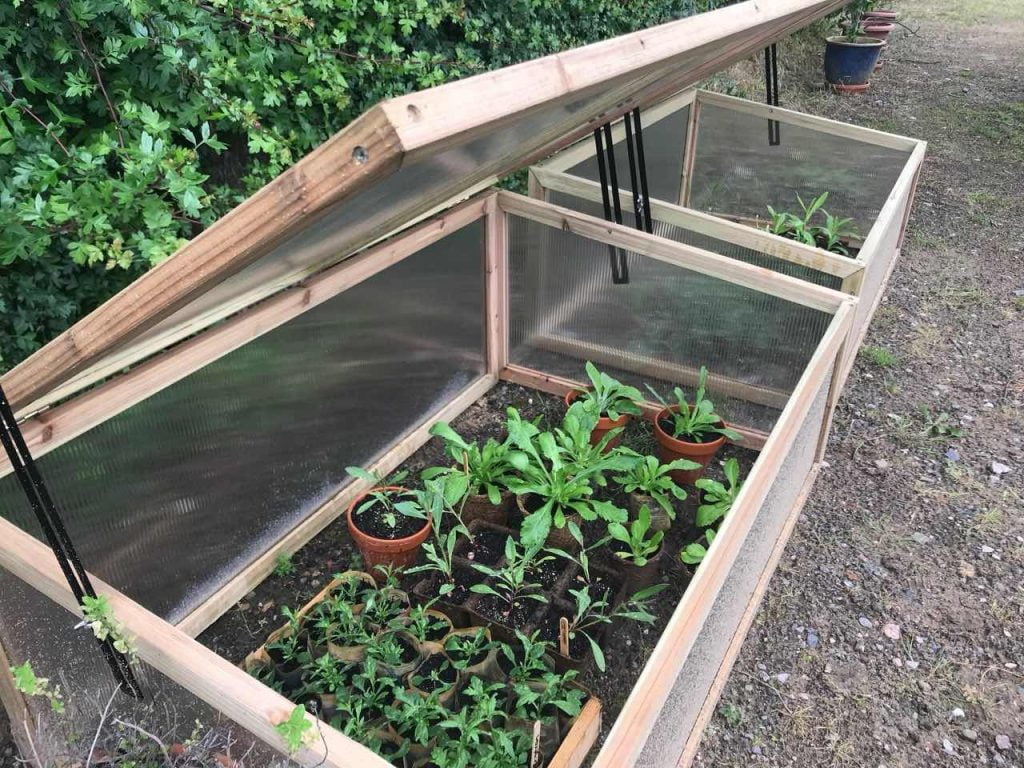
Using Cold Frames and Other Structures
If you’re serious about growing from seed year after year, investing in or building a cold frame is one of the smartest decisions you’ll make for your hardening-off routine. A cold frame essentially automates much of the hardening-off process by providing protection from wind and frost whilst allowing you to control exposure to outdoor conditions by opening and closing the lid.

During the day, you can prop the lid open to varying degrees depending on the weather, and at night you can close it completely for frost protection. This means you’re not constantly moving trays of plants in and out of the house, which saves enormous amounts of time and effort, particularly if you’re growing large quantities of seedlings.
You don’t need anything fancy or expensive. I’ve used cold frames made from old windows propped up on bricks, recycled timber frames with polycarbonate sheeting, and even improvised structures using plastic storage boxes. The key requirements are good ventilation to prevent overheating on sunny days, adequate drainage so plants don’t sit in waterlogged conditions, and enough headroom for your plants to grow without touching the top.
Position your cold frame in a sheltered spot that receives good light but isn’t in the hottest part of the garden, as cold frames can overheat quickly on sunny days even in April.
Troubleshooting Hardening Off Problems
Despite your best efforts, things can occasionally go wrong during the hardening-off process, and knowing how to respond quickly can mean the difference between a minor setback and complete plant loss.
If you notice leaf scorch, appearing as white or brown patches on foliage, it means you’ve given too much direct sun too quickly. Move the affected plants back to shadier conditions for a few days and resume the hardening-off process more gradually. The damaged leaves won’t recover, but new growth should be fine.
Wilting during the day, even when the compost is moist, indicates the plants are losing water through their leaves faster than their roots can replace it. This is common in windy conditions and usually resolves as plants develop tougher foliage, but reduce exposure temporarily if wilting is severe.
Purple tinges on leaves, particularly noticeable on tomatoes and brassicas, signal that plants are experiencing cold stress. This isn’t necessarily harmful if temperatures haven’t dropped below safe levels, and the colour usually fades as plants acclimatise, but it’s a warning sign to monitor temperatures more carefully.
Stunted growth or plants that seem to have stopped developing entirely suggest you’re hardening off too severely or too early when conditions are still too cold. Slow down the process, bring plants back into warmer conditions at night, and give them a light feed to encourage recovery. Remember that some temporary stress is normal and even beneficial during hardening off, but severe stress that causes lasting damage defeats the entire purpose of the process.
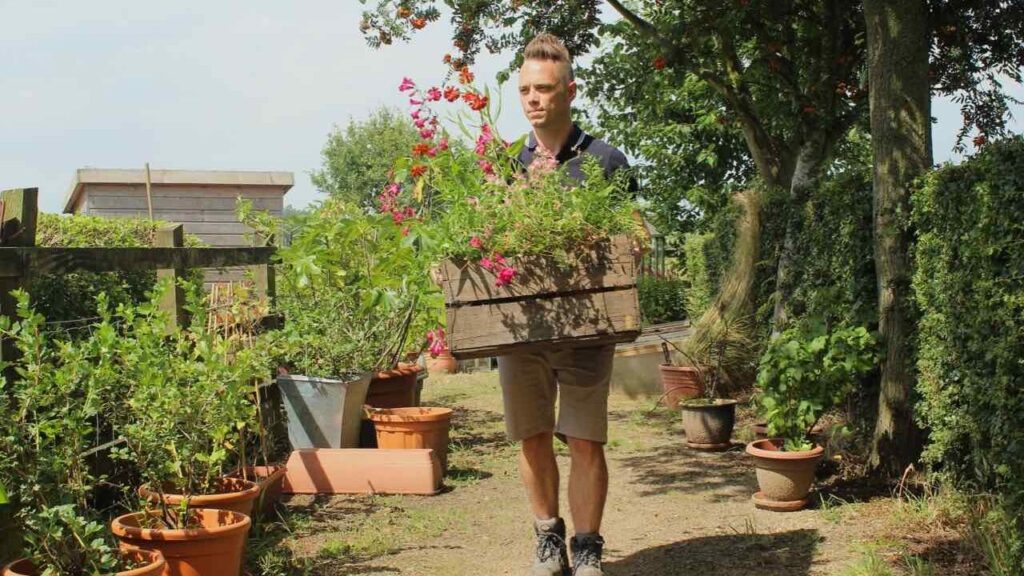
After Hardening Off: Planting Out Successfully
Once your plants have completed the hardening-off process, you’re ready for the exciting bit: getting them into their permanent homes in the garden. However, even after proper hardening off, the actual transplanting process requires some care to avoid undoing your good work.
Choose a calm, overcast day for planting out if possible, as this gives plants the gentlest possible start in their new location. Water plants thoroughly a few hours before transplanting so they’re well hydrated but not waterlogged. Prepare your planting holes before removing plants from their pots to minimise the time roots are exposed to air. Plant at the same depth they were growing in their pots, unless you’re dealing with tomatoes, which benefit from being planted slightly deeper.
After planting, water thoroughly to settle the soil around the roots and eliminate air pockets. For the first week after transplanting, keep a particularly close eye on your newly planted seedlings, checking soil moisture daily and providing temporary shade if we get an unexpected sunny spell.
Even properly hardened-off plants can experience some transplant stress, and this extra attention during their first week helps them establish successfully. If a late frost threatens in the days immediately after planting, don’t hesitate to cover plants with fleece or cloches overnight. Better safe than sorry, particularly with tender vegetables like tomatoes, courgettes, and beans that have zero frost tolerance.
Final Thoughts: Making Hardening Off Work for You
Hardening off might seem like an unnecessary faff when you’re eager to get your garden planted up, but I promise you that taking these two weeks seriously will pay enormous dividends in plant health, growth rates, and ultimate productivity.
Every time I see gardeners skipping or rushing this process, I want to grab them by the shoulders and show them the difference properly hardened plants make compared to shocked, struggling transplants. The contrast is genuinely dramatic, and once you’ve grown plants using proper hardening-off techniques, you’ll never go back to the shortcuts.
Remember that gardening isn’t about perfection; it’s about understanding the principles and adapting them to your circumstances. If you can’t follow a rigid 14-day schedule, that’s absolutely fine. Do what you can with the time and resources you have, because even partial hardening off is infinitely better than no hardening off at all. Use cold frames or improvised structures to make the process easier. Don’t beat yourself up if you occasionally forget to bring plants in on a chilly evening or if work commitments mean you can’t follow an ideal schedule. Your plants are more resilient than you think, and your efforts, however imperfect, will result in stronger, healthier growth than if you’d skipped the process entirely.
That’s the complete Garden Ninja guide to hardening off your plants properly. Get out there, take your time with this crucial step, and watch your carefully nurtured seedlings transform into thriving garden plants that reward your patience with abundant growth and productivity. Happy gardening, and remember: those few extra weeks of preparation will make all the difference between a garden that merely survives and one that truly thrives!
Happy Gardening!


Lee Burkhill
Lee Burkhill, known as the Garden Ninja, is an award-winning garden designer and horticulturist with over 30 years of gardening experience and 15 years as a professional garden designer. A qualified RHS (Royal Horticultural Society) professional, Lee specialises in sustainable garden design and practical horticultural advice. He designs and presents on BBC1’s Garden Rescue and in leading gardening publications. Lee combines three decades of hands-on gardening knowledge with professional design qualifications to help gardeners create beautiful, functional outdoor spaces.
View all posts by Lee Burkhill


Categories
Other posts
-

Start here: to begin your gardening journey! Read more
-

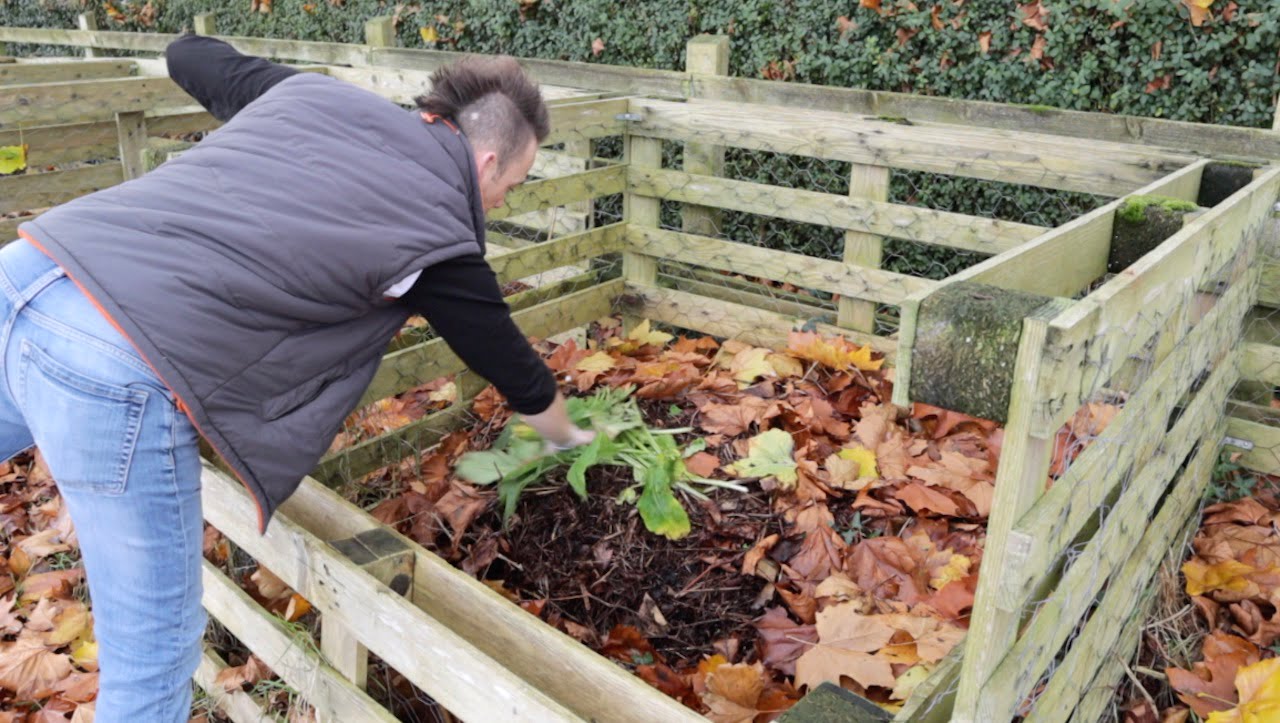
How to Start, Maintain or Revive a Compost Bin: Beginner’s Guide Read more
-
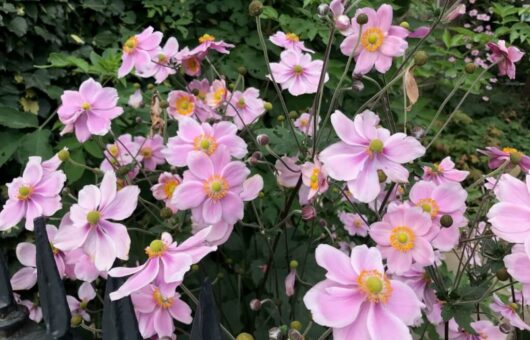
Can fruit trees help save our bees? Read more
-
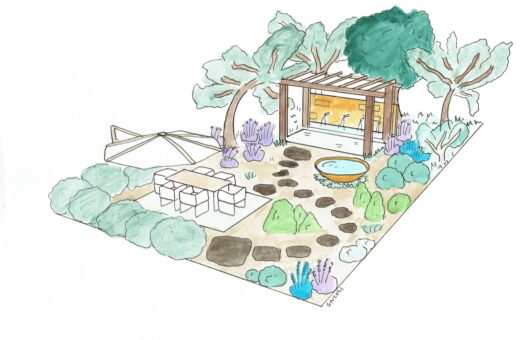
How to design a Mediterranean garden: easy design ideas Read more
-
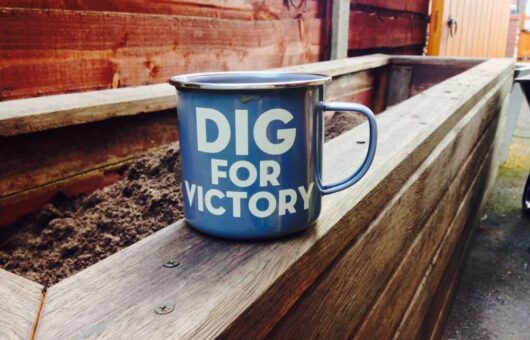
How to Build Raised Beds: Complete DIY Guide for Beginners (2025) Read more
-
Fear of failure in gardening & how to overcome it Read more