How to take softwood cuttings to propagate plants: the easy way
 Lee Burkhill: Award Winning Designer & BBC 1's Garden Rescue Presenters Official Blog

We've all become used to popping down to the garden centre when we need new plants. However, thanks to Corona and Covid-19, we are now much more aware of unnecessary commercialism and our gardens. As more of us have been forced to get better acquainted with our outdoor spaces heralding the rise of the 'accidental gardener'.
Taking cuttings is a really easy way to propagate and create plants for your gardens without spending a penny. This guide will show you how to take softwood cuttings in your gardens to multiply your shrubs and plants without leaving the house!
In the UK the best time to take softwood cuttings is in mid-spring just before shrubs start to send out flowers. Usually mid to late April is the ideal time as you're looking for flexible new green growth. Not to be confused with woodier material from last year.
Think of it like the plants just woken up and started to grow but is not in full swing just yet. It's a perfect time not to stress the plant or the cutting too much. You don't want to take cuttings of stems with flowers on as these will be taking a lot of energy from the plant and therefore cutting. Making it harder for it to root.

Always take cuttings either first thing in the day or early evening.
This is one of the most commonly asked questions. You can take softwood cuttings from tender perennials, herbaceous perennials and most deciduous shrubs (those that lose their leaves in the winter). It's a good way to propagate plants that are tricky to root through division or seeds.
Perennials including: Anthemis, Aubrieta, Bidens, Osteospermum, Marguerites, Penstemon, Pelargonium, Petunia and Salvia and Verbena.
Shrubs for softwood cuttings: Buddleia, Forsythia, Fuchsia, Hydrangea, Lavatera, Lavender and Physocarpus.
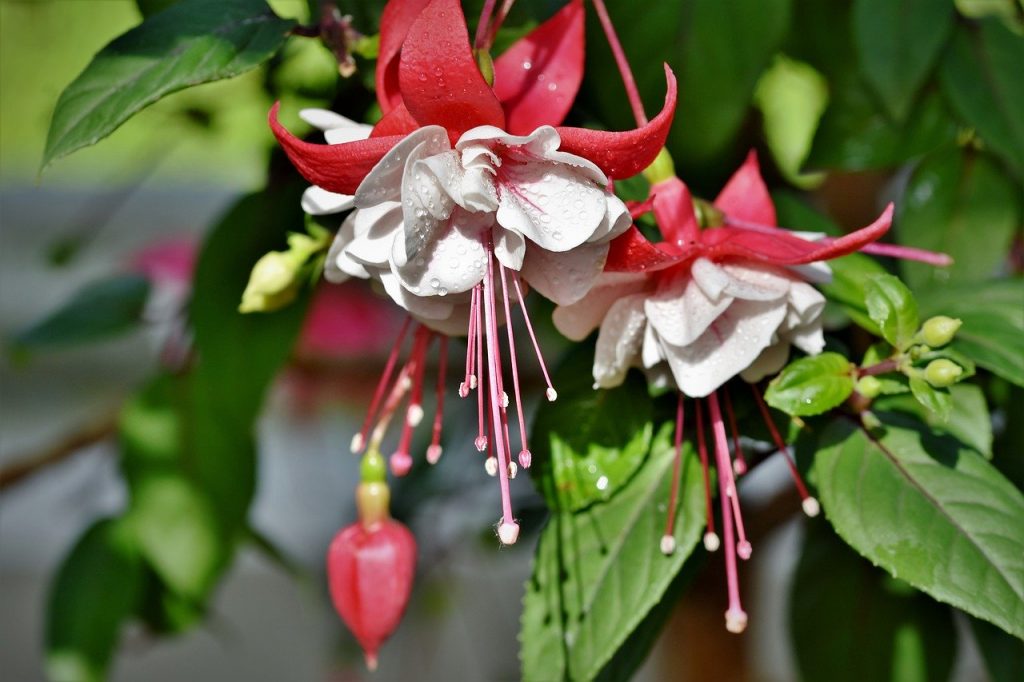
If in doubt give it a go, as long as the cutting is fresh green growth what do you have to lose?
You will need a few tools to take cuttings to make the job easier.
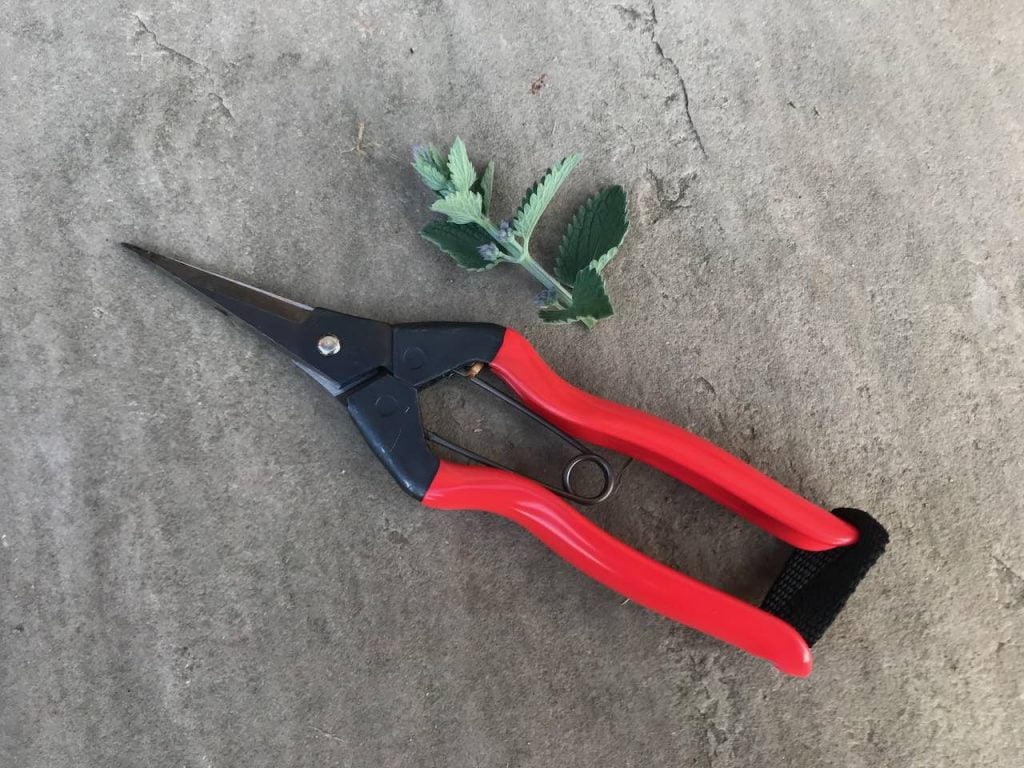
Taking cuttings couldn't be easier but you do need to work at pace because as soon as you make your cuts you're then on the clock as the cuttings will be losing water fast. The aim is to get them potted or into the water as quickly as possible.
Never in the midday sun. This is to help reduce stress on the plant and the cuttings as they are not transpiring as quickly out of the midday sun. Ideally, an overcast day is perfect.
You're wanting to take 2-4 inches of fresh green growth from the very tip of the plant or shrub. It should be flexible and not woody. Use a sharp pair of secateurs, snips or scissors.
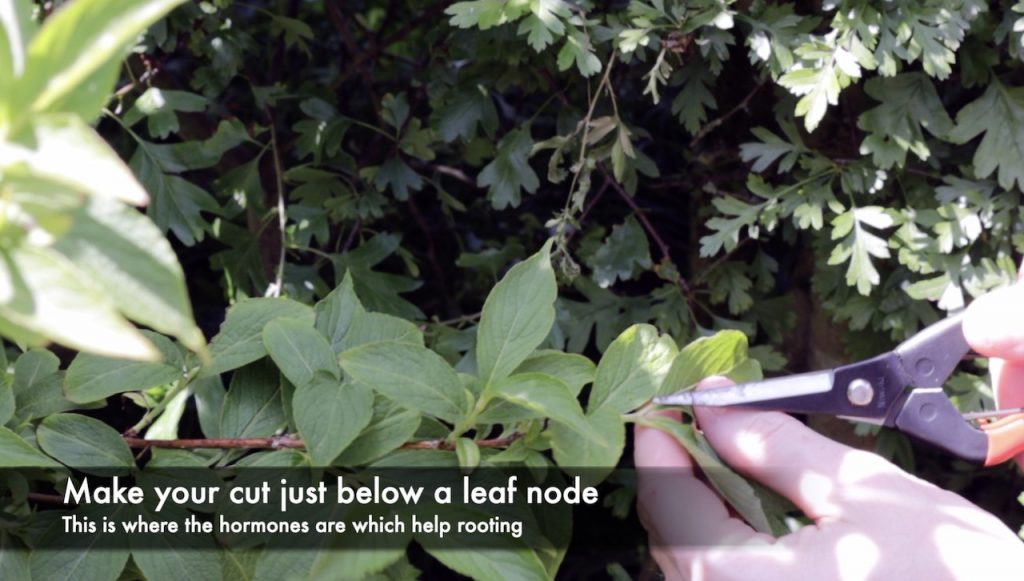
This is where hormones are their strongest. The cutting will use these to send out tiny roots from the cutting.
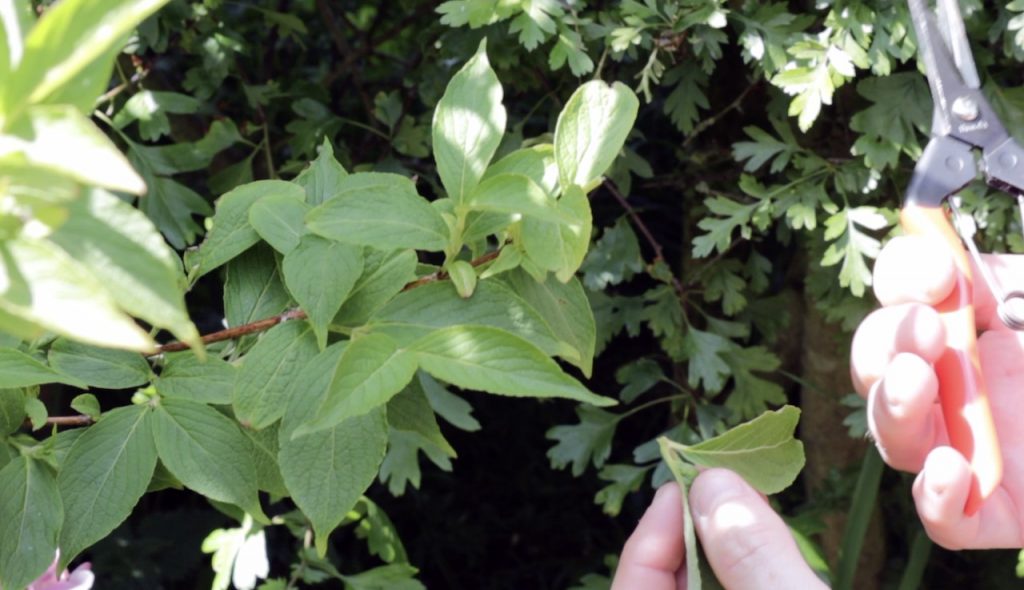
Taking 5 cuttings minimum increases your chances of rooting success. It also means if some don't take all your hard work isn't for nothing!
Putting the cuttings into a plastic bag helps to reduce water loss until you can get them prepared.
Before we go plonking the cuttings into compost or a jar of water, we need to clean them up and prepare them for success.
Leaves allow the plant to release moisture through its stomata so we want to reduce that as much as possible until the plant roots. The leaves will still be acting as if they are attached to the mother plant! If there are any flower buds, pinch these out too.
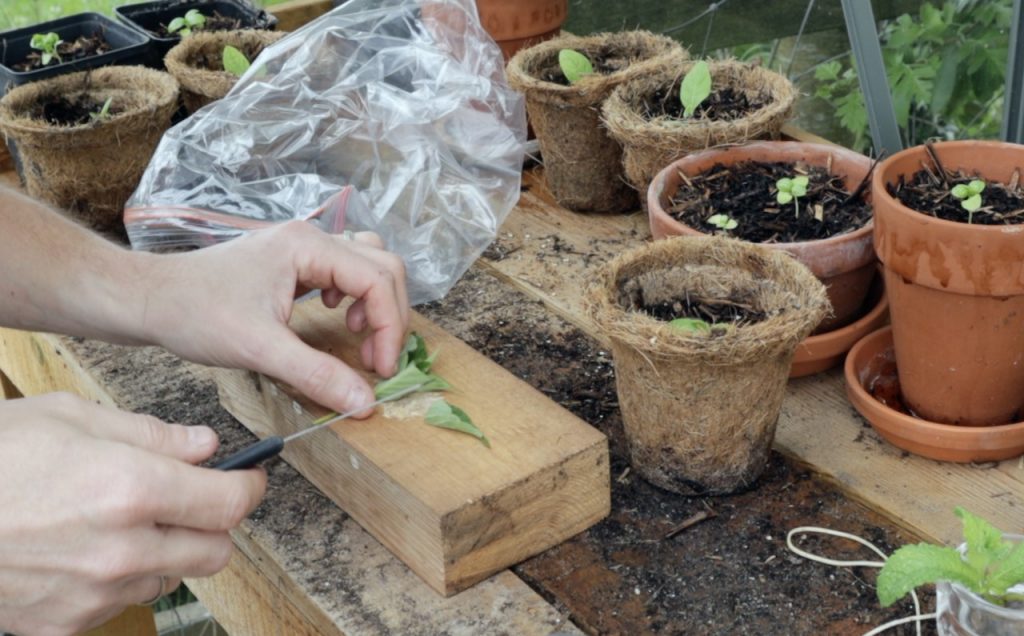
This may sound brutal, but its really important and the plant will thank you. Again we're helping to slow down its water loss whilst still allowing photosynthesis.
Now I have two methods for potting on cuttings. One is my lazy way and the other is slightly more old-fashioned. Either work perfectly well, so pick your route. If you're a beginner gardener, the jam jar methods really interesting as you get to see your plant's root.
You're going to need some decent compost and a pot with drainage. You can use a clean yoghurt pot or a recycled plastic pot.
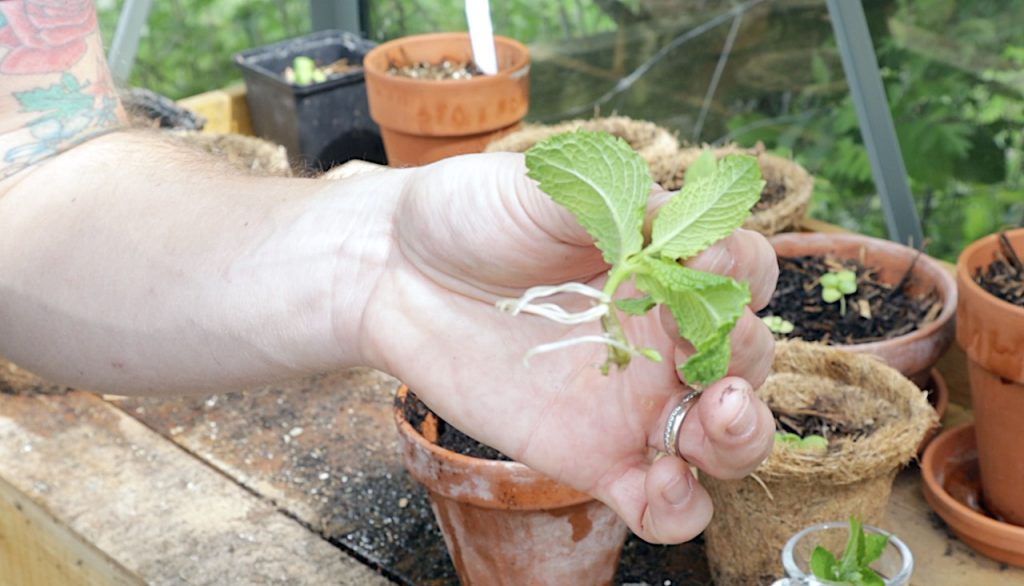
I simply plop my prepared cuttings into a jam jar or egg cup. Then I place them on a window sill for a few weeks. Different plants and shrubs will root at different rates. I love this method as you get to see the roots emerge and you know which cuttings will be successful.
This method also is great for limited spaces, so window ledges or balcony planting where space is at a premium. It's also great to encourage children to the garden as they race either other for root emergence!
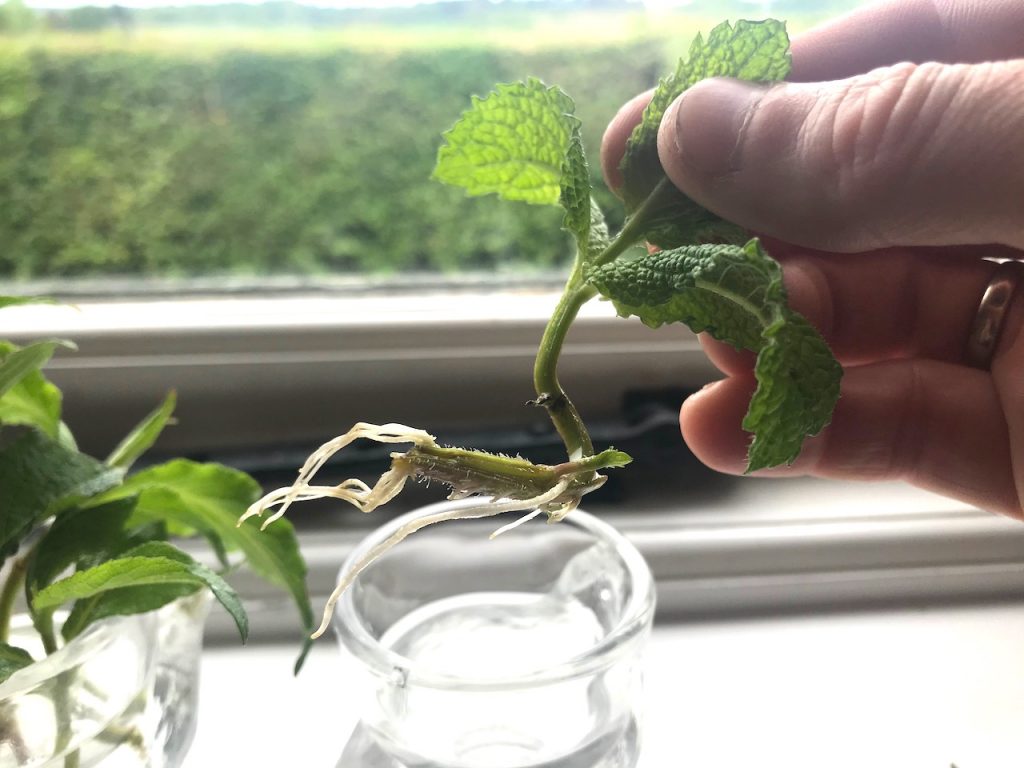
Once they have rooted, follow the guidance below.
You can directly pot on cuttings once they have been prepared or use this method after the jam jar approach.
This is going to be the pot for your cutting to root.
For smaller, less vigorous plant species, i.e. tender perennials, you can add multiple cuttings to one pot until they root and then transplant if space is at a premium.
Water the pot again, and then place a plastic bag over the top.
This is to allow air to get to the cutting. This helps reduce mildew, mould, fungus and airborne pathogens.
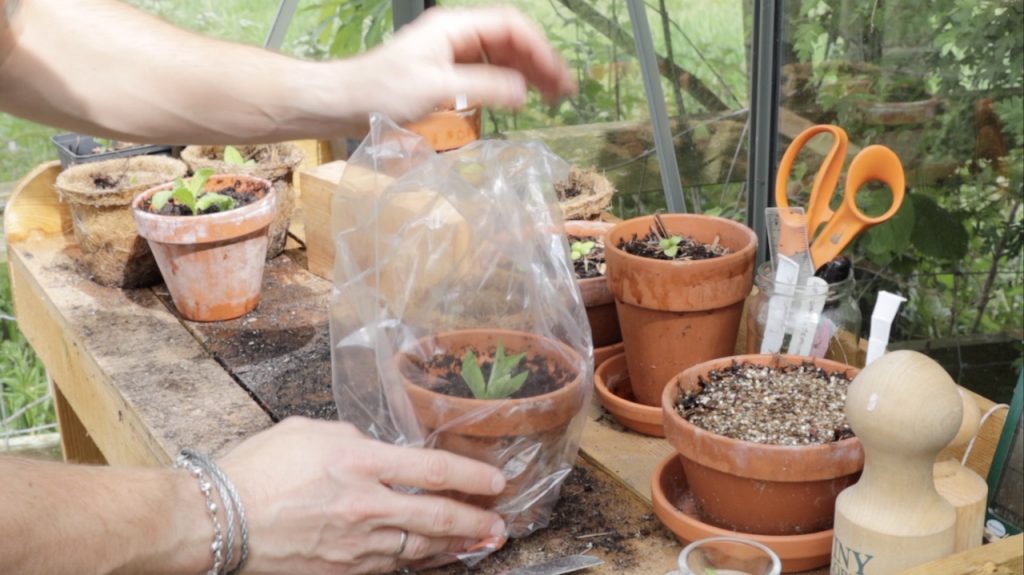
Some shrubs may take even longer like Hydrangea. So be patient! You can tell when it is rooted as you will see new leaves emerge from the shoot or roots appearing if you carefully lift the entire plant from the pot.
You can do this in a cold frame of somewhere protected before planting out. With shrubs, I'd wait until the next spring before planting them out so you can babysit them as they establish this year.
That's really all there is to softwood cuttings. It's a fantastic way to bulk up your garden and help reduce your carbon footprint. Not only are you getting 'true to type' plants, but you're not spending a fortune in the garden centre!
If you have questions or comments on taking cuttings, why not let me know below? You can Tweet, Facebook or Instagram me. You can also follow me on Youtube where I’ve got plenty of garden guide vlogs!


You must be logged in to post a comment.


JOIN THE NINJAS

Be the first in line for new Guides, Discount codes and Offers
Hello, I really enjoyed reading your article about taking softwood cuttings to propagate plants, I found it very helpful. Thank you, Richard