-
The Fastest Way to Plant Bulbs: How to Use a Bulb Planter
 Lee Burkhill: Award Winning Designer & BBC 1's Garden Rescue Presenters Official Blog
Hands up if you've ordered way too many spring bulbs and are fearful of just how much effort its going to take to plant them? Fear not, this guide will show you the fastest tool for planting bulbs, the long handled bulb planter. I'm going to show you how you can plant 100 bulbs in less than an hour!
When it comes to planting hundreds of spring bulbs, any gardener will tell you, it can be back-breaking work, that is, unless you have the hidden tool all us pros use for speedy bulb planting. I’m talking about one of the absolute weapons in any gardener’s arsenal: the humble bulb planter.
Now, I know what you’re thinking. Do you really need a specific tool just for planting bulbs? Can’t you just use a trowel or dig a hole with your hands? Well, yes, you could. But if you’ve got dozens (or heaven forbid, hundreds) of bulbs to get in the ground, trust me, a bulb planter is going to save your back, your knees, and quite frankly, your sanity.
I’ve been gardening for over 35 years now, and I’ve planted more bulbs than I care to count. I’ve done it the hard way, crawling around on my knees with a trowel, digging individual holes that are never quite the right depth. And I’ve done it the smart way, with a proper bulb planter that lets me stand upright and plant bulbs at lightning speed. There’s no contest, honestly. Once you’ve used a decent bulb planter, you’ll never go back.
This page contains affiliate links for products I use and love. If you take action (i.e. subscribe, make a purchase) after clicking a link, I may earn some gardening commission, which helps me keep the Garden Ninja Blog free for all.
What is a Bulb Planter and Why Do You Need One?
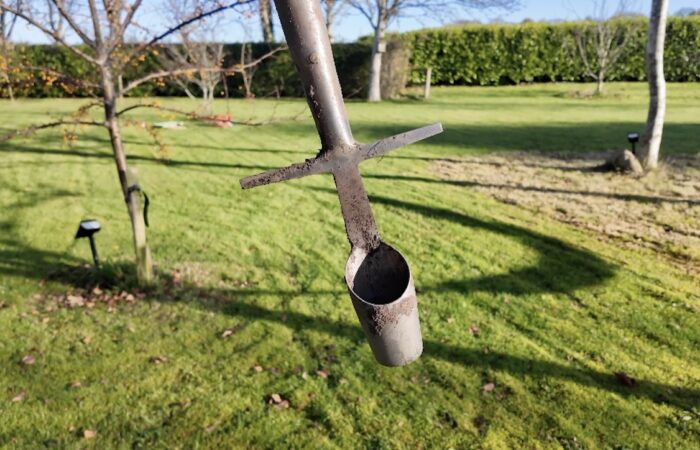
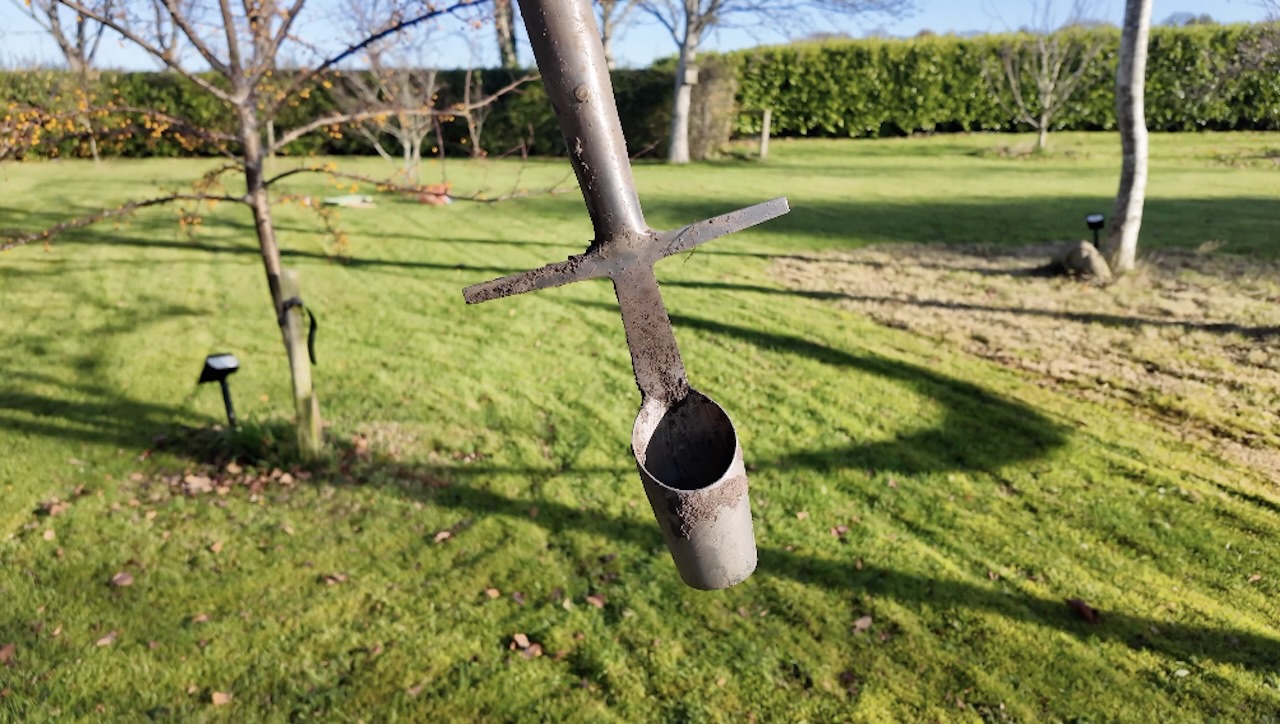
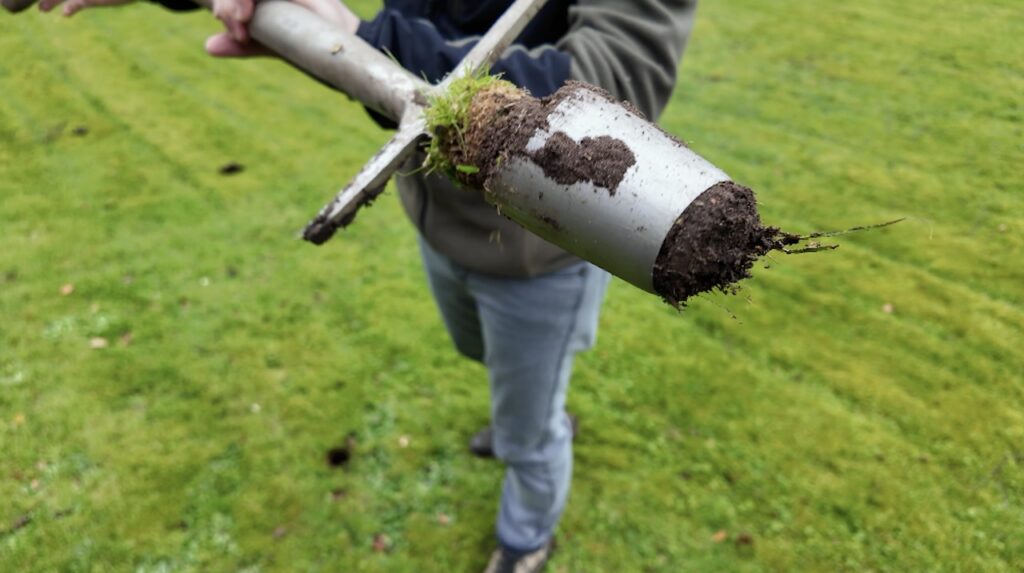
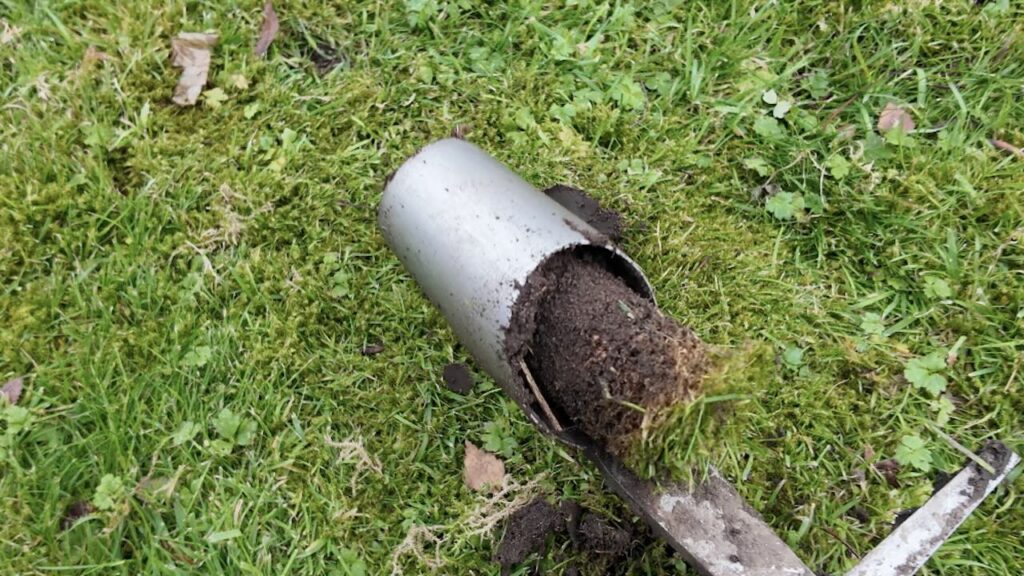
A bulb planter is essentially a cylindrical tool that removes a plug of soil, creating the perfect-sized hole for your bulbs. The genius of it is that it does three things simultaneously: it creates a hole at the exact depth you need, it removes the soil in one go, and it allows you to drop that plug of soil right back on top of your bulb once it’s planted. It’s gardening efficiency at its finest.
The main advantage is speed
When you’re planting spring bulbs in autumn, you want to get the job done before the weather turns properly miserable. A long handled bulb planter means you can work standing up, moving quickly across your borders without constantly getting up and down. Your knees will thank you, especially if you’re planting in heavy clay soil like we’ve got here in the north. If you’re new to bulb planting, check out my complete spring bulb planting guide for timing and varieties.
The other massive benefit is consistency. Every bulb goes in at the same depth, which means they’ll all flower at roughly the same time. There’s nothing worse than planting daffodils at random depths and ending up with a staggered, messy display that never quite looks right. With a bulb planter, you get uniform planting depth every single time.
Types of Bulb Planters: Which One Should You Buy?
Now, not all bulb planters are created equal. You’ve got two main types: handheld models and long-handled versions. The handheld ones look a bit like a metal cup with a handle and a T-bar grip. They’re cheap, usually around a fiver, and they work brilliantly for smaller bulbs like crocuses or grape hyacinths. You kneel down, press the planter into the soil, twist it slightly, and pull out a plug of earth. Job done.
| Feature | Long-Handled Planter | Long Handled Planter |
|---|---|---|
| Price | £5-£15 | £20-£40 |
| Best For | Small bulbs, container planting, limited quantities | Large bulbs, mass planting, border work |
| Advantages | Cheap, portable, good control, works in tight spaces | No bending, faster planting, saves your back and knees |
But here’s where I’m going to save you some money and some backache. If you’re serious about planting bulbs, invest in a long-handled bulb planter. Yes, they cost more, usually between twenty and forty quid, but they’re an absolute game changer. This is the bulb planter I recommend, from Kent & Stowe, as it’s super tough and at a good price point for most gardeners.
You stand on the footplate at the base, push it into the soil with your body weight, and pull out a perfect plug without bending over once. I can plant a hundred daffodil bulbs in less than an hour with a long-handled planter. Try doing that on your knees with a trowel, and you’ll be hobbling around like you’ve done a marathon.
Choosing the Best Bulb Planter: Features That Matter
Look for one with a comfortable grip, a sturdy construction (stainless steel is bombproof), and depth markers on the side. Those markers are crucial because different bulbs need different planting depths.
As a rule of thumb, you plant bulbs at about three times their height, but having those measurements right there on your tool means no guesswork. For specific bulb types and their planting depths, have a look at my daffodil planting guide, which covers all the basics.
The release mechanism is another thing to consider. Some planters have a metal plate on the side that you press with your thumb to eject the soil plug with the hand planters. Others require you to turn them upside down and shake. The thumb release versions are definitely easier to use and speed things up considerably when you’re planting dozens of bulbs.
However, all of the above break really quickly, especially with heavy soil, which is why I only use the long handled bulb planter as you just press then pull.
Preparing Your Soil for Bulb Planting
Before you start planting, you need to think about your soil. Bulb planters work best in soil that’s been loosened up a bit. If you’re working with compacted clay or rock-hard summer soil, you’re going to struggle. Give the area a good watering the day before if it’s dry, and consider loosening the top few inches with a fork.
Bulbs hate sitting in waterlogged soil over winter. They’ll rot faster than you can say “spring display.” So if your soil is heavy clay, mix in some horticultural grit or sharp sand to improve drainage, you can add this directly into each planting hole as you go, or work it into the whole border beforehand.
But the better approach is to plant bulbs only where your soil won’t be waterlogged for long periods, as grit will only get you so far. For more tips on improving clay soil, my no dig gardening guide has loads of practical advice.
How to Use a Bulb Planter: Step-by-Step Guide
Right, let’s get to the actual planting technique. This method works whether you’re using a handheld or long-handled planter.
Step 1: Plan Your Spacing
First, work out your spacing. For daffodils and tulips, I plant them about six inches apart. Smaller bulbs like crocuses can go closer, about three inches.
Don’t plant them in rigid rows unless you’re going for a formal look. Natural drifts look miles better, so I usually scatter handfuls of bulbs gently across the border and plant them where they fall. This gives you a naturalistic look that’s far more attractive than regimented lines.
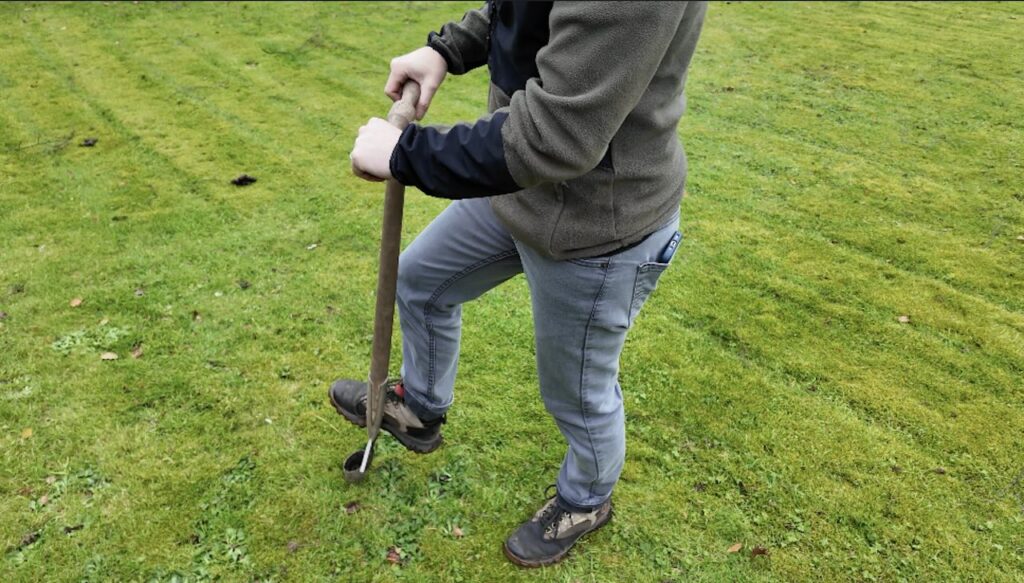
Step 2: Position and Push
Position your bulb planter over where you want to plant. If you’re using a long-handled version, place your foot on the footplate and push down firmly. The planter will slice through the soil and you’ll feel it stop when it reaches the right depth.
Most planters have measurement marks on the sides, so aim for about 6 inches (10cm) for large bulbs like daffodils, 4 to 5 inches for tulips, and 3 inches for smaller bulbs like crocuses.
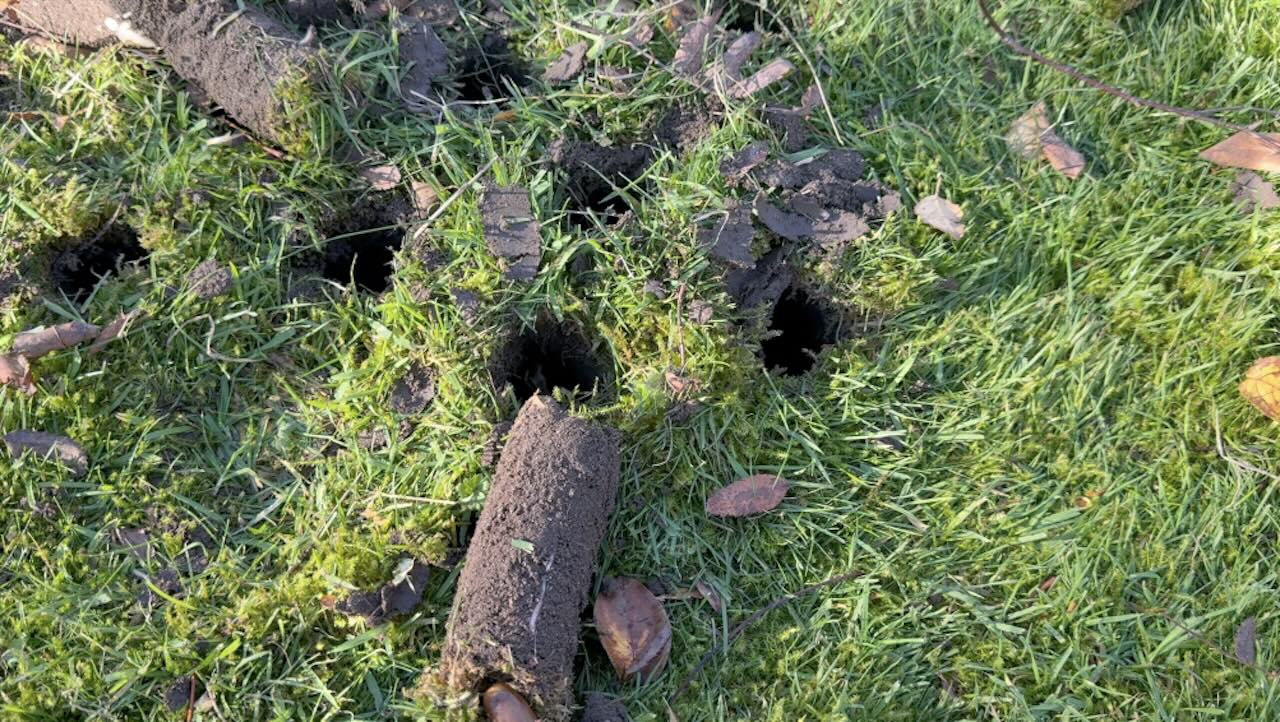
Step 3: Twist and Remove
Now here’s the clever bit. Give the planter a slight twist to cut through any roots, then pull it straight back up. The plug of soil should come up inside the planter.
If it doesn’t, your soil might be too dry or too compacted. Some planters have a release mechanism, usually a metal plate on the side that you press with your thumb, which drops the soil plug out cleanly. Others require you to turn them upside down and give them a shake.
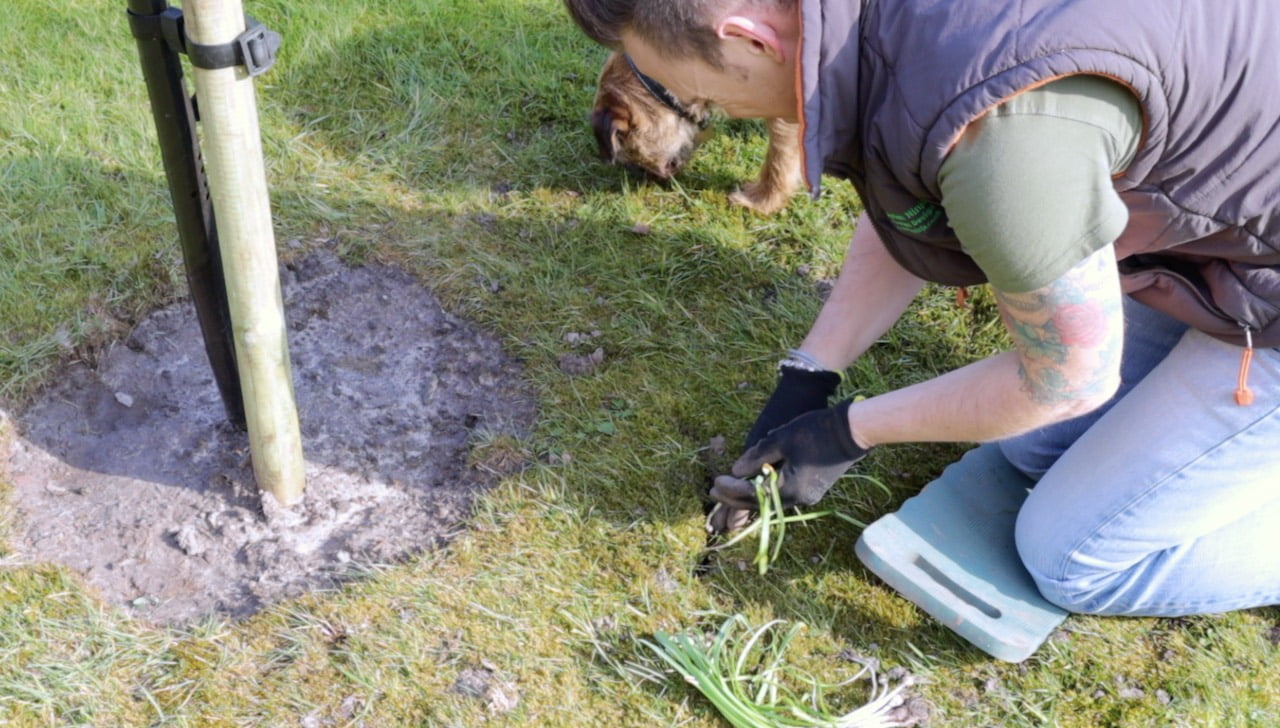
Step 4: Drop Your Bulb
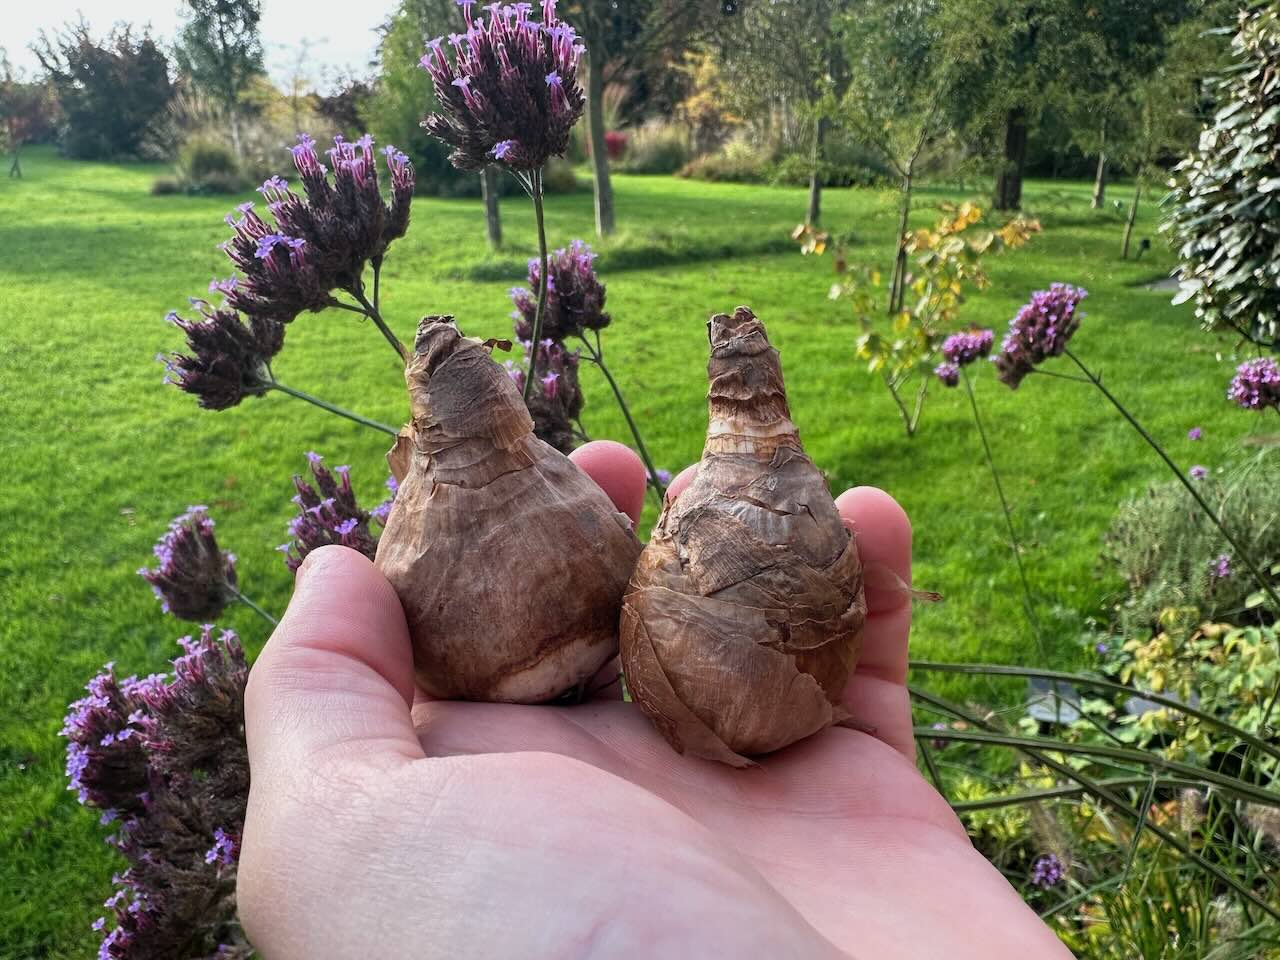
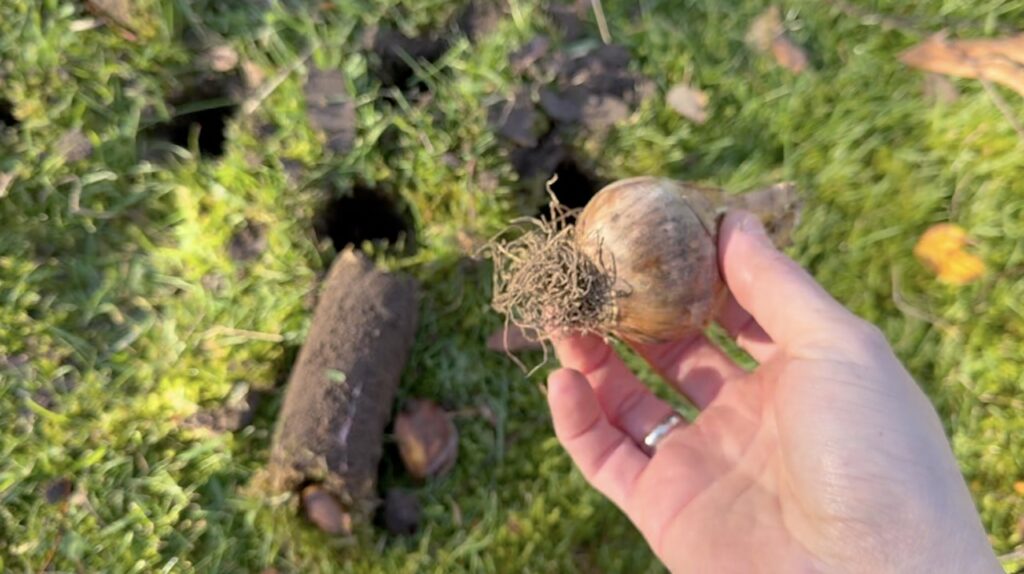
Drop your bulb into the hole, pointy end up. This is important, Ninjas. The pointy end is where the shoot emerges, and bulbs planted upside down will waste energy trying to right themselves.
If you’re not sure which end is which, plant them on their side and they’ll figure it out themselves, though this does slow down emergence slightly. Check out my spring bulbs planting guide for variety-specific tips.
Step 5: Replace and Firm
Once the bulb is in, simply drop the soil plug back into the hole on top of the bulb.
Press down gently with your foot to firm it in and eliminate air pockets. That’s it. Move on to the next one. You’ll get into a rhythm: push, twist, pull, drop bulb, replace plug, firm. It becomes almost meditative after a while.

Top Tips for Faster Bulb Planting
Here are a few things I’ve learned over three decades of bulb planting that’ll make your life easier.
A) Plant in Groups for Maximum Impact
First, plant in groups. Five bulbs minimum, preferably more. A single daffodil looks lost and sad. A drift of twenty looks spectacular. Layer your bulbs, too.
Plant larger bulbs like daffodils deeper, then come back and plant crocuses or other small bulbs in the same area at a shallower depth. You’ll get waves of colour as the smaller bulbs flower first, followed by the bigger ones. My cottage garden perennials guide shows you how to combine bulbs with perennials for extended interest.
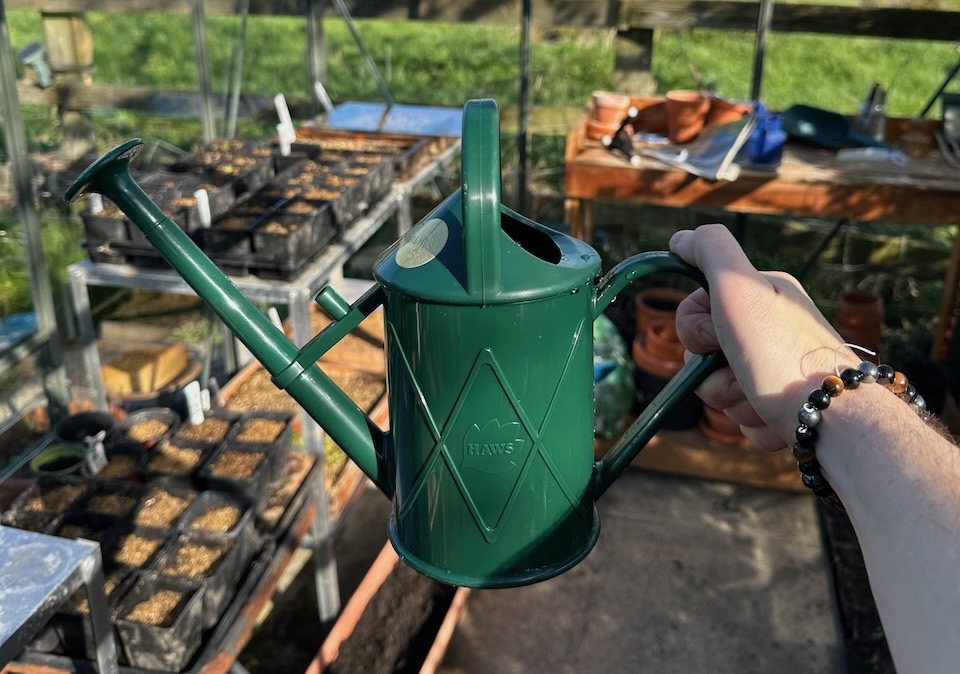
B) Water Thoroughly After Planting
Second, water them in after planting if the soil is dry. This settles the soil around the bulbs and gets them started on root development. They need to establish roots before winter sets in. Please don’t overdo it though, you want moist soil, not a bog garden!
C) Mark Your Planting Areas
Third, mark where you’ve planted. I use short bamboo canes or labels because come spring, you’ll forget exactly where everything went, and you might accidentally dig them up when you’re tidying borders. I’ve done this more times than I care to admit. A simple marker now saves disappointment later.
Common Bulb Planter Mistakes to Avoid
Even with the best tools, there are a few pitfalls to watch out for. The biggest mistake I see is trying to use a bulb planter in bone-dry or heavily compacted soil. It just doesn’t work. The planter won’t penetrate properly, and you’ll end up with shallow holes and frustrated shoulders. Always water the area 24 hours before if the soil is dry.
Another common error is forcing the bulb planter at an angle. Keep it vertical; otherwise, you’ll get wonky holes, and your bulbs might not sit properly at the base. The bulb needs good contact with the soil below to develop roots effectively.
Don’t forget to adjust your depth for different bulb sizes. Those measurement markers aren’t just decorative. A crocus planted at daffodil depth will take ages to emerge, if it makes it at all.
Use the three times the bulb height rule religiously.
When to Plant Bulbs Using Your Bulb Planter
Timing matters as much as technique.
Spring-flowering bulbs like daffodils, tulips, and crocuses need to be planted in autumn, ideally between September and November. Plant before the first hard frost to give them time to establish roots. For a complete planting calendar, my monthly planting guide covers what to plant when throughout the year.
Summer-flowering bulbs like alliums and lilies are planted in spring, usually March to May. The soil needs to have warmed up a bit, and the risk of hard frosts should be past. Your bulb planter works exactly the same way regardless of the season.
Maintaining Your Bulb Planter
Clean your bulb planter after use. Soil left on it will rust the metal and make it harder to use next time. A quick rinse with the hose and a wipe with an oily rag will keep it in good nick for years. Store it somewhere dry over winter.
If you’ve got a wooden handled version, check the handle annually for splinters or cracks. A bit of linseed oil rubbed into the wood keeps it in good condition. The metal parts benefit from a spray with WD40 or similar before winter storage to prevent rust.
Final Thoughts on Bulb Planters
A bulb planter isn’t just a gadget for the sake of it. It’s a genuinely useful tool that makes one of autumn’s most important jobs faster, easier, and more enjoyable. Whether you go for a hand-held model or splash out on a long-handled version, you’ll plant more bulbs, plant them better, and actually look forward to bulb planting time instead of dreading the knee ache.
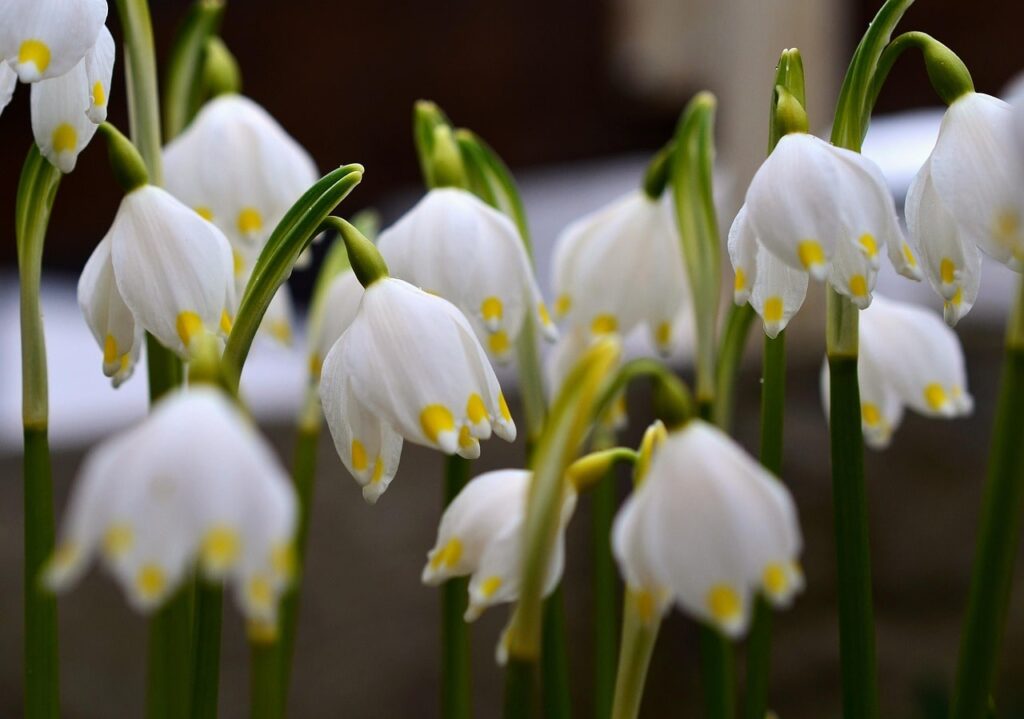
So grab yourself a bulb planter, get those bulbs in the ground before the first frosts, and come spring, you’ll have a garden absolutely bursting with colour. Bob’s your uncle, spring sorted. For more bulb planting inspiration, check out my complete spring bulb collection guide, which covers everything from snowdrops to alliums.


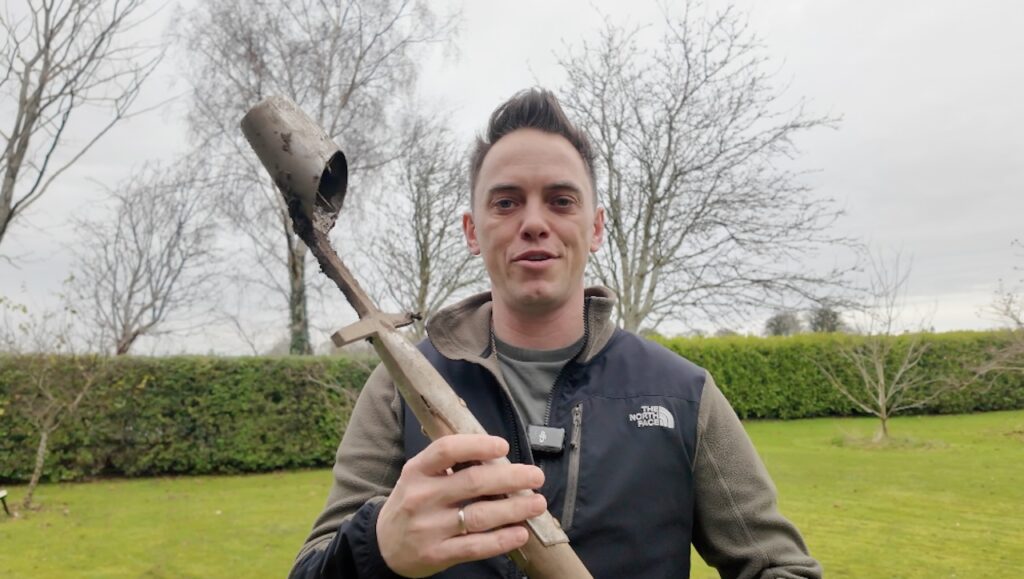
Lee Burkhill
Lee Burkhill, known as the Garden Ninja, is an award-winning garden designer and horticulturist with over 30 years of gardening experience and 15 years as a professional garden designer. A qualified RHS (Royal Horticultural Society) professional, Lee specialises in sustainable garden design and practical horticultural advice. He designs and presents on BBC1’s Garden Rescue and in leading gardening publications. Lee combines three decades of hands-on gardening knowledge with professional design qualifications to help gardeners create beautiful, functional outdoor spaces.
View all posts by Lee Burkhill


Categories
Other posts
-

Start here: to begin your gardening journey! Read more
-
Chinese Garden Design Guide: Principles and Plants for UK Gardens Read more
-
How to Prune Low-Hanging Fruit Tree Branches: The Easy Way Read more
-
How to Lay Turf: Complete Guide to Installing Perfect Lawn in 2025 Read more
-
Dioecious vs. Monoecious Plants: Understanding the Differences Read more
-
20 Autumn Flowering Plants for Beginner Gardeners Read more