-
How to Chit Potatoes: The Complete UK Guide for Beginners
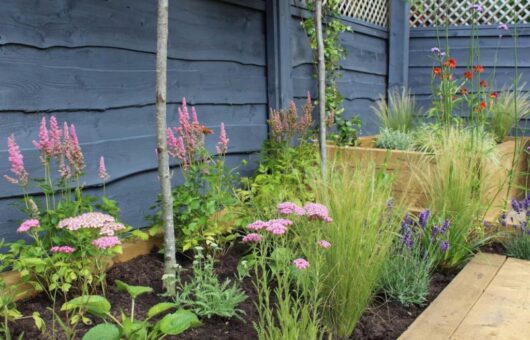
 Lee Burkhill: Award Winning Designer & BBC 1's Garden Rescue Presenters Official Blog
To chit or not to chit? I'm going to explain why chitting or starting off potatoes early indoors can save you weeks of waiting in the garden. I'll be showing you the best times to chit your spuds and how to then plant them out in your gardens or allotments.
Chitting potatoes sounds like complicated gardening jargon, but it’s honestly one of the easiest and most rewarding jobs you can do in late winter. Chitting is simply encouraging your seed potatoes to sprout before planting, giving you earlier crops and better yields.
I’ve been chitting potatoes for decades, and it’s become one of my favourite January rituals, signalling that the gardening year is kicking off again.
If you’ve ever left a bag of spuds in your kitchen cupboard and found them covered in gnarly shoots, you’ve accidentally chitted potatoes. We’re just going to do it properly and deliberately. The difference between chitted and unchitted potatoes can be weeks in harvesting time and a noticeably bigger crop. Let me show you exactly how to do it right.
What is Chitting and Why Bother?
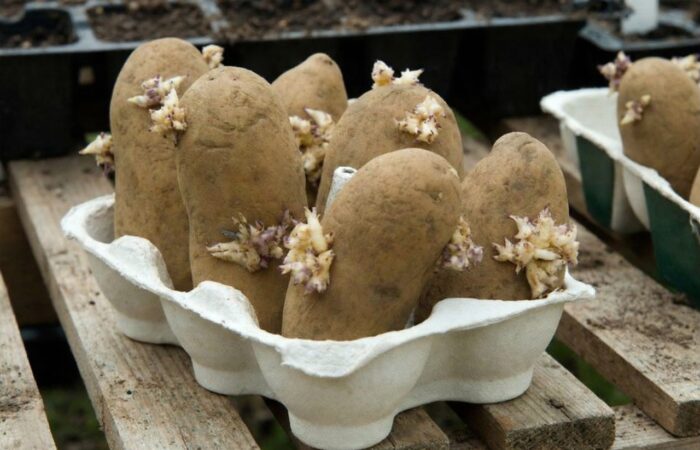
Chitting potatoes means standing your seed potatoes in a light, cool place for 4 to 6 weeks before planting to encourage sturdy shoots to develop. These shoots give your potatoes a massive head start when they go into the ground, meaning faster growth and earlier harvests. It’s particularly important for early varieties that you want cropping as soon as possible.
The shoots you get from chitting are short, stubby and green compared to the long, pale, weak shoots potatoes develop in the dark. These strong shoots establish quickly in the soil and start photosynthesising immediately.
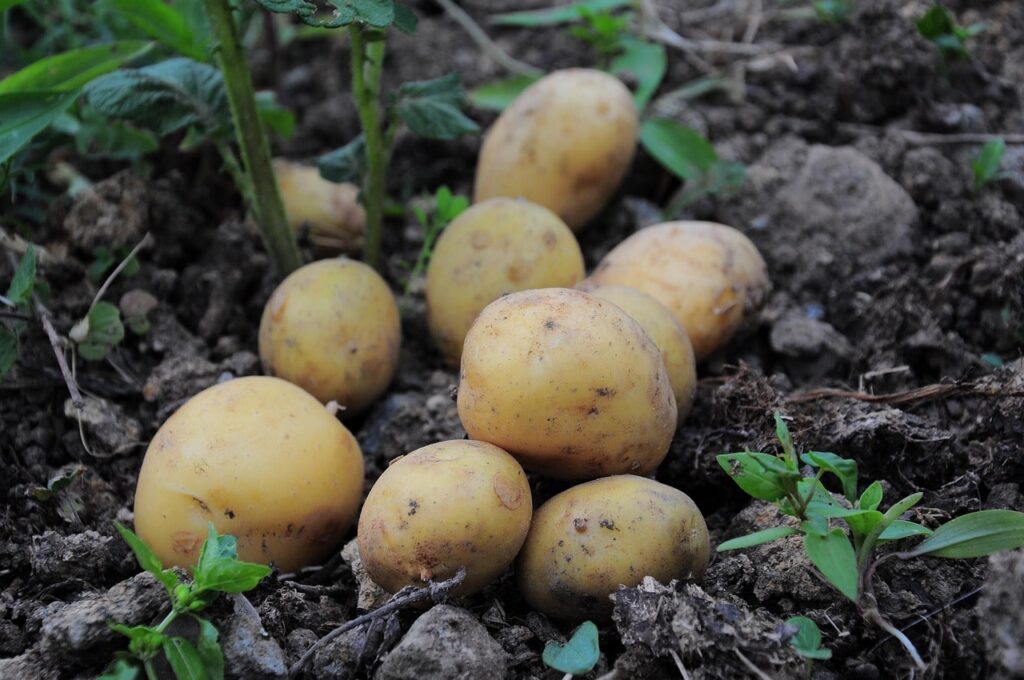
You’ll typically gain 2 to 3 weeks on harvest time, which is absolutely brilliant when you’re desperate for those first new potatoes of the season.
Some gardeners skip chitting for maincrop varieties, and you can get away with it. But I always chit everything because it gives a more uniform emergence and I can check the seed potatoes for any rot or damage before planting. It costs nothing except a bit of space and takes virtually no effort, so why wouldn’t you?
When to Start Chitting Potatoes in the UK
Late January through February is the ideal time to start chitting potatoes in the UK. The exact timing depends on when you plan to plant them out and which varieties you’re growing. Work backwards from your intended planting date, allowing 4 to 6 weeks for chitting.
| Potato Type | Start Chitting | Plant Out |
| First Earlies | Late January | Mid to late March |
| Second Earlies | Early February | Early to mid April |
| Maincrop | Mid February | Late April to early May |
Regional variations matter here. If you’re in the mild south, you can start slightly earlier. Northern gardeners and those in exposed areas should wait until early February to avoid having overly long chits that become fragile. The golden rule is to time your chitting so plants go out after your last expected frost date.
I always start my first earlies around the last week of January. This gives me sturdy chitted potatoes ready to plant under cloches in mid-March, with new potatoes on the table by early June. It’s one of the highlights of my gardening year, and absolutely worth the small effort in winter.
Choosing the Right Potato Varieties
Not all potatoes are created equal, and choosing the right variety makes a massive difference. First early varieties are specifically bred for quick cropping and benefit hugely from chitting. They’re in and out of the ground fast, perfect for impatient gardeners like me who want new potatoes ASAP.
Best first early varieties for chitting:
- Swift – bombproof and incredibly fast, ready in 10 weeks
- Rocket – another speedy variety with fantastic flavour
- Red Duke of York – gorgeous red skin, waxy texture
- Foremost – reliable cropper with good disease resistance
- Arran Pilot – old favourite, never lets you down
Second earlies follow on from first earlies and still benefit from chitting. Charlotte, Kestrel and Maris Peer are all excellent choices. Maincrop varieties like King Edward, Maris Piper and Desiree can be chitted but it’s less critical. They’re in the ground for months anyway, so the head start matters less.
Setting Up Your Chitting Station
You need three things for successful chitting: light, cool temperatures and something to stand your potatoes in. The ideal temperature for chitting is between 10°C and 15°C, which rules out heated rooms but makes spare bedrooms, porches and unheated greenhouses perfect. Too warm and the shoots grow long and spindly, too cold and nothing happens.
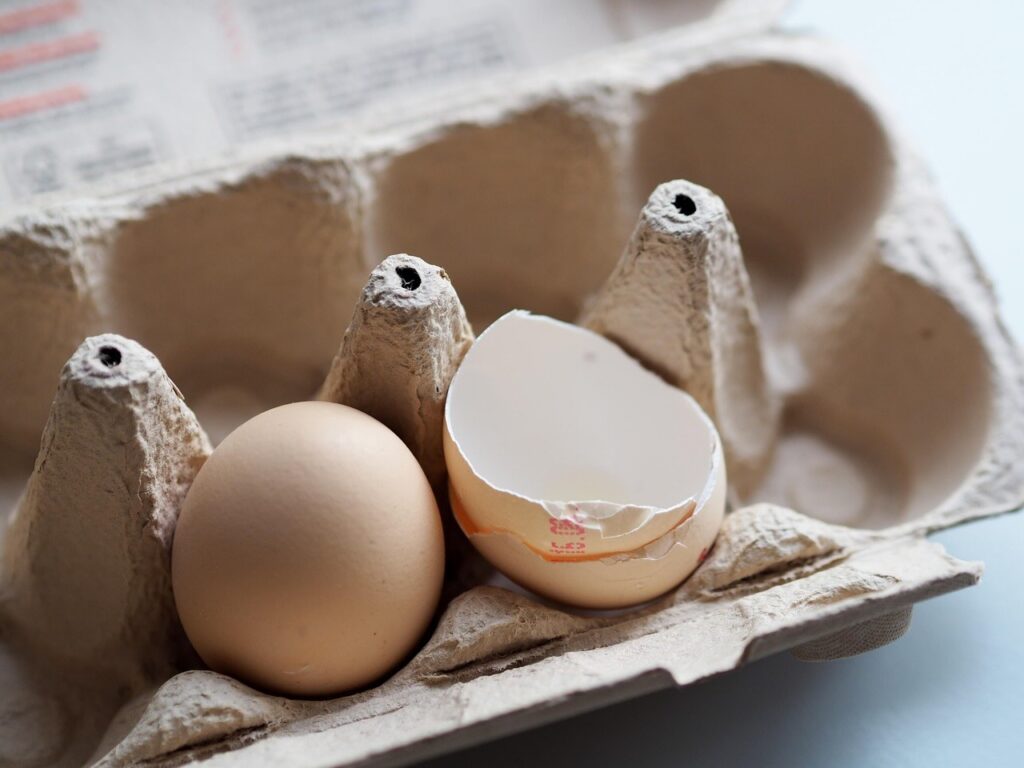
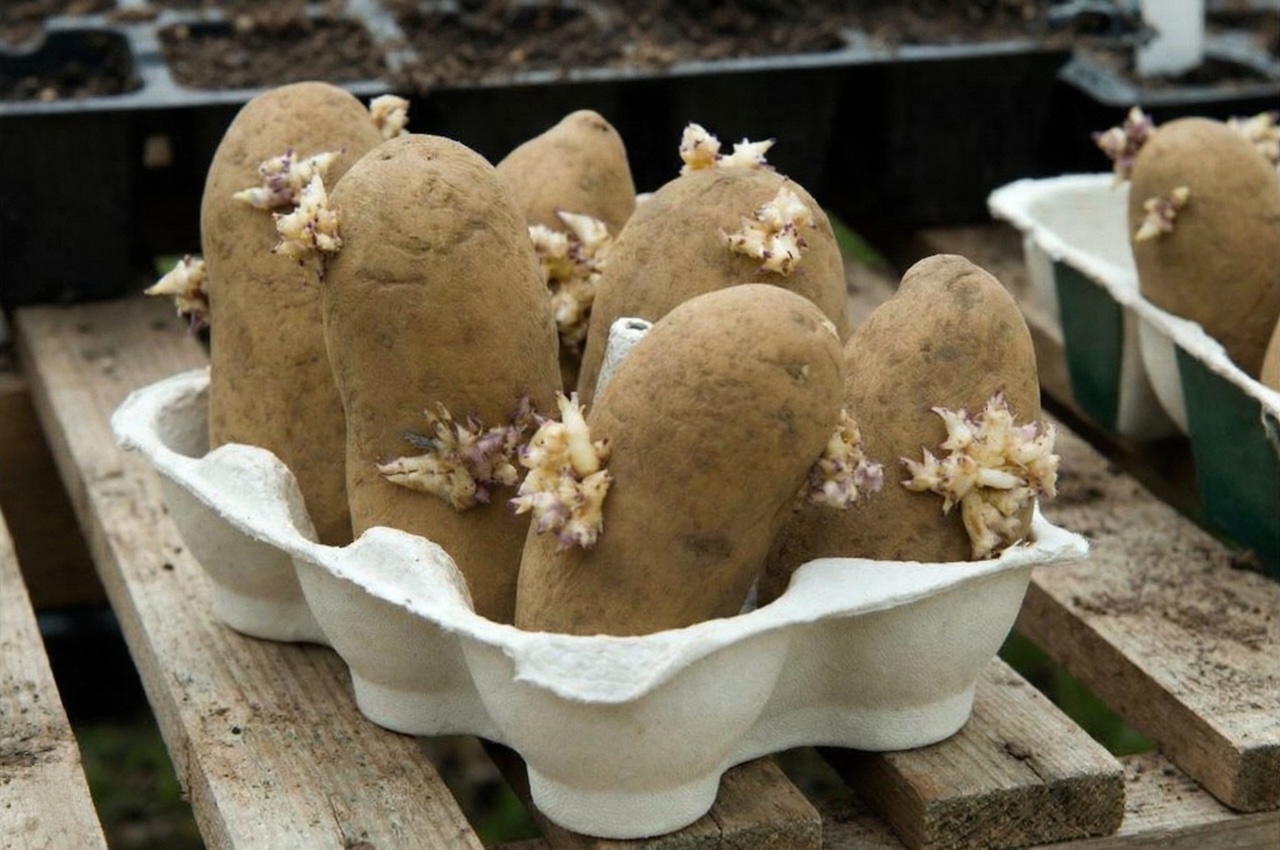
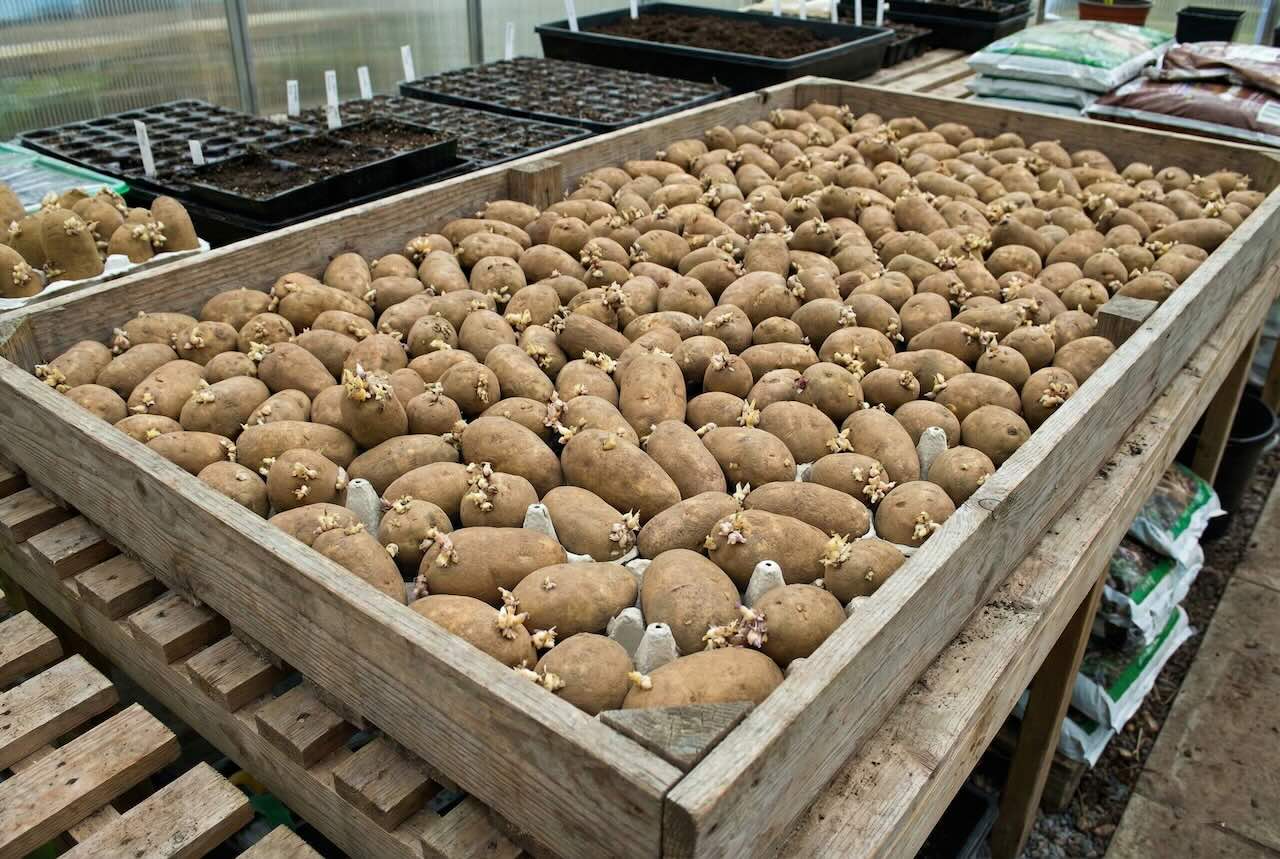
For containers, egg boxes are the classic choice and work brilliantly. Each potato sits snugly in a compartment with the rose end (the end with most eyes) facing upward. Seed trays, shallow cardboard boxes, or even old wine crates all work equally well. The key is keeping potatoes stable and upright.
How to set up chitting trays properly:
- Find the rose end of each potato (where most of the small dimples or eyes are)
- Place this end facing upwards in your container
- Space potatoes so they’re not touching if possible
- Position containers in good light but not direct scorching sun
- Ensure the space has good air circulation to prevent rot
- Label varieties if you’re chitting multiple types
I use my dining room windowsill, which gets loads of natural light and stays cool through winter. My family aren’t always thrilled with the potato farm taking over, but they appreciate the early spuds come summer. A frost-free greenhouse or conservatory works equally well.
The Chitting Process: What to Expect
Once your potatoes are set up, patience is the name of the game. For the first week or two, absolutely nothing visible will happen, which can make you think you’re doing it wrong. You’re not. The potatoes are waking up internally and getting ready to sprout.
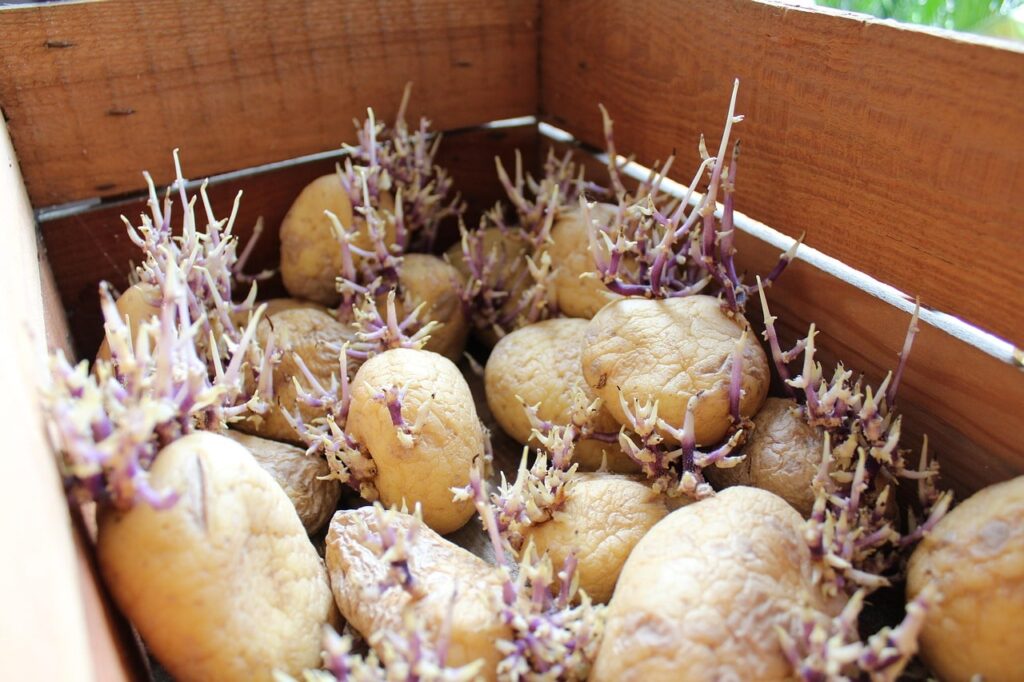
After 2 to 3 weeks, you’ll start seeing small green or purple shoots emerging from the eyes. This is brilliant and exactly what you want. Let these develop until they’re about 2cm to 3cm long with a stubby, robust appearance. The shoots should be dark green or purple, not pale yellow or white.
Each potato will typically produce multiple shoots. For the biggest individual potatoes, you can rub off all but the strongest 2 to 3 shoots once they’re established. This concentrates the plant’s energy into fewer, larger tubers. For more potatoes (but smaller ones), leave all the shoots intact. I usually leave all shoots on first earlies as I want quantity over size.
Perfect Chitting Conditions
| Condition | Ideal Range | Why It Matters |
| Temperature | 10°C to 15°C | Prevents leggy growth |
| Light | Bright indirect | Creates sturdy green shoots |
| Duration | 4 to 6 weeks | Allows proper development |
The shoots need light to stay short and stocky with good green colour. In darkness, you’ll get the long pale shoots like potatoes in a cupboard, which snap off easily when planting. Bright indirect light from a north-facing window is perfect, or diffused light in a greenhouse.
Air circulation matters more than people think. Stagnant air combined with cool temperatures can encourage rot, especially if any potatoes are damaged. Check your chitting potatoes weekly and remove any that show signs of soft spots or mould. One bad potato can affect its neighbours.
Common Chitting Problems and Solutions
Long, pale, weak shoots
Too warm or too dark. Move to a cooler, brighter spot. If shoots are already long, you can carefully reduce them to 2cm before planting, though shorter robust shoots are always better.
No shoots after 4 weeks
The temperature is too cold, or the potatoes are not viable. Move somewhere slightly warmer. Very occasionally, you get dud seed potatoes that simply won’t sprout, though this is rare from reputable suppliers.
Shoots breaking off
Shoots are too long and fragile. Handle more carefully and plant soon. If you’ve lost shoots, the potato will produce more, but you’ve lost your head start. Prevention is better than a cure here.
Potatoes are going soft or mouldy
Too damp or damaged potatoes. Remove the affected ones immediately. Ensure good air circulation and don’t chit in enclosed plastic containers.
Green potatoes
This is actually fine during chitting. The green colour in shoots is chlorophyll from light exposure. However, don’t eat any green potatoes as they contain solanine which is toxic.
Planting Your Chitted Potatoes
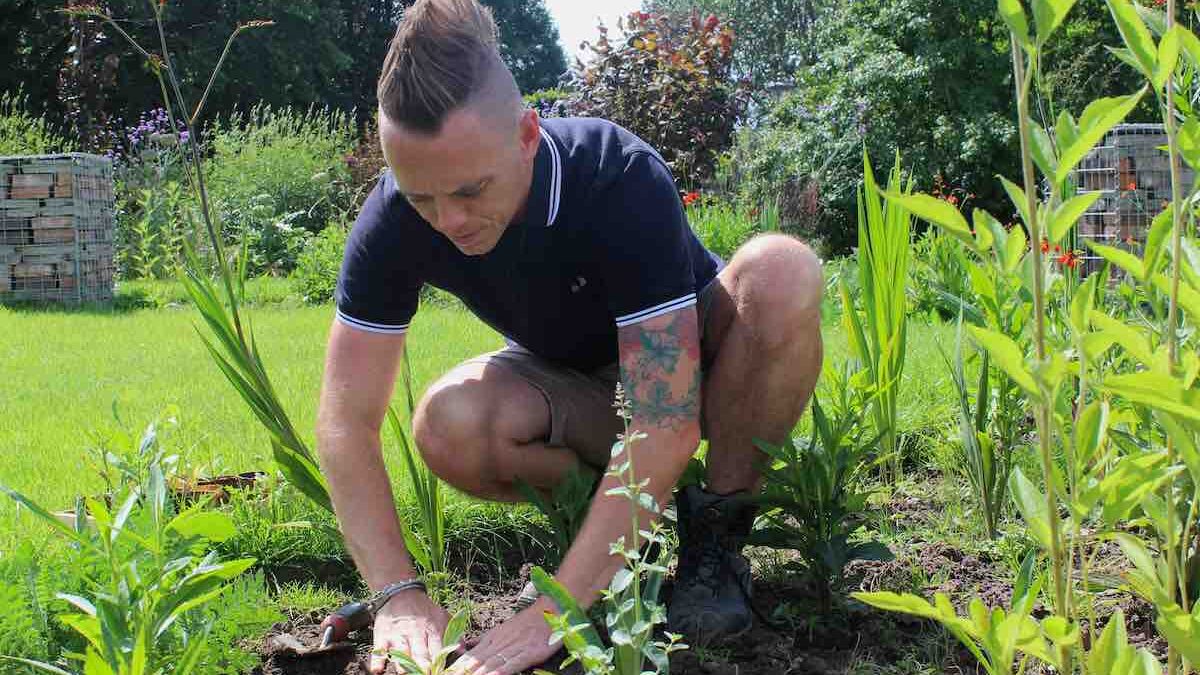
When your chits are 2cm to 3cm long and the weather is suitable, it’s planting time. Handle chitted potatoes like eggs because those shoots snap off incredibly easily. I plant mine carefully by hand rather than just dropping them into trenches.
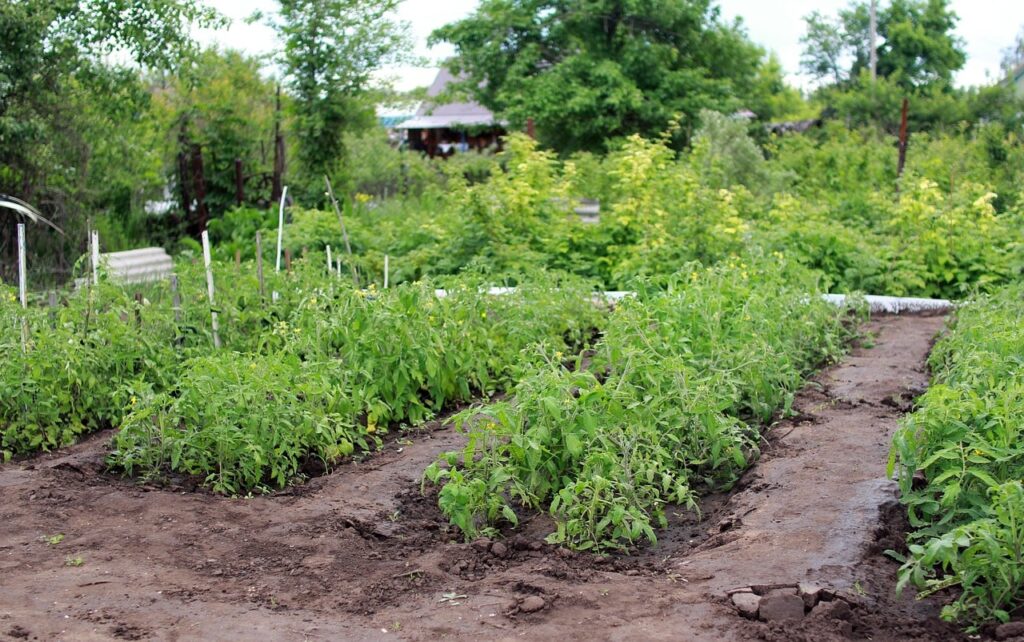
Plant with shoots facing upward, about 10cm to 15cm deep. First earlies want 30cm spacing in rows 45cm apart. Second earlies and maincrops need more room at 38cm spacing with 60cm between rows. Cover gently with soil and mark the rows clearly.
If frost is forecast after planting, earth up soil over emerging shoots or cover with fleece. Those tender new shoots that you’ve carefully nurtured for 6 weeks will turn to mush in a hard frost. Ask me how I know. Prevention is absolutely better than watching your early crop get wiped out.
Quick Chitting Checklist
- Start late January for first earlies, early February for others
- Use egg boxes, seed trays or shallow boxes to hold potatoes upright
- Position rose end (most eyes) facing upward
- Place in bright, cool spot at 10°C to 15°C
- Check weekly for rot or problems
- Chit for 4 to 6 weeks until shoots are 2cm to 3cm
- Handle gently when planting to avoid breaking shoots
- Plant after last frost date for your area
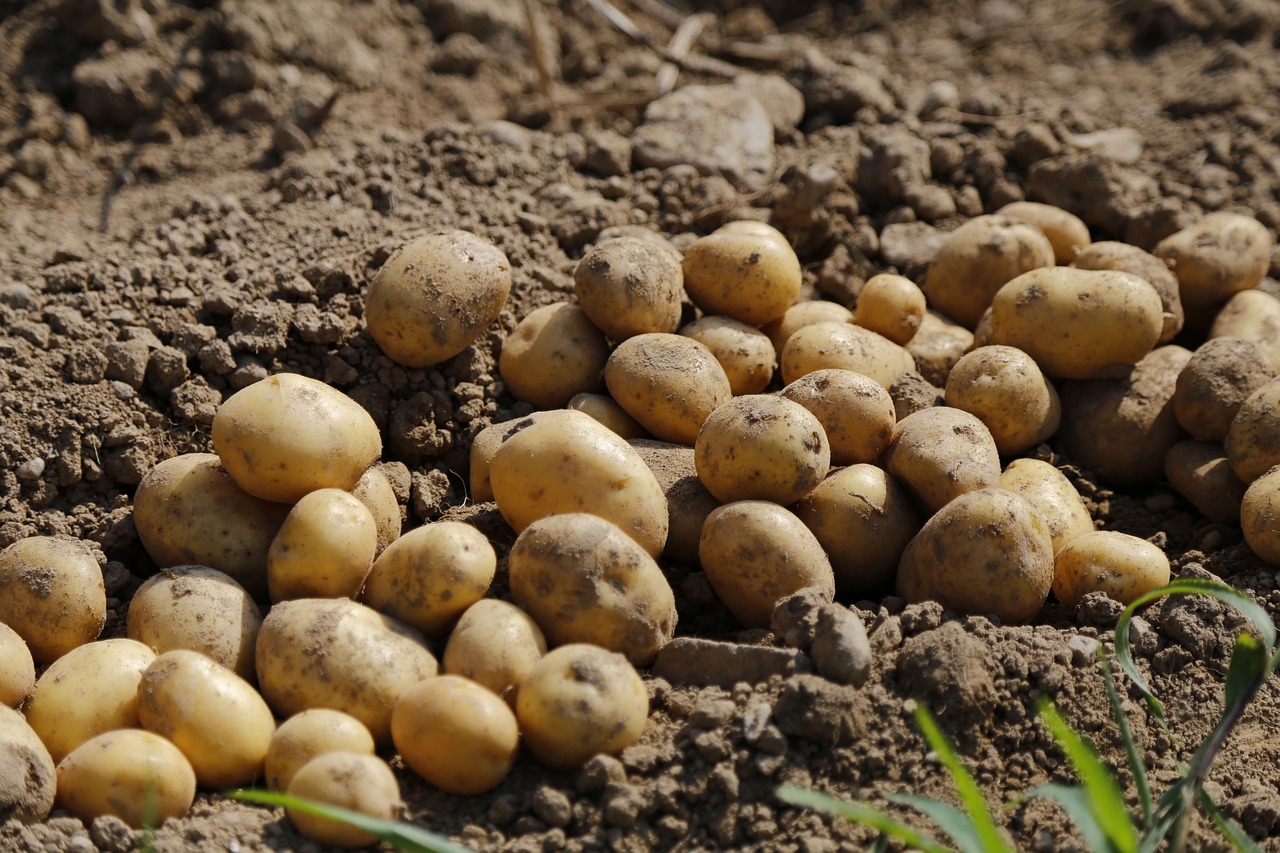
Do You Really Need to Chit?
Here’s the honest truth: you can grow potatoes without chitting. People do it all the time and get decent crops. But chitting gives you a guaranteed advantage, especially with early varieties where speed matters. The effort-to-reward ratio is absolutely brilliant, with 5 minutes of setup in January translating to weeks of earlier harvests.
I’ve run side-by-side tests with chitted versus unchitted potatoes of the same variety. The chitted ones emerged faster, grew more vigorously and cropped noticeably earlier. For first earlies, where you’re racing to get those first new potatoes, chitting makes complete sense. For maincrops going in late spring anyway, it’s more about checking seed potato quality than gaining time.
Final Thoughts
Chitting potatoes is one of those simple gardening jobs that makes you feel incredibly smug when it works. There’s something deeply satisfying about those neat rows of sprouting potatoes standing to attention on your windowsill, promising early summer harvests while snow still falls outside.
It costs nothing, takes minimal effort and makes a tangible difference to your crop. Start in late January, give them light and cool temperatures, and let nature do the rest. In 4 to 6 weeks, you’ll have perfectly chitted seed potatoes ready to plant.
Come early summer, when you’re eating the first new potatoes of the season, you’ll be absolutely chuffed you bothered. Now get those spuds chitting, Ninjas!


Lee Burkhill
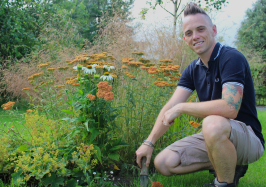
Lee Burkhill, known as the Garden Ninja, is an award-winning garden designer and horticulturist with over 30 years of gardening experience and 15 years as a professional garden designer. A qualified RHS (Royal Horticultural Society) professional, Lee specialises in sustainable garden design and practical horticultural advice. He designs and presents on BBC1’s Garden Rescue and in leading gardening publications. Lee combines three decades of hands-on gardening knowledge with professional design qualifications to help gardeners create beautiful, functional outdoor spaces.
View all posts by Lee Burkhill


Categories
Other posts
-

Start here: to begin your gardening journey! Read more
-
No Dig Gardening Guide for Beginners: Charles Dowding & Garden Ninja Read more
-
Garden design process Read more
-
The Best Raised Beds to Buy 2025: That You Can Build at Home Read more
-
How to Get Leather Jackets Out of Lawns: Natural Methods That Actually Work Read more
-
Growing Strawberries: From Containers to Ground Guide for UK Gardens Read more