-
How to pot on & prick out seedlings
 Lee Burkhill: Award Winning Designer & BBC 1's Garden Rescue Presenters Official Blog
If you're new to gardening you may have suddenly found yourself with a number of seed trays all full of bright seedlings! Then what to do next? Once seedlings reach a certain height they will need transplanting. How do you get these baby plants into their own pots? What's the best way? Well, this guide on how to prick out and pot on seedlings is for you.
Now that your seeds have germinated, you may suddenly struggle to work out what to do next. Well, the next stage in growing your own plants is known in the gardening world as ‘pricking out‘, where we take seedlings and separate them into their own pots. If we don’t prick them out, they get congested, their growth slows down, and your seedlings are more likely to be harmed by disease as they lack air flow.
It’s a relatively straightforward and fun activity. However, you will need some tips and tricks to ensure you don’t accidentally butcher your seedlings.
It’s time to start pricking out seedlings!
How to prick out seedlings
- What is pricking out?
- Tools for potting on
- Why do we prick out seedlings?
- Watering your seedlings
- Preparing pots with compost for seedlings
- How to remove seeds from trays
- Why you should never hold a seedling by the stem
- Firming in seedlings
- Choosing the right pot for pricking out
- What is hardening off?
What is pricking out?
Pricking out is taking young plant seedlings, like vegetables or annuals and using a dibber or pencil, you ‘prick’ them out of the compost, ready for potting into their own individual pots, so they can grow stronger.
This is a term used to describe separating your seedlings and potting them on into their own individual containers. It separates the roots, enabling these baby plants to grow much more quickly into larger plants. Giving them the room and resources to grow as healthy, larger plants.
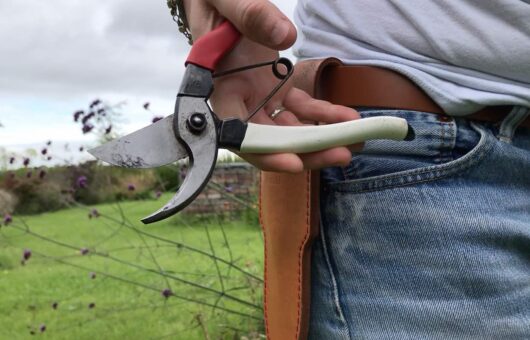
Tools for potting on seedlings
- Dibber or pencil
- New pots for transplanting (Plastic Free is possible!)
- Multipurpose potting compost
- Labels
- Watering can
Why do we prick out seedlings?
Pricking out seedlings is necessary to ensure that each plant has enough compost, water and space to grow into a healthy individual plant. If we don’t prick out seedlings, they will all compete with each other in our seed trays, and we will end up with smaller, less healthy, weaker plants.
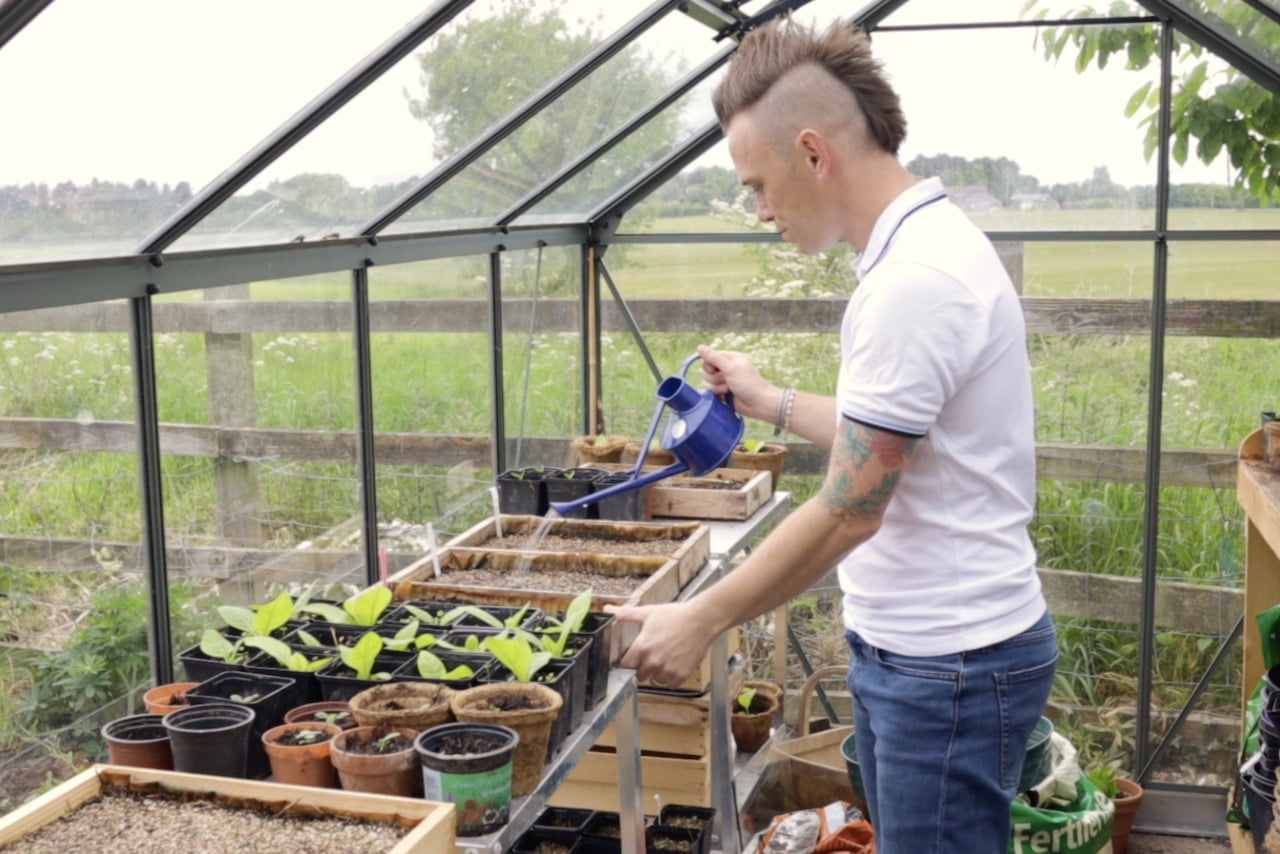
Step 1: Watering seed trays first
The first thing you need to do is water your seed trays before you start any potting on of seedlings. I use a fine rose on a small watering and give the seedling trays or pots a good soak.
Watering your seedlings has two benefits:
- It will make it far easier to split the seedlings without damaging them. Lubrication is definitely a benefit!
- It reduces stress on the plant as it goes from a well-rooted moist environment to a new pot. Watering reduces stress as it had a good drink before the journey
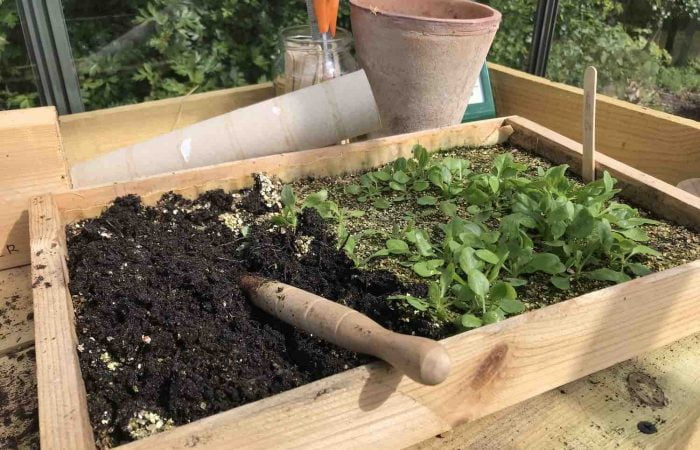
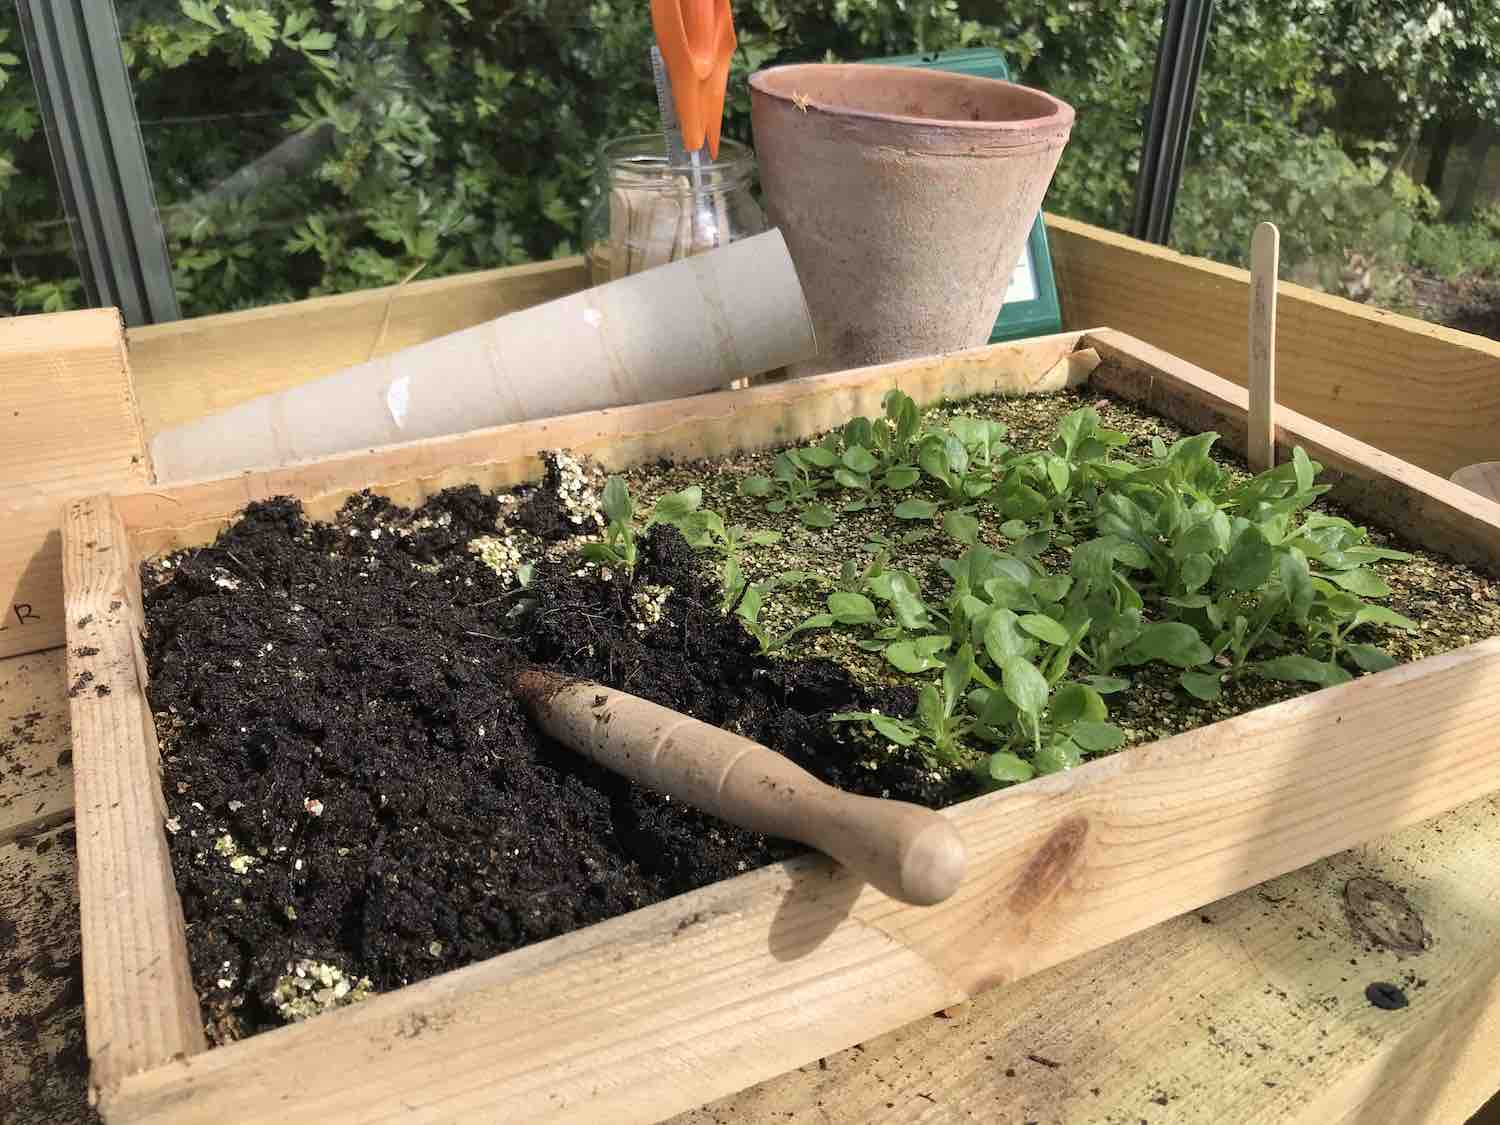
Step 2: Preparing pots for potting on seedlings
I always prepare my pots first, even before lifting the seedlings. If you don’t, you will find yourself in a rush to get the seedlings in. In the process of the panic, no doubt knocking things over and causing a right banana drama in your greenhouse or kitchen. Ain’t nobody got time for that!
I always use a good multi-purpose compost as the seedlings are now in their ‘growth phase’ and need plenty of moisture and nutrients to do their thing. I also use a tamper to ensure there are no air pockets and the surface is level.
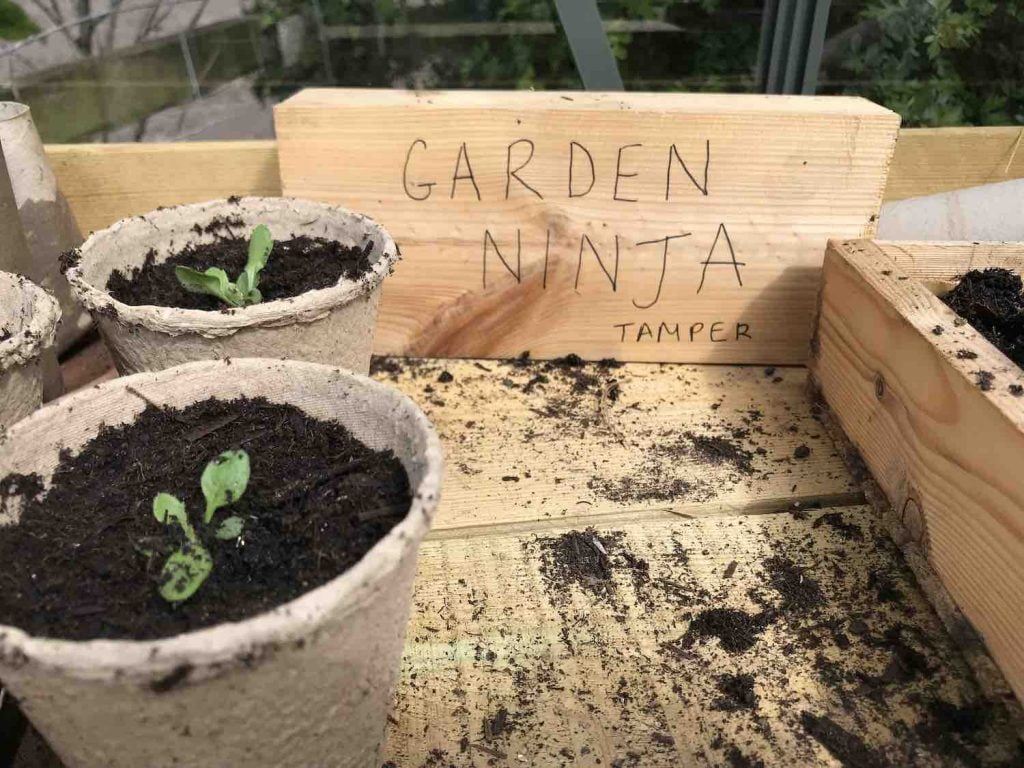
Good compost is essential for potting on.
Never reuse compost, it introduces disease and lacks nutrients. Don’t fill to the very brim, as this makes for messy watering as soil spills out. Leave compost 1cm below the rim of your chosen pots. (There’s more on the pot choices below).
Use your dibber or pencil to create a hole where your seedling can be placed. You’re now ready to remove the seedlings, the exciting bit!
Did you know that you can take my course and learn how to become a Garden Ninja yourself? Click here for details
Step 3: How to remove seedlings from trays correctly
Using a dibber (a wooden pencil-like tool to make small holes in compost), you want to carefully lift and separate your seedlings from the seed tray or pot. There’s no exact art to this. Some people find their own method.
I place the dibber into a seed-free section of the tray and then carefully pivot it to push a cluster of seedlings up from the bottom. This then works loose the seedlings from the compost.
Then when you have that cluster, you can use the dibber to separate the roots carefully. The dibber also doubles up as your ‘hole creator’ in your new pots to drop the seedlings into.

Step 4: Never hold seedlings by the stem
The stem is the vital highway for water and food in your seedling. If you pick it up by the delicate soft fleshy stem, the chances are you’re going to crush it. A bit like being picked up by your throat! Always pick up seedlings by their leaves. They can grow more of these are damaged.
However, if the plant stem is damaged, the plant will die as it can’t take up water or nutrients.
Always hold by the leaves, never the stem, when pricking out seedlings to ensure you don’t kill the plants.
Step 5: Dropping and firming in your seedlings
With your prepared pots, the next stage is to drop in the seedling and roots into the hole. Only bury it as deep as it was in the seed tray.
If you over-bury the stem, chances are it will rot. So you’re aiming to cover the roots, and that’s enough. Then using the dibber or a finger, carefully firm the soil lightly around the seedlings.
I then water the pot straight away. Watering the seedling causes a vacuum that also pulls the young plant firmly into the compost securing it.
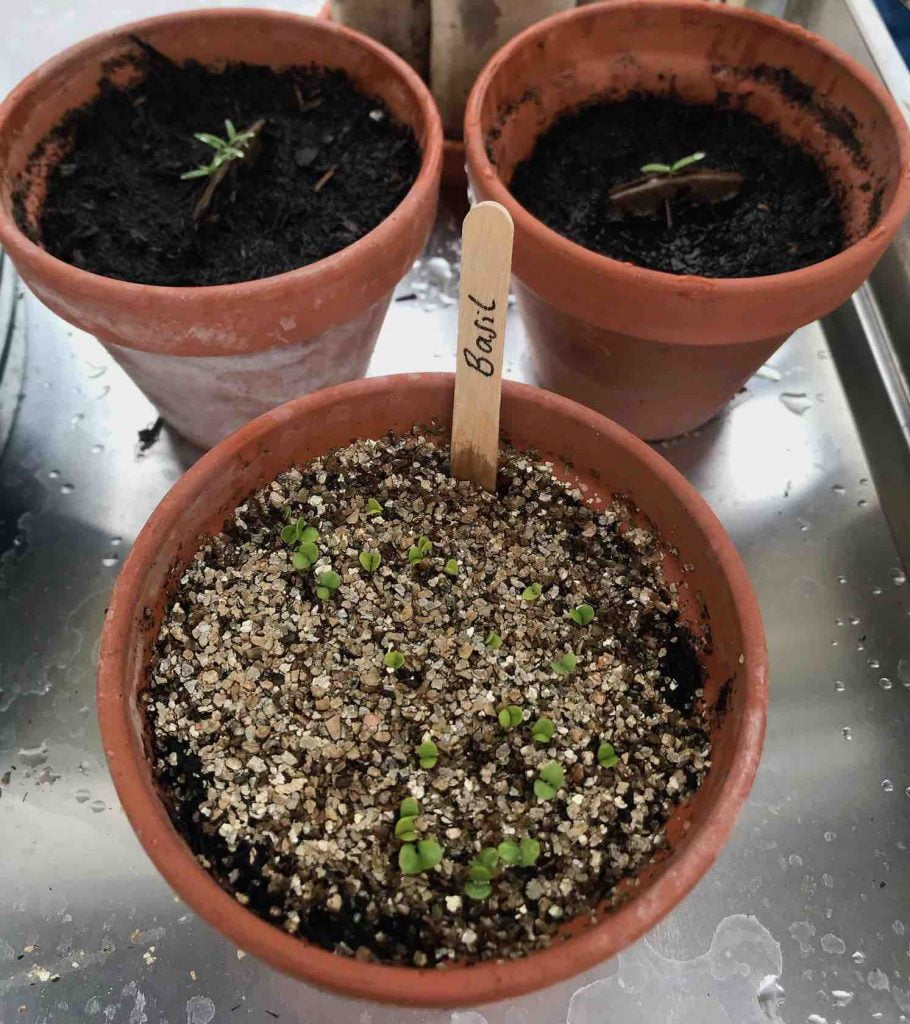
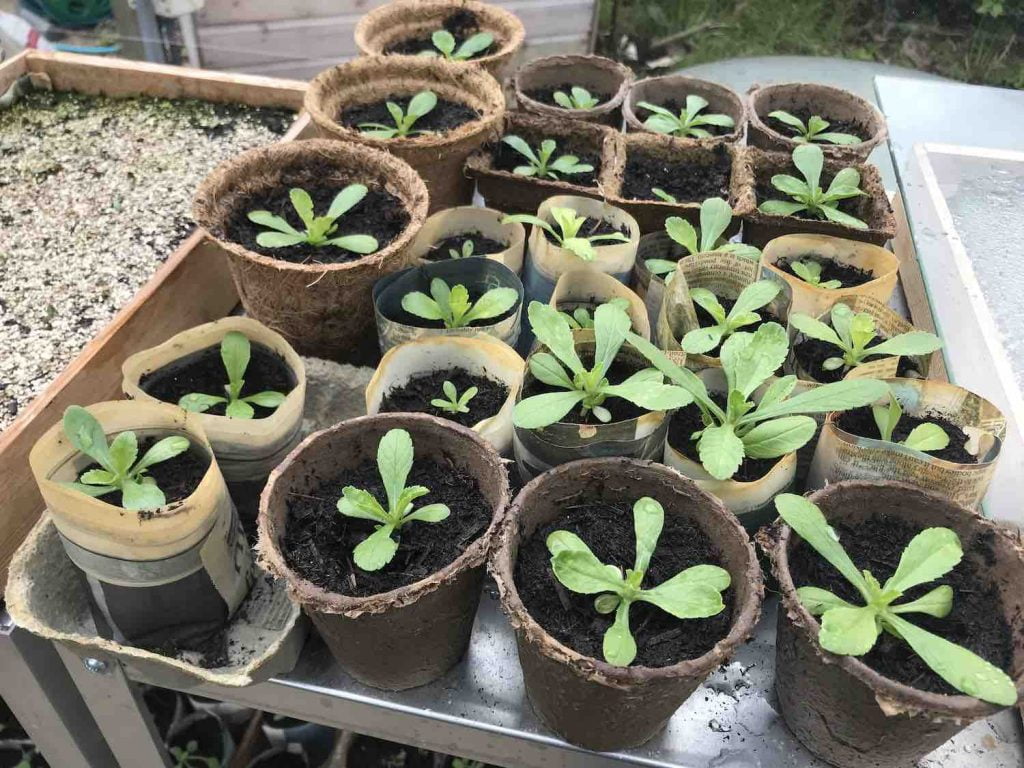
Don’t forget to label your seedlings, so you know which plants are which. It may sound obvious but in a greenhouse full of seedlings trying to identify them can become a right headache! Then you will soon have a tray of ‘potted on’ seedlings labelled and ready to grow on!
Pot choices for Pricking Out Seedlings
You may have seen that I’m Gardening without plastic this year at Garden Ninja HQ. If you want to read more about why this is a good thing, then there is a whole series of Plastic Free Gardening guides here.
Seedlings don’t require huge pots as a general rule (maybe sunflowers are the exception). I tend to choose 9-11cm pots for potting on. Below are a few examples with a summary of each. It’s a personal preference depending on budget and space.
Terracotta Pots
Terracotta is breathable, long-lasting and looks lovely. Instagram-worthy, and they stack inside each other when not in use. They are expensive and bulky for seedlings, though, and if you drop them..well. Smash.
Cardboard Pots
Cardboard plant pots are breathable and lightweight. They can be squashed together relatively efficiently to maximise space. They are not reusable and can become soggy if overwatered, so place them on a tray for rigidity purposes. However, you can plant them directly in the ground reducing root disturbance.
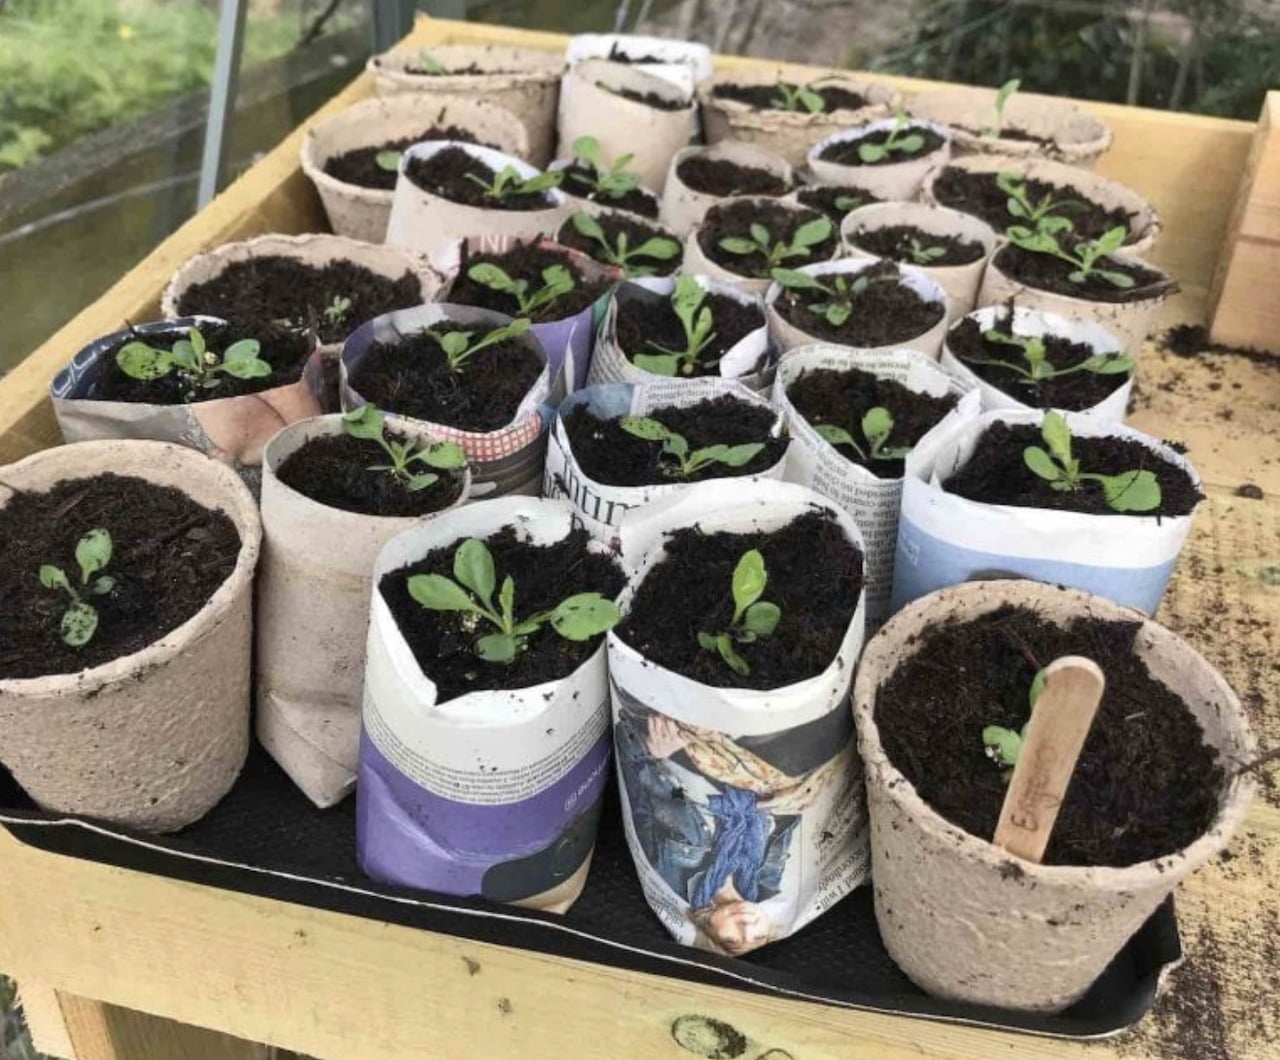
Newspaper seed pots
These are cheap, cheerful, and the ultimate in recycling. You can buy a jig online, which helps you make them easily. If not, a rolling pin (without handles) can help to wrap slips of newspaper round and then fold the bottoms under once you have slid them off (the jig is far easier, though).
The drawbacks are they don’t last long. They have a shelf life of 4-6 weeks. Again use a tray, so they hold their shape longer. You can plant these straight out. I like to use these when I’m pricking out seedlings to grow your own vegetables as they break down quickly in the ground.
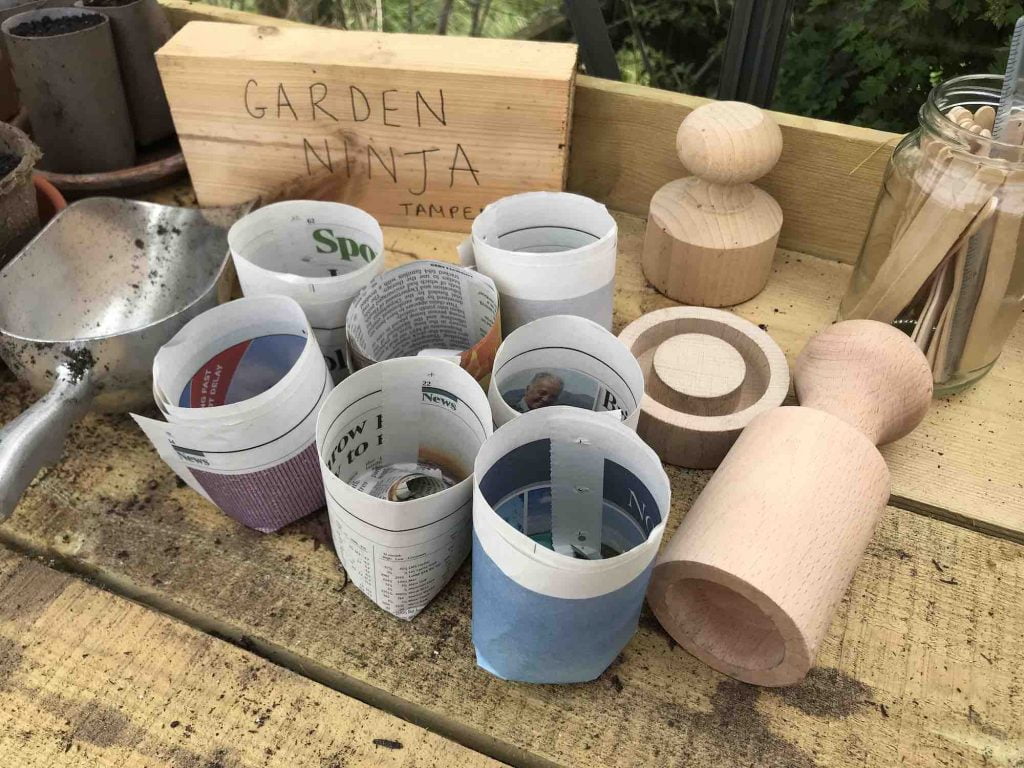
Paper pots are cheap and easy to make; especially with the jig on the right
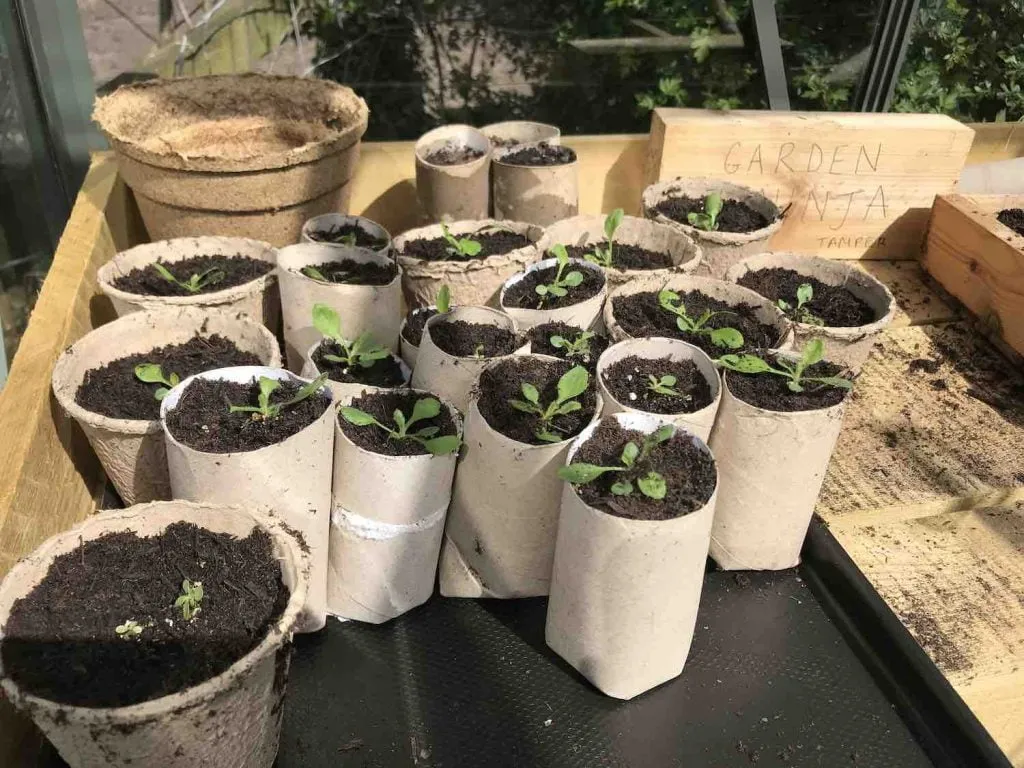
Toilet Roll Pots
Toilet roll pots are a great way to recycle and make excellent seedling pots, especially for deep-rooting seedlings like Peas. I fold over the ends to create the base. The drawback is they have a limited diameter for broader seedlings and can be unstable to stand up. I always use a tray for these.
So there we have it, a speedy no-fuss guide to pricking out seedlings and potting on (and not a plastic pot in sight). Once you’ve potted on your seedlings, you will need to keep them watered. They should establish relatively quickly before you can harden them off in a cold frame and then plant them out!
What is hardening off?
Hardening off is where you place young plants or seedlings into a staging environment, like a cold frame, to help acclimatise the plants to the lower outdoor temperatures. You need to harden off all plants that have been grown from seeds or cuttings indoors or in a greenhouse before putting them outside in the ground or containers.
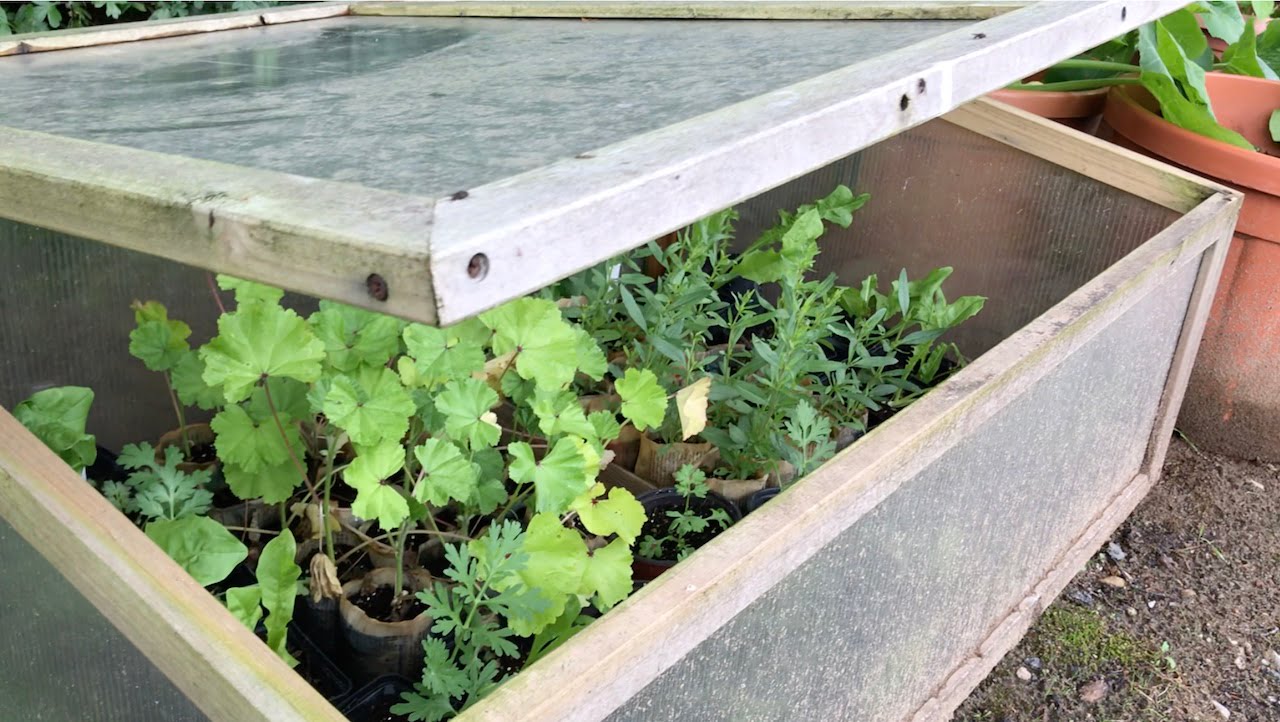
If you don’t harden them off, the sudden drop in temperatures can either kill them or damage their tender leaves. You only need to harden plants off for 7-10 days by using a cold frame outside, leaving them outside in the daytime, and then putting them back undercover in the evenings or when it’s frosty.

Summary
Pricking out seedlings is crucial for ensuring healthy growth and development in plants. By carefully transplanting seedlings from overcrowded trays or pots into individual containers or garden beds, gardeners provide each seedling with adequate space, nutrients, and growing conditions to thrive.
This process prevents competition for resources among seedlings, reduces the risk of disease transmission, and promotes strong root development. Additionally, pricking out allows gardeners to select the strongest and healthiest seedlings for continued growth, ensuring the overall success of the planting endeavour.
I’d love to hear back from you on your grow-your-own journey! How have your seedlings been getting on? Why not get in touch on Social media? You can Tweet, Facebook or Instagram me. You can also check out the other guides and vlogs on my Youtube channel.


Lee Burkhill
Lee Burkhill, known as the Garden Ninja, is an award-winning garden designer and horticulturist with over 30 years of gardening experience and 15 years as a professional garden designer. A qualified RHS (Royal Horticultural Society) professional, Lee specialises in sustainable garden design and practical horticultural advice. He designs and presents on BBC1’s Garden Rescue and in leading gardening publications. Lee combines three decades of hands-on gardening knowledge with professional design qualifications to help gardeners create beautiful, functional outdoor spaces.
View all posts by Lee Burkhill

Categories
Other posts
-

Start here: to begin your gardening journey! Read more
-
How to create a drought-tolerant garden: Plants, tricks & tips Read more
-
Top 15 Slug & Snail Proof Garden Plants Read more
-
The Beginner’s Guide to Keeping Bees: UK Gardener Guide Read more
-

Why Are My Conifers Dying and Turning Brown? Complete Diagnostic Guide Read more
-
Winter Vs Summer Pruning; what’s the difference? Read more