How to Start, Maintain or Revive a Compost Bin: Beginner’s Guide
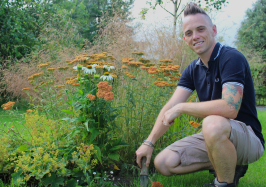
Lee Burkhill: Award Winning Designer & BBC 1's Garden Rescue Presenters Official Blog
Beginner level
Learn how to start, maintain or revive a compost bin with this beginner's guide to making compost at home with me the Garden Ninja! Discover the perfect greens to browns ratio, what to compost, troubleshooting tips for smelly or dry heaps, and how to create nutrient-rich compost for your UK garden in 9 to 18 months.
Making your own compost is one of the most rewarding things you can do as a gardener. Not only does it save you a fortune on bagged compost, but it’s also brilliant for the planet and turns your kitchen and garden waste into absolute gold for your soil. I’ve been gardening for a long time, and whilst designing gardens, putting together planting plans, and expert propagation techniques, it doesn’t really matter if the soil you’re working with isn’t enriched with decent compost.
I can honestly say that compost, the best soil improver, is the secret weapon behind every gorgeous garden I’ve designed or worked on.
Now, I know composting can seem a bit mysterious when you’re starting out. You might be worried about attracting rats, creating a smelly mess, or just not knowing what to chuck in. But trust me, once you understand the basics, making compost is actually dead simple. This guide will take you through everything you need to know to create beautiful, crumbly compost that your plants will absolutely love.
Why Bother Making Compost?
Before we dive into the how, let’s talk about the why behind compost. After all, so many experienced gardeners will happily chew your ear off about their composting methods, even over their favourite plant specimens!
Composting is essentially recycling organic matter back into your garden rather than sending it to a landfill, where it releases harmful methane gas. When food and garden waste go to landfills, they can’t decompose properly without oxygen, creating a greenhouse gas that’s about 25 times more potent than carbon dioxide.
In your compost bin, that same waste transforms into a nutrient-rich growing medium that improves your soil structure, helps retain moisture, and feeds your plants naturally. It’s sustainable gardening at its finest, and it costs you virtually nothing to make.
Plus, homemade compost is packed with beneficial bacteria and microorganisms that shop-bought compost just can’t match.
Your plants can tell the difference between lifeless bagged compost and living, breathing homemade stuff. I’ve seen it time and time again on my garden designs and on BBC Garden Rescue. Gardens with regular applications of homemade compost just thrive and it improves the soil far faster.
Choosing Your Compost Bin and Location
Right, let’s get you set up. You’ve got loads of options when it comes to compost bins, from fancy wooden beehive styles to those black plastic Dalek bins that councils often give away cheaply or even free. However, it’s not the style or type of compost bin that matter most; it’s the size and location.
The ideal size is about a metre cubed, which gives you enough mass for the composting process to work efficiently. Which even in the smallest gardens can be accommodated, especially behind the shed or down the side of your house.
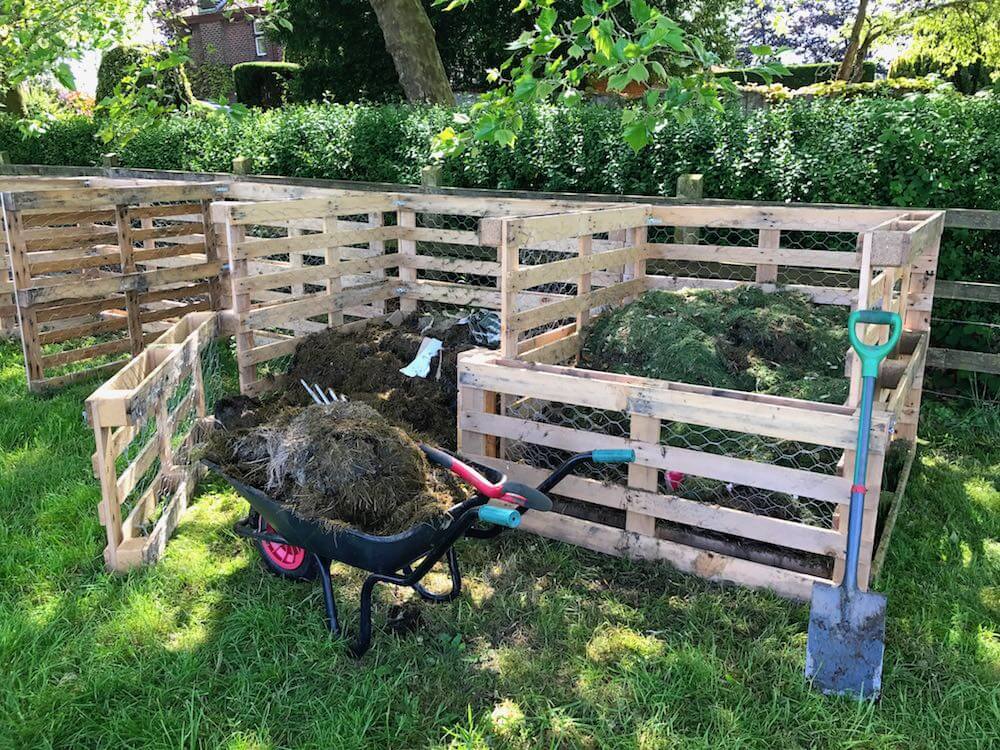
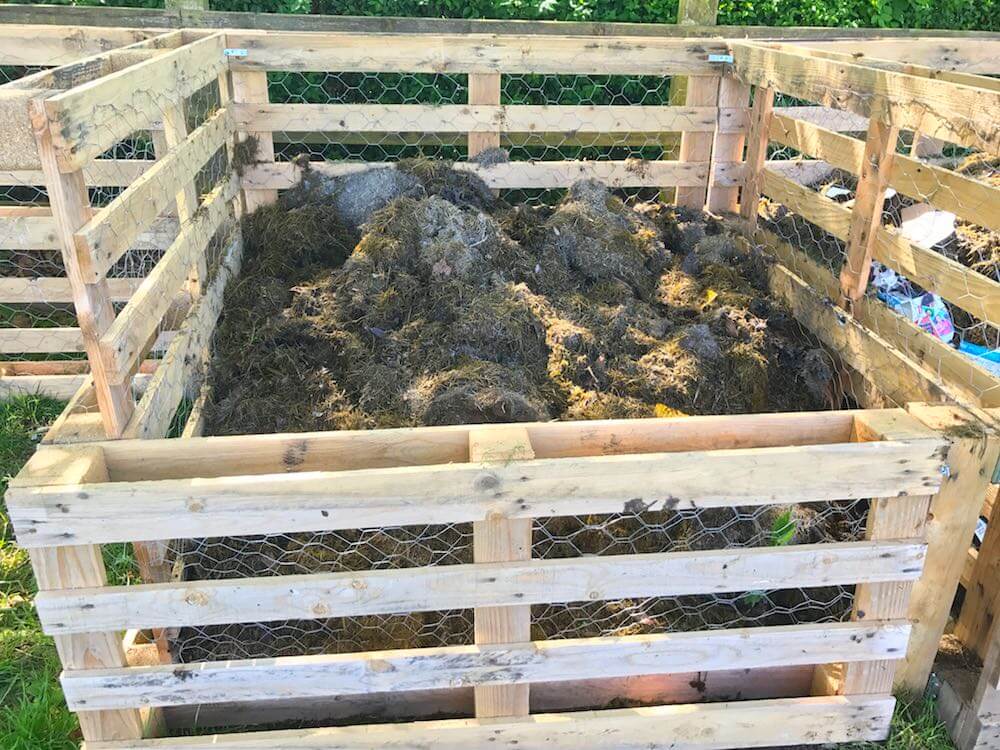
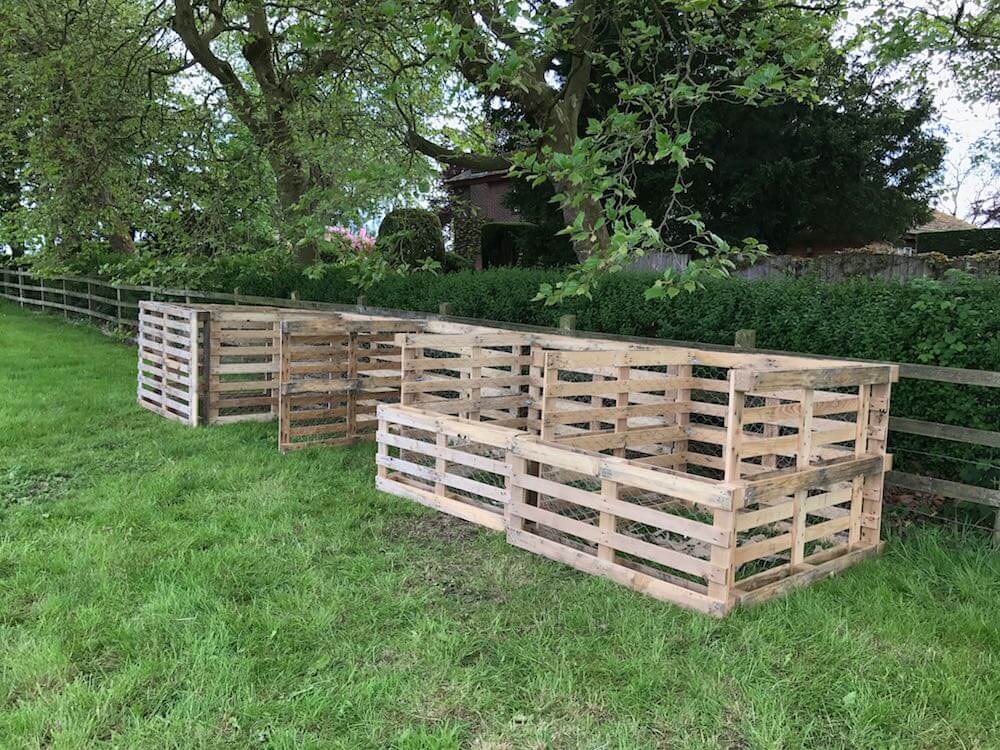
If you’re handy with a drill, you can make a brilliant compost bin from four wooden pallets tied together with string or screwed at the corners. Make one side removable so you can easily get at the finished compost when it’s ready. This is what I use at Garden Ninja HQ, and it’s bombproof.
Location wise, you want somewhere on bare soil if possible.
This allows worms and other helpful creatures to move in and out freely, and it lets any excess liquid drain away naturally. If you absolutely have to put your bin on concrete or paving, consider lifting the flag or breaking it up with a lump hammer. You can’t make decent compost without a good connection to real earth. Trying to make compost on flags takes a lot of green and brown matter and skill, so if you can site your bins on earth or turf.
Pick a spot that’s reasonably accessible from your kitchen and garden but not right next to your patio, where any occasional whiff might bother you. A bit of sun helps warm things up and speed decomposition, but it’s not essential.Shade is fine too, it’ll just take a bit longer.
Understanding Greens and Browns
Here’s where the magic happens. Successful composting is all about balancing two types of materials, which we call greens and browns. Get this ratio right, and you’ll have gorgeous compost.
Get it wrong, and you’ll end up with a slimy, smelly mess or a dry heap that never breaks down.
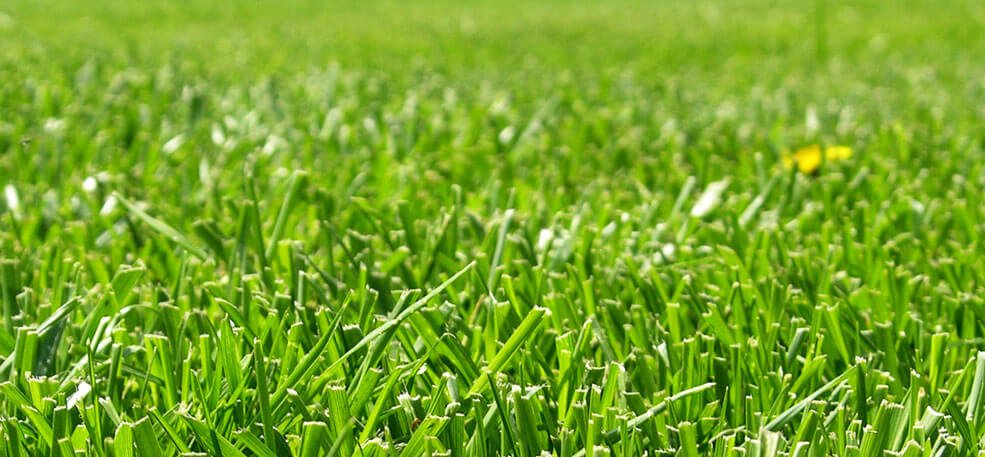
Green materials are nitrogen-rich and include things like grass clippings, vegetable peelings, fruit waste, fresh plant cuttings, tea bags, and coffee grounds. These are the ingredients that heat up your compost pile and feed all those busy bacteria doing the decomposing work.
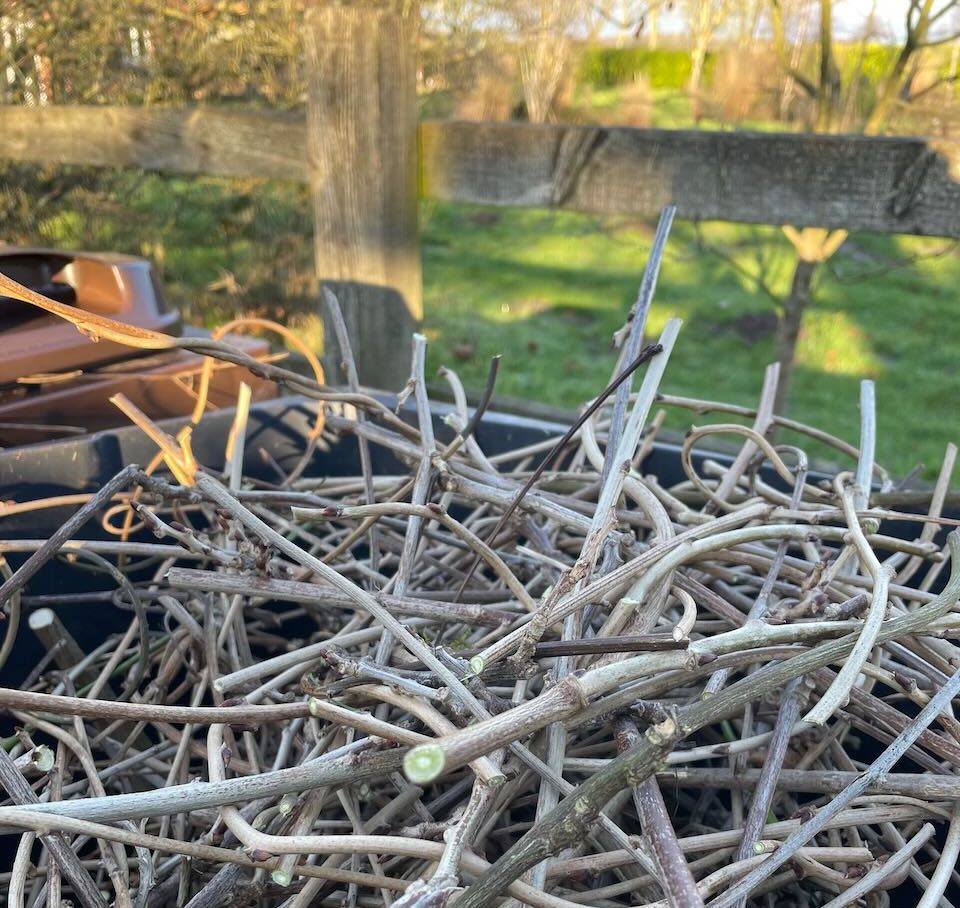
Brown materials are carbon rich and include dried leaves, shredded cardboard, scrunched up paper, wood chips, straw, and small twigs. Browns provide structure to your compost, create air pockets, and balance out the wet greens. Think of them as the scaffolding that stops everything turning into a soggy mess.
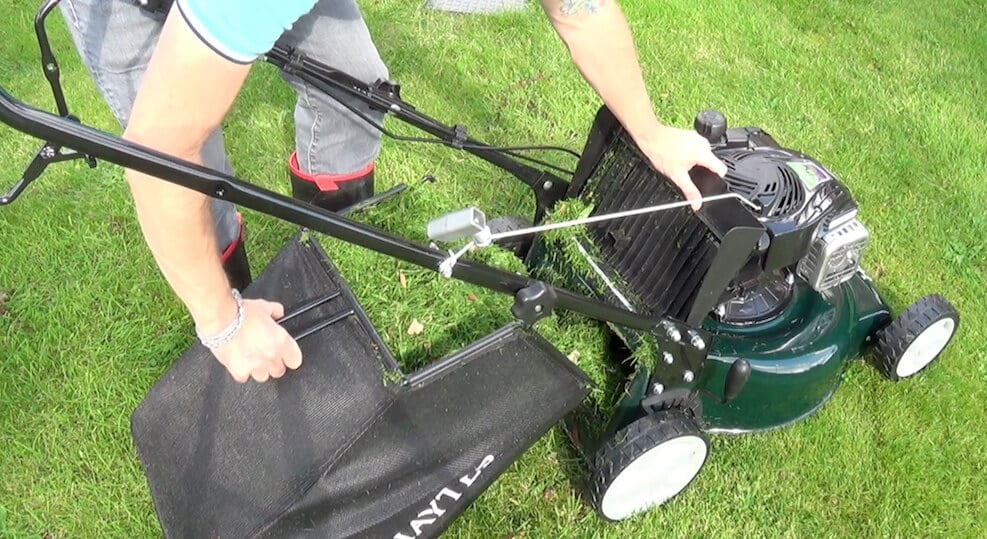
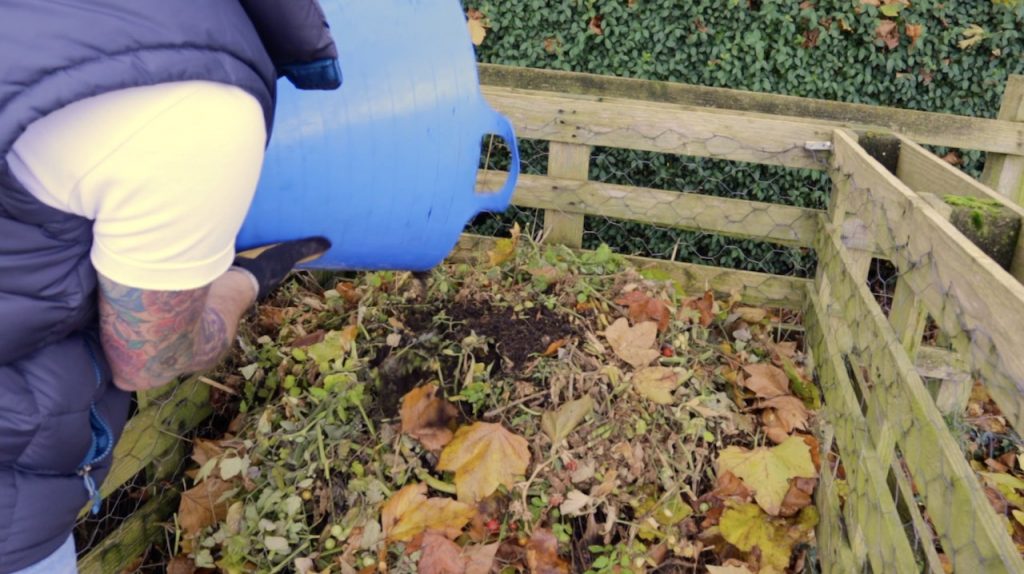
The golden ratio you’re aiming for is roughly 50 50, or perhaps slightly more browns than greens if anything. In practice, this means if you’ve just cut your lawn and have a wheelbarrow full of grass clippings, don’t just dump them all in at once. Mix them with shredded cardboard, scrunched newspaper, or dried leaves to keep things balanced.
Layer your materials like a lasagne rather than dumping everything in one go. A bit of green, a bit of brown, keep alternating. This helps maintain that balance and keeps air flowing through your heap.
What You Can Compost
Once you start composting, you’ll be amazed at how much of your household waste can go in the bin. Here’s what gets the green light from me:
Tea bags (check they’re plastic-free) and loose tea leaves
Coffee grounds and paper filters
Crushed eggshells (brilliant for adding calcium)
Grass clippings (in moderation and mixed with browns)
Soft plant prunings and spent bedding plants
Annual weeds (but not perennial ones with roots)
Shredded paper, cardboard, and newspaper
Wood ash from your fire (in small amounts)
Hair from your hairbrush (sounds odd, but it’s brilliant nitrogen)
Cotton and wool fabric scraps
Straw and hay
Herbivore pet bedding (rabbits, guinea pigs, chickens)
Chop up any large items before adding them. Smaller pieces break down much faster than massive woody stems or whole vegetables.
What NEVER to Compost
Now, this bit is crucial because putting the wrong things in your compost can cause all sorts of problems from attracting vermin to spreading diseases around your garden.
Here’s my absolute no no list:
Any cooked food, including cooked vegetables
Meat, fish, bones, and dairy products (these attract rats)
The rule of thumb is simple: if it once lived and grew, it can probably be composted. If it’s been cooked, processed, or comes from a meat eater, keep it out.
Your standard cold compost heap doesn’t get hot enough to kill off pathogens from meat or cooked food, which is why these attract pests and spread problems.
Turning and Maintaining Your Heap
Right, you’ve got your bin set up and you’re adding materials regularly. Now what? The key to good compost is aeration, which is a posh way of saying it needs air.
Turn your compost every couple of months with a garden fork or spade. This mixes everything up, introduces fresh oxygen, and moves the outer material into the middle where it’s warmer and breaks down faster. It’s a bit of work, but it massively speeds up the composting process.
If you can’t be bothered turning it, don’t worry. It’ll still make compost, it’ll just take longer. I know plenty of gardeners who never turn their heaps and still end up with decent compost after 18 months to 2 years.
Keep an eye on moisture levels too. Your compost should feel like a wrung-out sponge, damp but not dripping wet. If it’s too dry and nothing seems to be happening, water it with a hose or watering can. If it’s too wet and smelly, add more brown materials and give it a good turn to introduce air.
How to Reactivate or Restart a Compost Heap
Right, let’s talk about bringing a dead or dormant compost heap back to life. Maybe you’ve inherited a garden with an abandoned bin full of half-decomposed stuff, or perhaps your own heap has gone cold and stagnant over winter. Don’t worry, it happens to the best of us, and it’s absolutely fixable.
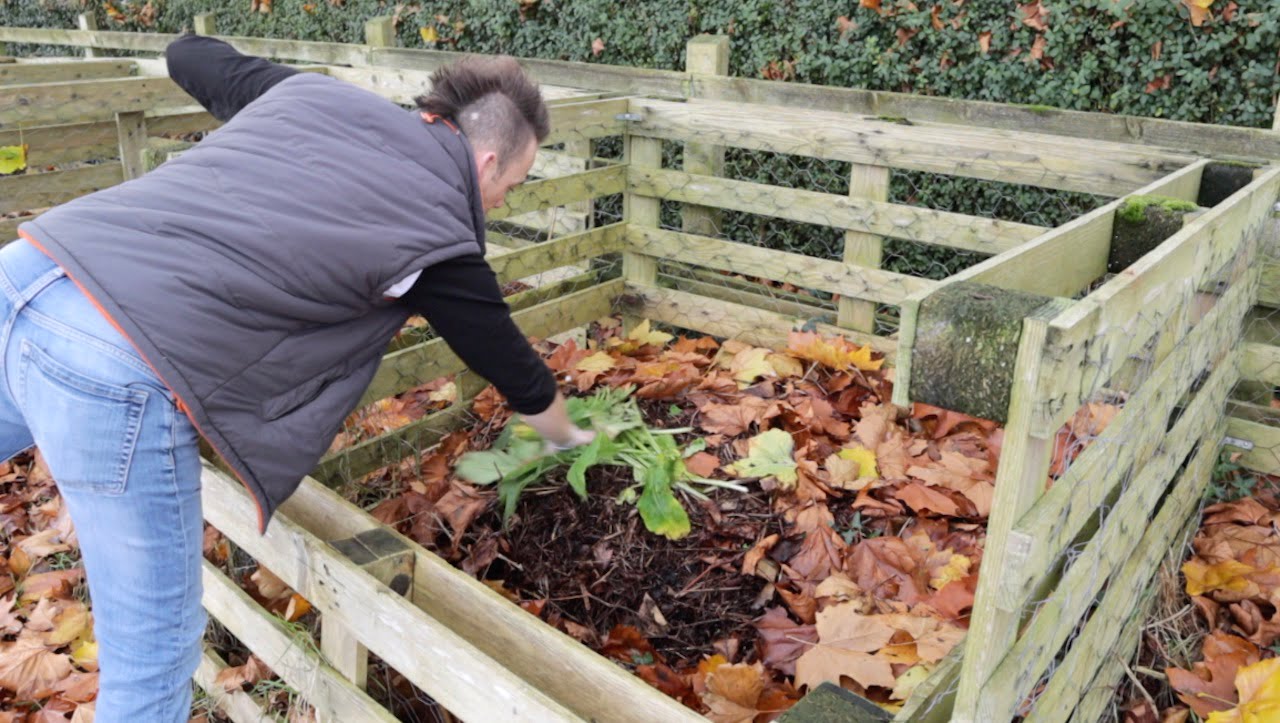
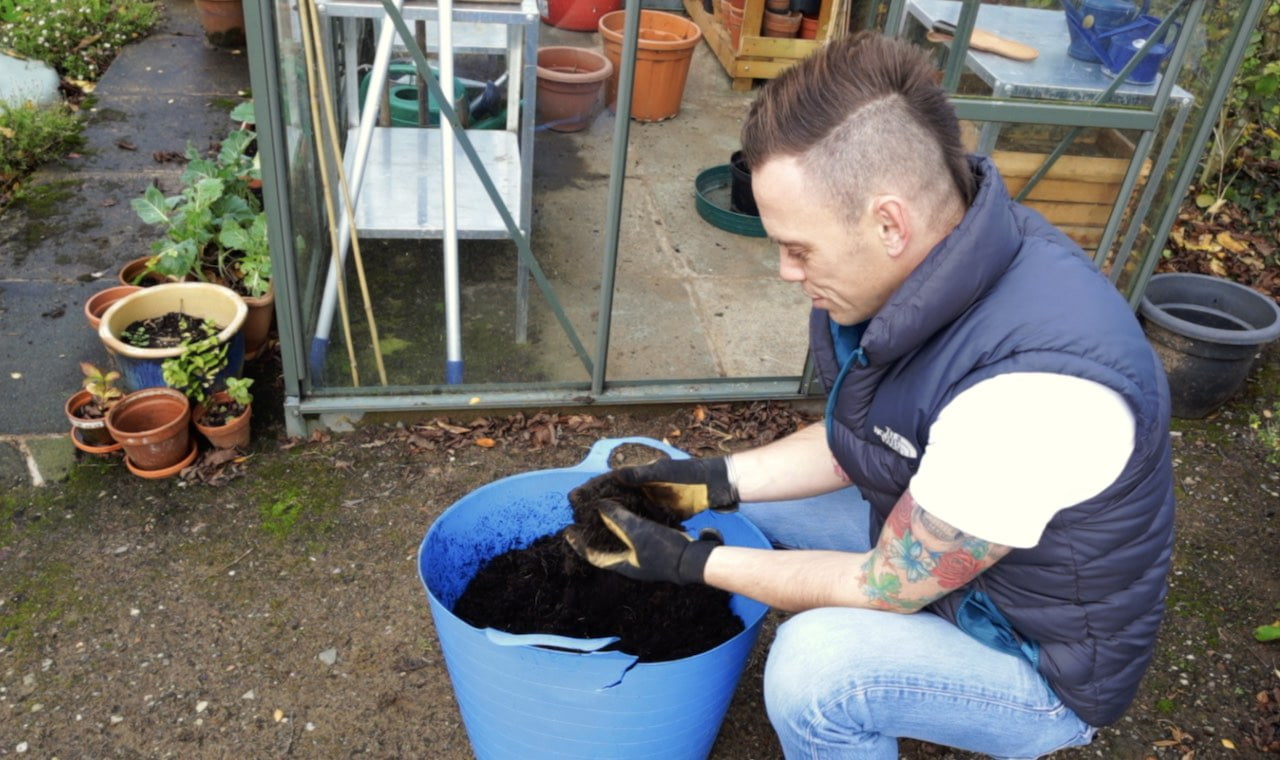
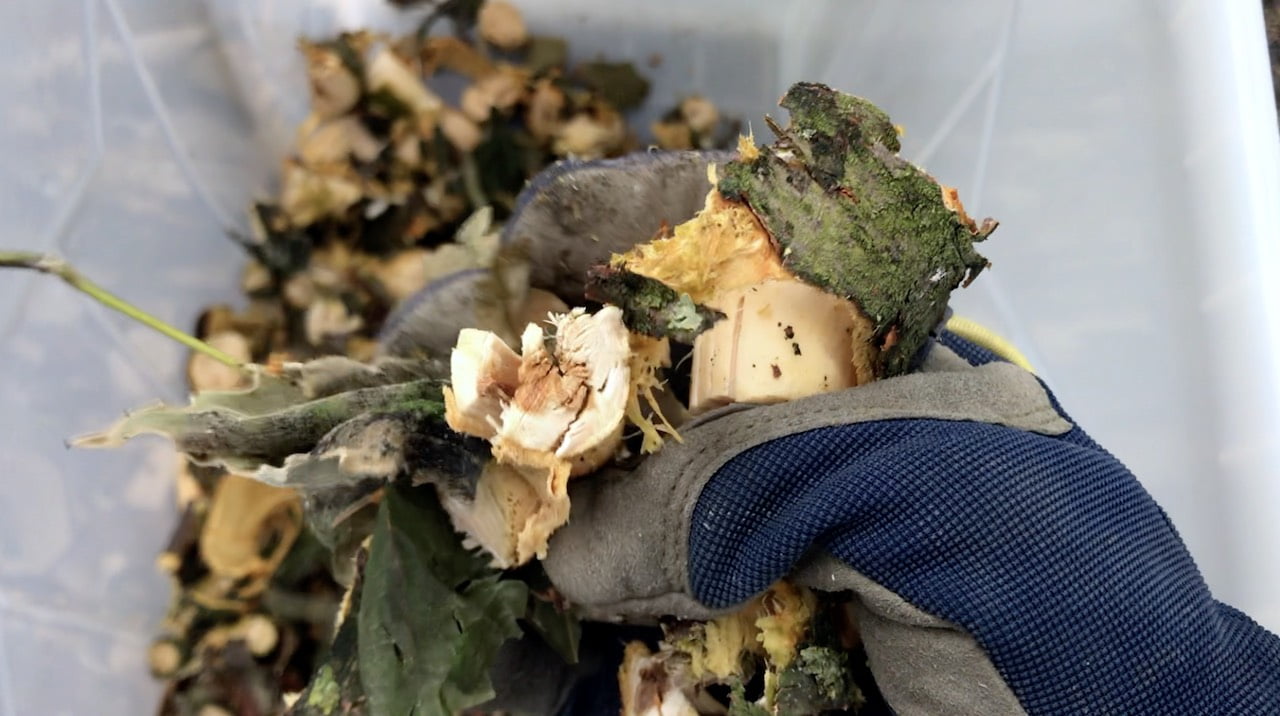
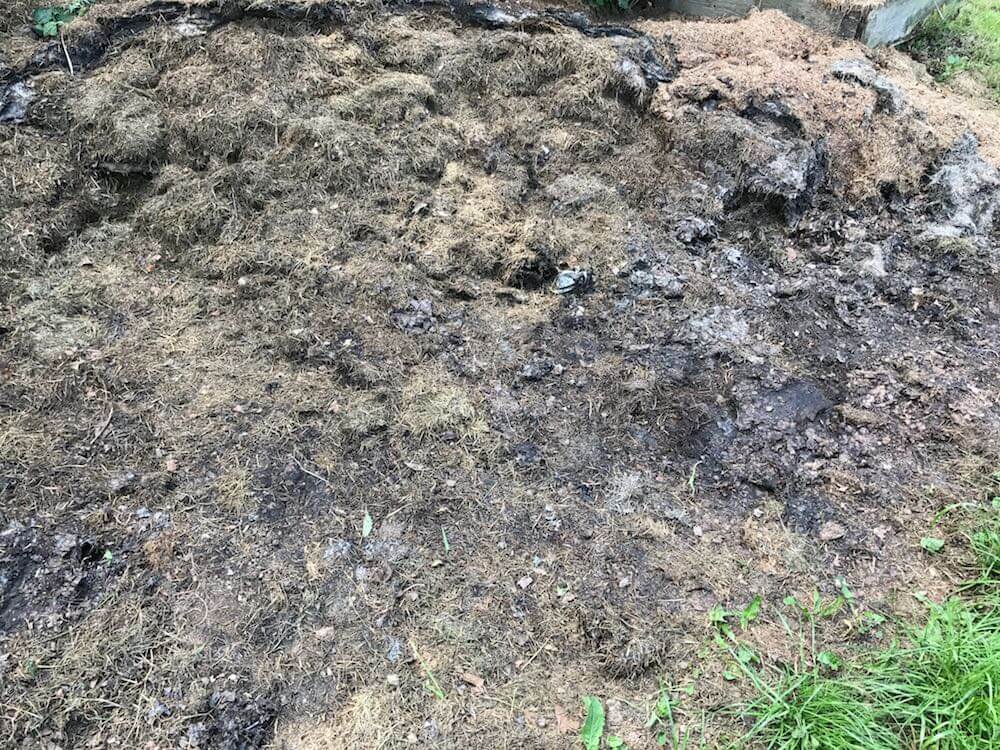
The first step is diagnosis. Empty your bin completely onto a tarp or directly onto bare ground so you can see what you’re dealing with. This might seem like extra work, but trust me, it’s worth it. You need to assess the moisture level, the material balance, and whether there’s anything in there that shouldn’t be.
As you’re emptying, sort through the contents. Remove any large uncomposted items like thick branches, whole vegetables that never broke down, or anything that shouldn’t be there in the first place. These can go back in later once you’ve got things restarted, but chopped up much smaller this time.
Now look at what you’ve got. Is it bone dry and dusty? That’s your problem right there. Dry compost has no active bacteria because they need moisture to survive and do their decomposing work. If it’s dry, you’ll need to add significant moisture as you rebuild the heap.
Is it a wet, slimy, compacted mess that smells awful? Then you’ve got too many greens, not enough air, and probably too much moisture. This needs browns adding and proper aeration to get oxygen flowing through again.
Here’s how to restart your compost heap properly.
Start with a layer of twiggy material or scrunched-up cardboard at the bottom for drainage and air flow. Then begin layering your sorted compost back in, but this time you’re going to fix the problems as you go.
A) If it was too dry
If your compost was too dry, water each layer thoroughly as you rebuild. Use a hose or watering can and really soak it until it’s uniformly damp like a wrung-out sponge. Add fresh green materials every few layers, things like grass clippings, vegetable peelings, or nettles if you can get them.
These nitrogen rich greens will kickstart bacterial activity and generate the heat needed to get decomposition going again.
B) If it was too wet
If your compost was too wet and slimy, you need to do the opposite. Mix in loads of brown materials as you rebuild, shredded cardboard is absolutely brilliant for this because it’s absorbent and creates air pockets. Add dried leaves, straw, or scrunched newspaper between each layer of the old compost. This will soak up excess moisture and introduce the structure your heap desperately needs.
For really stubborn heaps that have been neglected for years, consider adding a nitrogen boost to supercharge the restart.
A bucket of fresh manure from herbivores like horses or chickens, a load of grass clippings, or even diluted urine (sounds mad but it’s brilliant for this) will inject nitrogen and wake up those dormant bacteria. Comfrey or nettle leaves are also absolute weapons for this if you’ve got them growing nearby.
Once you’ve rebuilt your heap with the right moisture level and material balance, give it a really good mix with a garden fork. You want everything properly combined, not sitting in distinct layers anymore. This introduces oxygen throughout the heap, which is essential for aerobic decomposition.
Cover your reactivated heap with an old carpet, piece of cardboard, or the bin lid to trap heat and moisture. Within a week or two, if you’ve done it right, you should notice the centre of your heap warming up significantly. That’s the bacteria getting back to work, and it’s a brilliant sign that decomposition has restarted.
Keep monitoring your reactivated heap over the next few weeks. Check moisture levels regularly and add water if it’s drying out. Turn it again after a month to keep oxygen levels up and redistribute materials. Start adding fresh kitchen and garden waste as normal, but remember to maintain that greens to browns balance we talked about earlier.
If you’re restarting a heap in late autumn or winter, be patient. Cold weather slows everything down, but that doesn’t mean it’s not working. Your heap will really kick off once spring warmth arrives, so just keep adding materials through winter and it’ll come roaring back to life when temperatures rise.
Sometimes the best solution for a truly awful compost situation is to start completely fresh. If your heap is full of perennial weeds that have rooted in, diseased material, or rat nests, honestly, it might be easier to dispose of the contents and begin again from scratch. There’s no shame in admitting defeat and starting over with the knowledge you’ve now got. Your next heap will be infinitely better.
Troubleshooting Common Problems
My Compost Smells Terrible
A properly maintained compost heap should smell earthy and pleasant, not like rotting rubbish. If yours stinks, you’ve probably got too many greens or it’s too wet and compacted. Add loads of browns like shredded cardboard or dried leaves, give it a really good turn, and it should sort itself out within a week or two.
Nothing’s Happening
If your heap is just sitting there doing nothing, it’s likely too dry or too cold. Water it thoroughly, add some fresh green materials like grass clippings or vegetable peelings to heat things up, and give it a turn. Make sure your heap is big enough too, as small heaps struggle to maintain the heat needed for decomposition.
I’ve Got Flies or Ants
Fruit flies are attracted to exposed food waste. Simply bury any fresh kitchen scraps under a layer of browns and they’ll disappear. Ants usually mean your heap is too dry, so water it well and they’ll move on. Never use ant powder or pesticides on a compost heap, as you’ll kill all the beneficial creatures doing the decomposing work.
I’m Worried About Rats
Rats are after food, not compost itself. As long as you’re not putting any cooked food, meat, fish, or dairy in your bin, you shouldn’t have problems. Keep the area around your bin tidy, and make sure your bin has a lid. If you do spot rats, stop adding kitchen waste for a few weeks and stick to garden waste only until they lose interest.
How Long Does Composting Take?
This is the question everyone asks, and the honest answer is: it depends. With a well maintained heap that’s turned regularly, has a good greens to browns mix, and stays moist, you can have usable compost in as little as 3 to 6 months during the warmer months.
More realistically, expect your compost to take anywhere from 9 to 18 months to fully break down. Garden waste added in spring and summer will generally be ready by the following spring. Autumn and winter additions might take until the summer after that.
The finer you chop materials before adding them, the faster they’ll decompose. Turning your heap regularly speeds things up enormously. And composting is always faster during warm weather when bacteria are more active.
Don’t expect perfection either. Finished compost might still have a few twigs, the odd eggshell fragment, or bits that haven’t fully broken down. Just sieve these out and chuck them back in the bin for next time. Your plants won’t mind slightly lumpy homemade compost; it’s still infinitely better than anything you can buy.
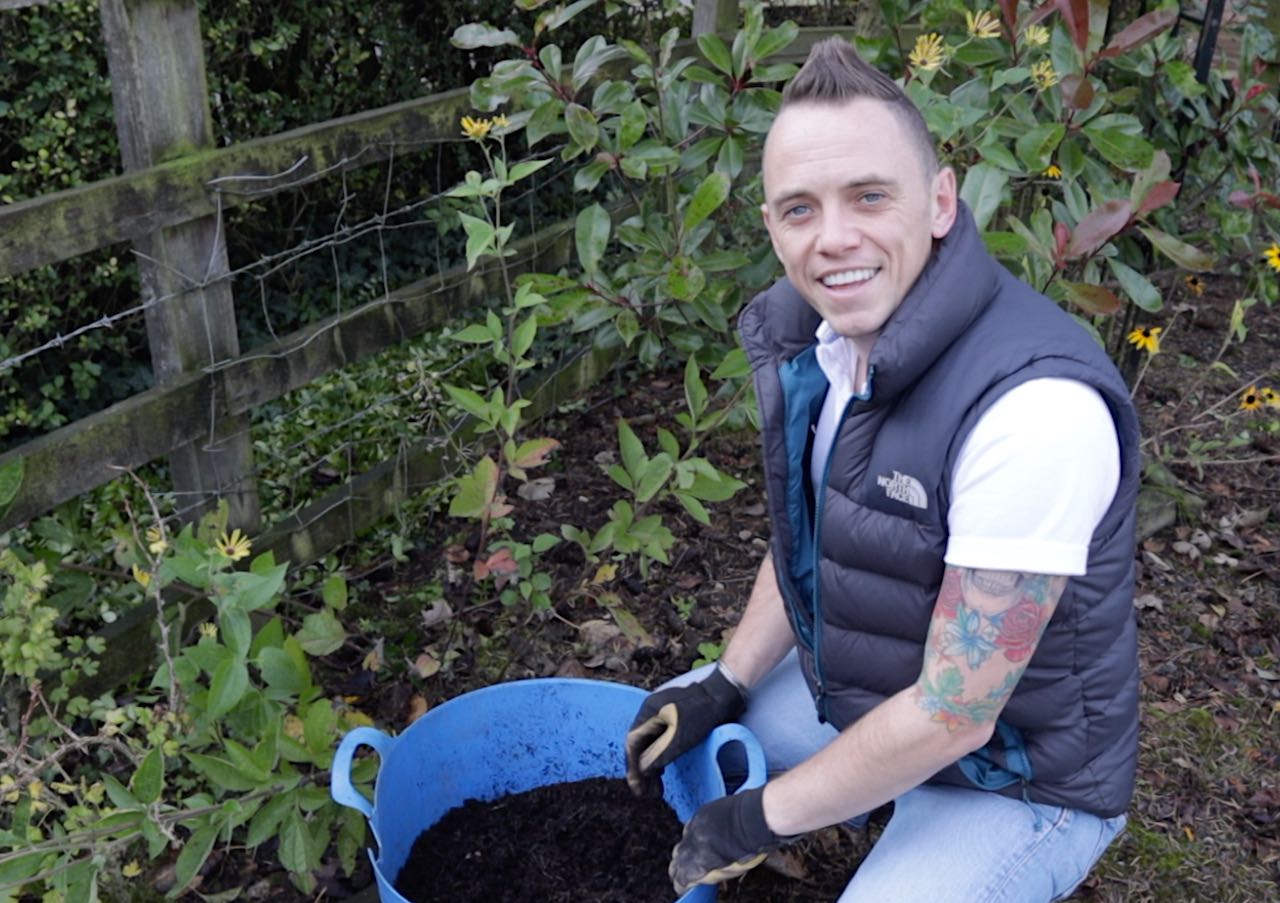
Using Your Finished Compost
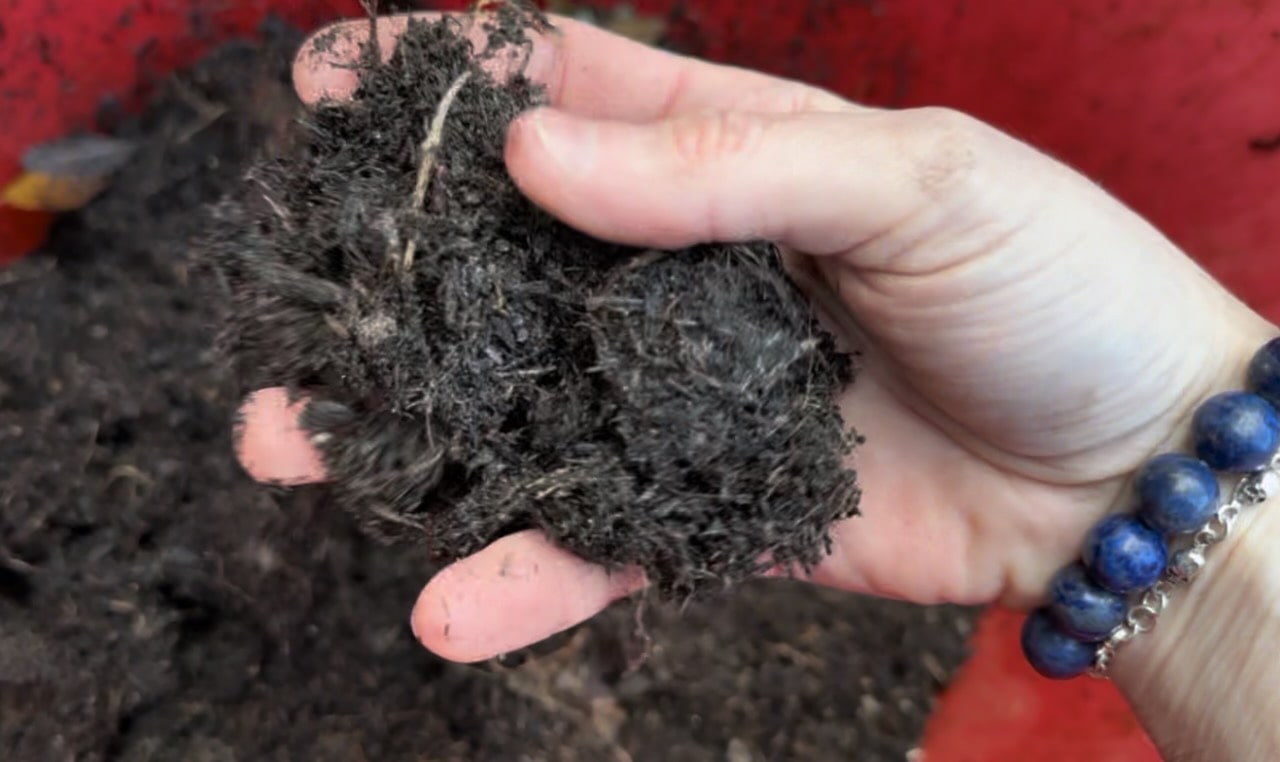
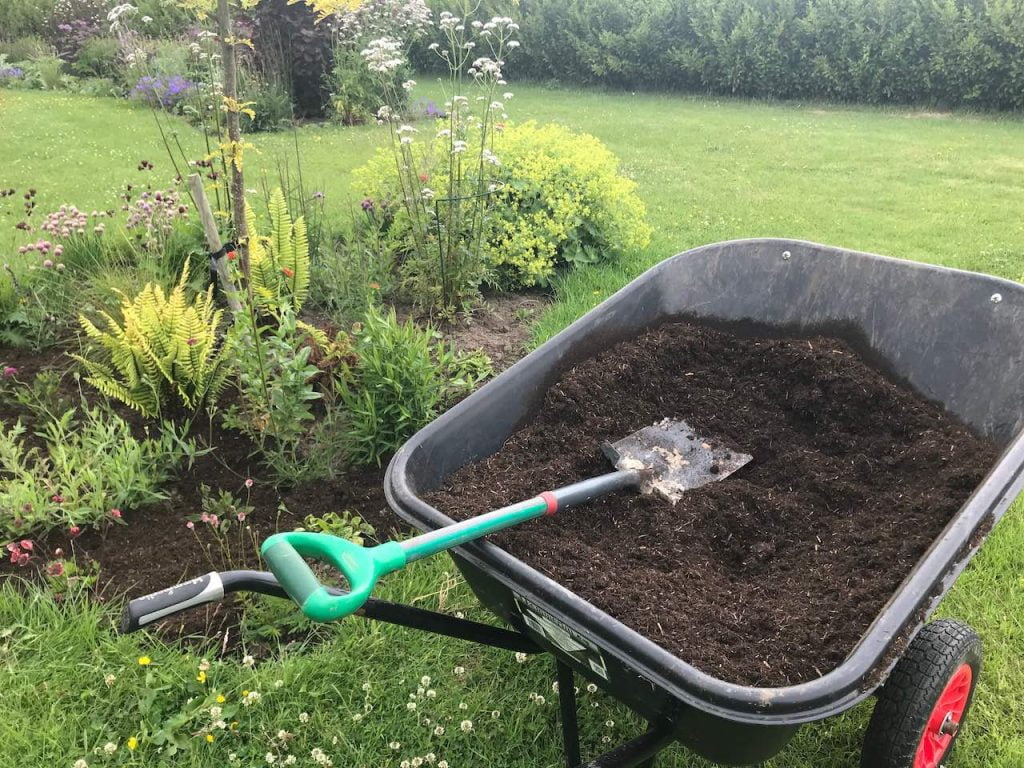
You’ll know your compost is ready when it’s dark brown to black, crumbly, and smells lovely and earthy. It should look a bit like rich soil, though probably lumpier than shop-bought stuff. This is when the magic really happens.
Use finished compost as a mulch around established plants, spread it 2 to 3 inches thick over your beds in autumn or spring. This feeds the soil gradually, suppresses weeds, and helps retain moisture. It’s the same principle I explain in my mulching guide, and it’s absolutely transformative for garden soil.
You can dig it into vegetable beds before planting, mix it with topsoil for containers, or use it as a top dressing for tired-looking lawns. For really fine compost, you can even sieve it and mix it with other ingredients to make your own seed sowing compost, just like I do with my homemade leaf mould.
If you’re reusing old potting compost from containers, mixing in fresh homemade compost brings it back to life beautifully. It’s all about working with nature to recycle nutrients back into your garden.
The Sustainable Gardening Connection
Composting sits right at the heart of sustainable gardening. Instead of buying peat-based compost that destroys precious wetland habitats or sending waste to a landfill that creates greenhouse gases, you’re creating a closed-loop system in your own garden.
Every bin bag of kitchen and garden waste you compost is one less going to landfill. Every wheelbarrow of homemade compost you spread is money saved and carbon emissions avoided from manufacturing and transporting bagged products.
Combine your composting with making leaf mould from autumn leaves (check my detailed leaf mould guide if you haven’t already), and you’ve got both your main soil amendments sorted without spending a penny or leaving your garden. That’s proper sustainable gardening, and it’s how I’ve gardened for decades.
Frequently Asked Questions
Can I compost in winter?
Absolutely! Keep adding to your bin year-round. Decomposition slows down in cold weather but doesn’t stop completely. Your autumn and winter additions will properly kick off once spring warmth arrives.
Do I need two compost bins?
It’s helpful but not essential. With two bins, you can fill one while the other is maturing. But if you only have space for one, you can still make excellent compost by working from the bottom. Add to the top, harvest finished compost from the bottom.
Should I add compost accelerator?
Honestly? Save your money. These products claim to speed things up, but a good balance of greens and browns with regular turning works just as well. If you want to give your heap a boost, add nettles or comfrey leaves instead, they’re natural accelerators packed with nitrogen.
Can I compost citrus peel?
Yes, despite what you might read online. Citrus peelings doe take longer to break down and can slow things temporarily, but it’s absolutely fine in a home compost bin. Just chop it up small and don’t add massive amounts at once.
What about grass clippings?
Grass clippings are brilliant for compost, but can turn into a slimy, smelly mess if you add too many at once. Always mix grass with plenty of brown materials like cardboard or dried leaves. If you’ve got loads, pile them up separately and add them gradually over a few weeks.
My compost has loads of worms, is this good?
Brilliant news! Worms are absolute heroes in a compost heap. They speed up decomposition, and their castings are incredibly nutrient-rich. The more worms you’ve got, the better your compost will be.
How do I know when my compost is ready?
Ready compost is dark brown, crumbly, smells earthy (not rotten), and you can’t recognise the original materials. If you can still see whole vegetable peelings or grass clippings, it needs more time. Squeeze a handfu,l and it should clump slightly but not drip water.
Can I make compost faster?
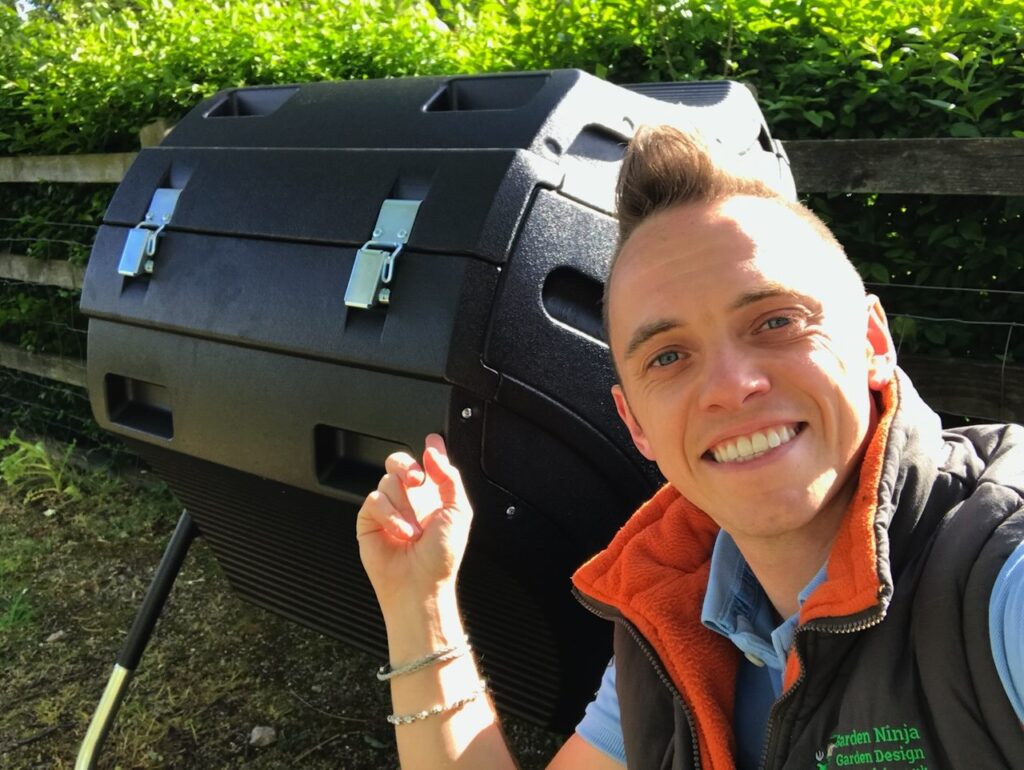
Yes! Chop materials small before adding them, maintain good moisture levels, turn your heap every 2 to 3 weeks, and keep the balance of greens to browns spot on. Hot composting methods can produce finished compost in 4 to 6 weeks, but they need more effort and attention. One of the best ways to make compost fast is with a compost tumbler!
Join the Garden Ninja Community
Making compost is just one part of building a gorgeous, sustainable garden. If you want to learn more about organic gardening techniques, check out my online garden design courses where I cover everything from soil health to planting design.
29
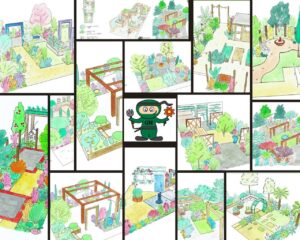
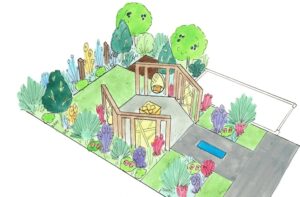
Garden Design Examples for Small Gardens: 30 Design Templates & Planting Plans
Garden Design Examples for Small Gardens: 30 Design Templates & Planting Plans: In this online gardening course, I’ll walk you through 30 fantastic garden designs, explaining the logic behind the layout, the plant choices, and take-home tips for applying them in your own garden.
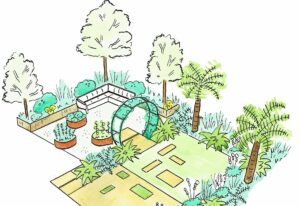
Weekend Garden Makeover: A Crash Course in Design for Beginners
Learn how to transform and design your own garden with Lee Burkhills crash course in garden design. Over 5 hours Lee will teach you how to design your own dream garden. Featuring practical design examples, planting ideas and video guides. Learn how to design your garden in one weekend!
Garden Design for Beginners: Create Your Dream Garden in Just 4 Weeks
Garden Design for Beginners Online Course: If you want to make the career jump to becoming a garden designer or to learn how to design your own garden, this is the beginner course for you. Join me, Lee Burkhill, an award-winning garden designer, as I train you in the art of beautiful garden design.
Got questions about your composting setup? Head over to the Garden Ninja forum where our community of fellow gardening Ninjas can help troubleshoot any problems. There are loads of experiences there, and everyone’s friendly and helpful.
Now get out there and start composting! Your garden will thank you for it, your wallet will thank you for it, and frankly, the planet will thank you for it, too.
Lee Burkhill, known as the Garden Ninja, is an award-winning garden designer and horticulturist with over 30 years of gardening experience and 15 years as a professional garden designer. A qualified RHS (Royal Horticultural Society) professional, Lee specialises in sustainable garden design and practical horticultural advice. He designs and presents on BBC1’s Garden Rescue and in leading gardening publications. Lee combines three decades of hands-on gardening knowledge with professional design qualifications to help gardeners create beautiful, functional outdoor spaces.