Behind the Scenes: How I Actually Design Gardens for BBC Garden Rescue | Lee Burkhill
Lee Burkhill: Award Winning Designer & BBC 1's Garden Rescue Presenters Official Blog
Expert level
Wondering what my design process is when it comes to Garden Rescue? Well the honest answer is it's very similar to my regular design workflow, with a few caveats and other considerations. This guide will walk you through how I create so many TV garden makeovers each year! Grab a brew and let me show you!
After presenting over 60 gardens on BBC Garden Rescue, viewers always ask me the same question: “How do you come up with designs so quickly?” The truth is, there’s a systematic process I use on every single project, the same one I teach in my online courses.
Let me pull back the curtain and show you exactly how I approach each Garden Rescue design challenge, from that first site visit to the final reveal. What you see condensed into 45 minutes of television actually represents years of refined methodology that you can learn to apply to your own garden, whether you’re starting from scratch or looking to transform what you already have.
The 48 Hour Reality: What Actually Happens
Before the cameras even arrive, there’s a tremendous amount of preparation work that viewers never see. Garden Rescue operates on incredibly tight schedules; we’re talking about transforming entire gardens in just a few days of filming.
The design element, though, can sometimes happen even faster. From the moment I receive the site survey to presenting my design to the homeowners, I sometimes only have 48 hours to get the design ready for approval.
There is a caveat with this. Sometimes I may have more time, maybe a few weeks with the earlier ones, but at its tightest, with my own garden design practice in full swing during springtime, I may only have a couple of days to get the final design ready for approval.
That might sound impossibly quick, but here’s the real challenge that makes it even harder: I don’t visit the garden before designing.
That’s right. Everything you see me create for Garden Rescue is designed from detailed site surveys, videos, photographs, and written information about the homeowners and their needs. I’m designing a complete garden transformation for a space I’ve never physically stood in, for people I’ve never met, with a budget that’s already fixed.
The jeopardy is absolutely real. If I’ve misread the survey levels, underestimated how overlooked an area is from the photographs, or failed to spot a drainage issue that’s only obvious when you’re standing there in the rain, there’s no going back once the design is chosen and the build begins.
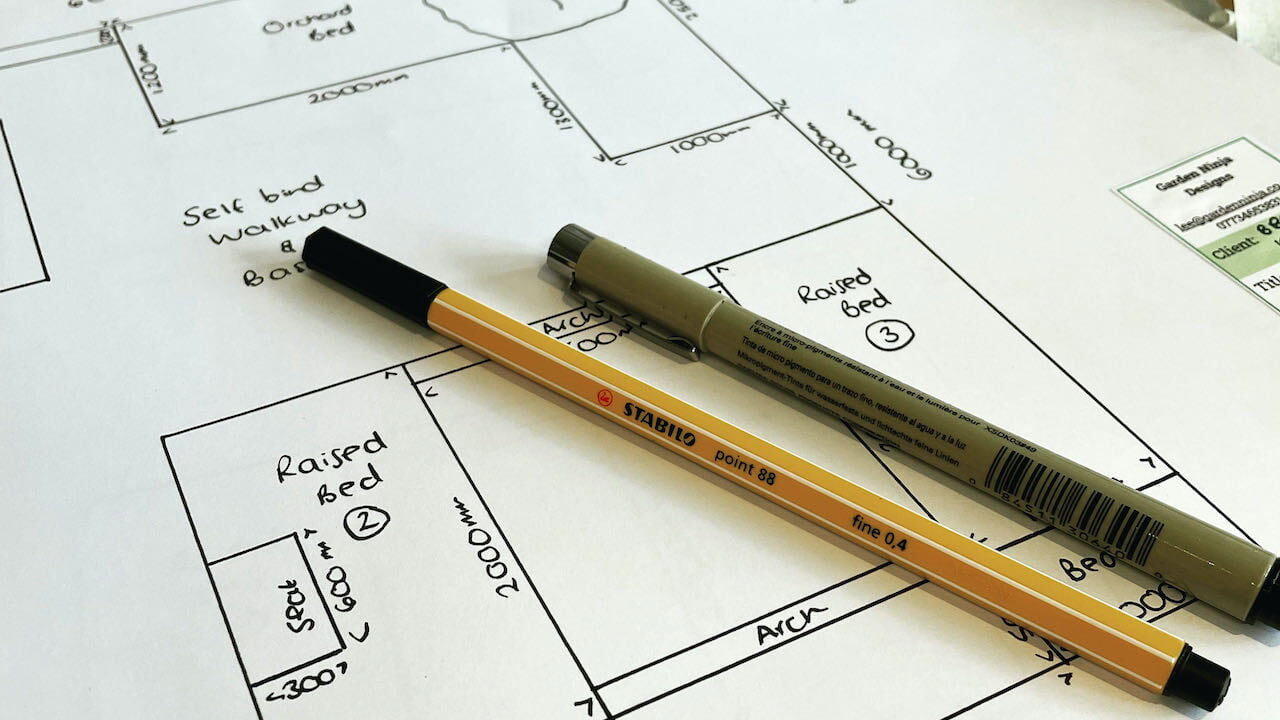
The production team briefs me before sending the pack, providing basic information about the homeowners, their budget, and what they hope to achieve. Then I receive a comprehensive site survey with measurements, photographs from multiple angles, videos walking through the space, details about orientation and sun patterns, soil conditions, and any existing features or constraints.
I’ll often sketch rough ideas as soon as I’ve reviewed the materials, considering what might work for that particular situation based on similar projects I’ve done before. This pre-thinking is crucial because it means when I start the actual design work, I’m not starting from a completely blank canvas. I’ve already got several potential approaches forming in my mind.
What makes Garden Rescue unique is the pressure of those cameras, the compressed timeline, and the knowledge that millions of viewers will see the result. There’s no hiding behind endless revisions, no opportunity to say “actually, now I’ve seen it in person, let me redesign everything,” and no safety net if I’ve made a fundamental error in interpreting the site information.
The design has to work, it has to be buildable within the budget and timeframe, and it has to genuinely solve the homeowners’ problems whilst creating something beautiful. That pressure has actually made me a better designer because it forces clarity of thinking and decisive action. Every element has to earn its place in the design.
The other reality that viewers don’t always appreciate is that we’re working with real budgets, real contractors, and real plants that need to be sourced. I can’t design something that looks spectacular on paper but is impossible to build or costs three times the budget.
The design has to bridge that gap between aspiration and reality, which is actually one of the most valuable skills I can teach. Anyone can dream up an expensive garden if money’s no object. The real skill is creating something spectacular within realistic constraints, and doing it from remote information that requires professional interpretation and a huge amount of experience to read correctly.
My 5 Step Garden Rescue Design Process
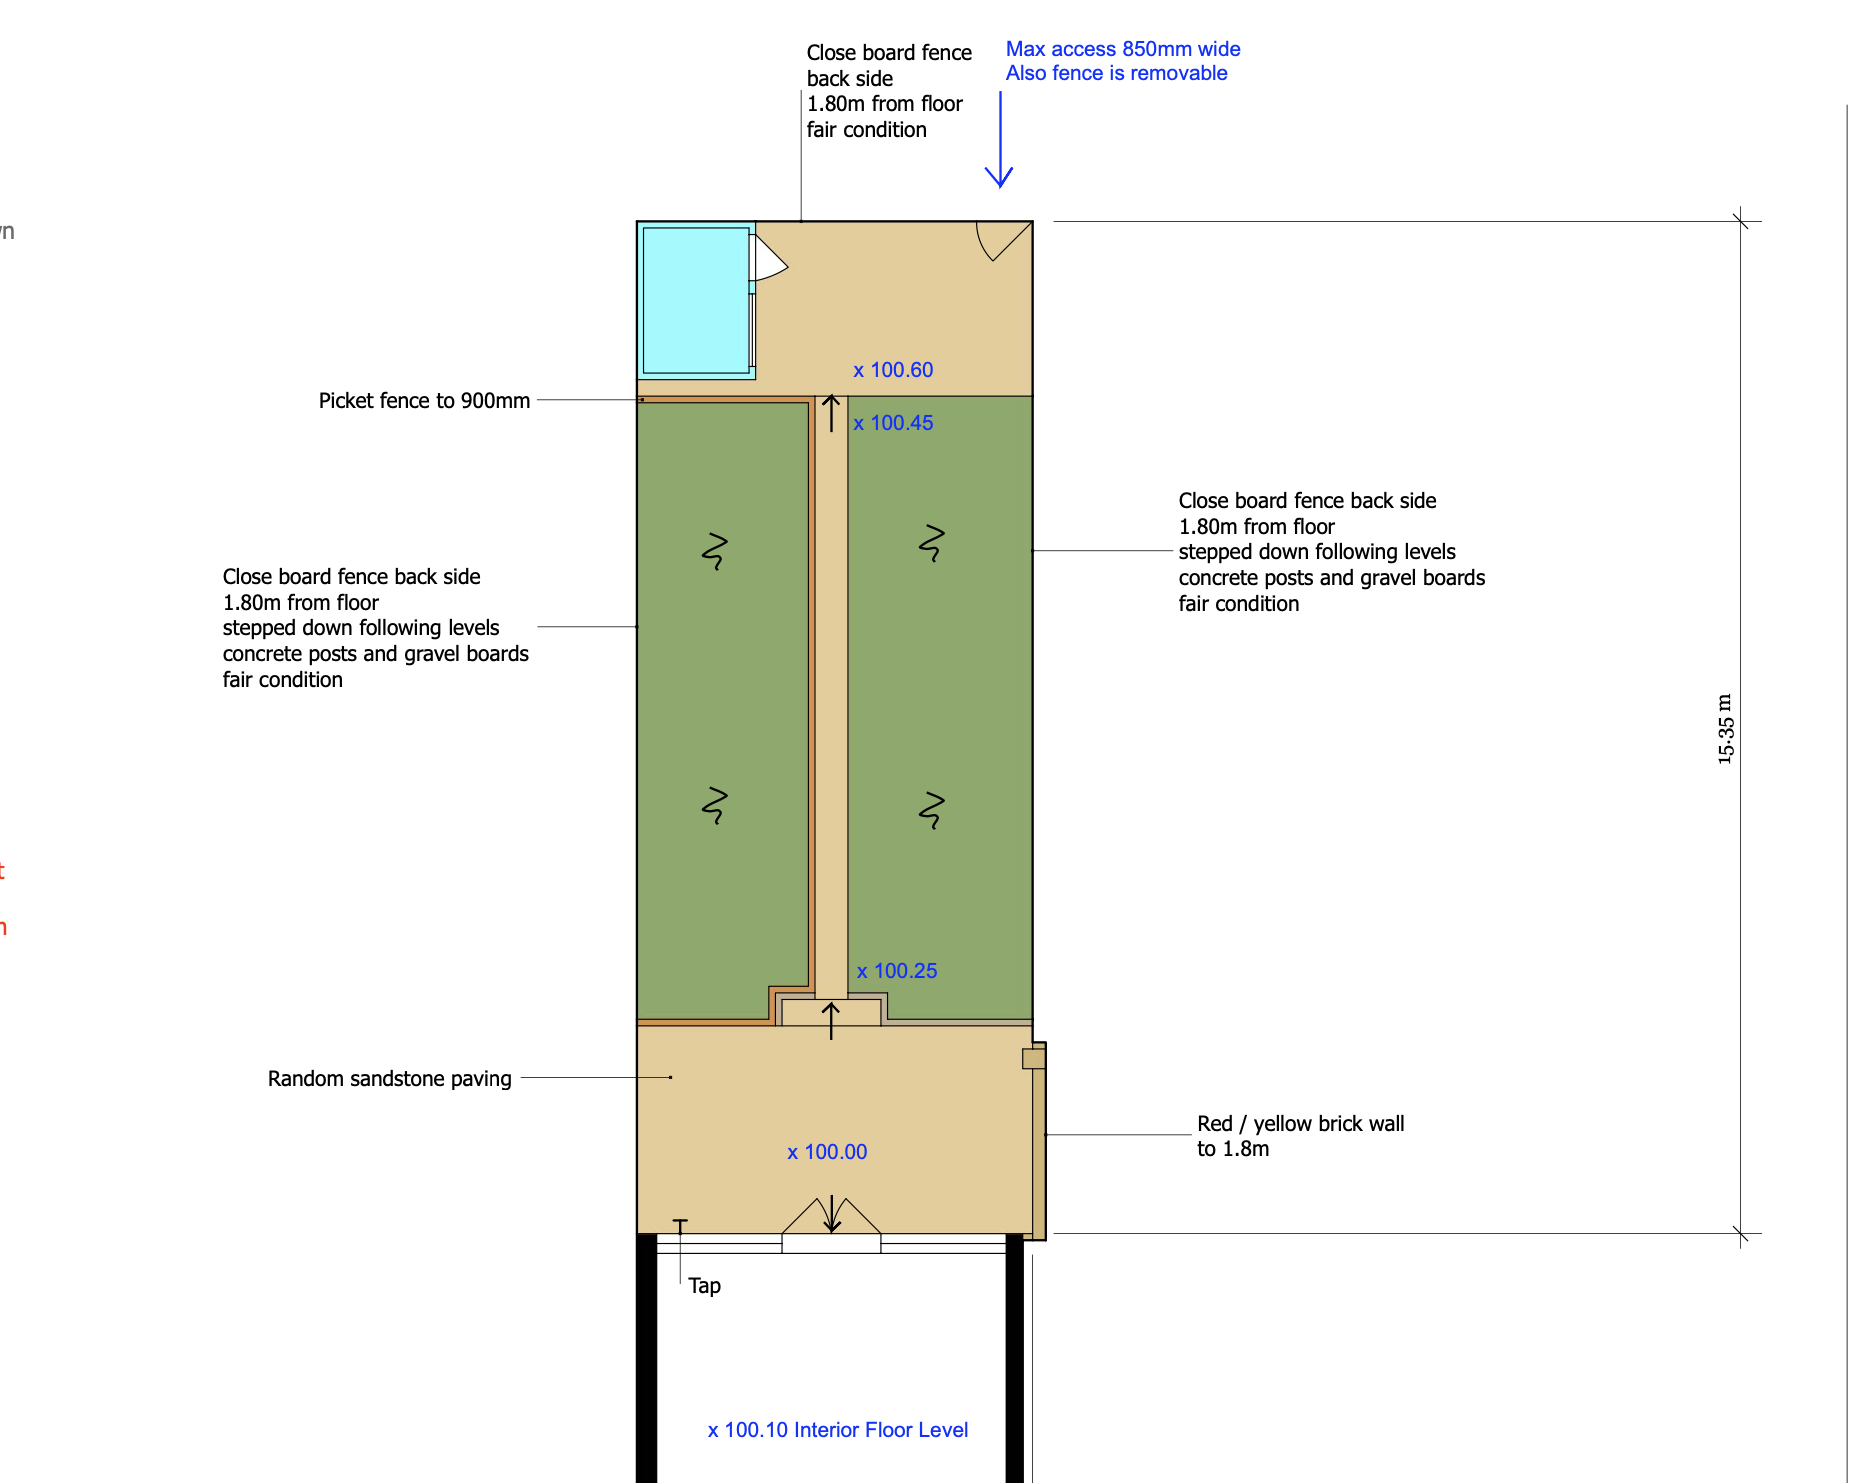
Step 1: The Remote Site Analysis (Working From Surveys, Videos, and Photos)
Here’s where the real challenge begins, and it’s tougher than most viewers realise. I don’t get a chance to visit these gardens before designing. Instead, I spend around 60 to 90 minutes meticulously analysing the site survey, photographs, and video walkthroughs, building a mental picture of a space I’ve never physically stood in.
This is possibly the most crucial phase because if I miss something important during this remote analysis, or misinterpret what I’m seeing in the photos, it’ll come back to haunt us during construction. I review the survey multiple times, cross-reference measurements with the photographs, watch the videos repeatedly from different angles, noting sun patterns, drainage clues, level changes, and awkward access points.
The site survey provides essential data, but it’s the combination of information that tells the real story:
The measurements tell me the physical dimensions and constraints
The photographs reveal the character, condition, and context
The videos show how the space actually feels and flows
The notes highlight practical issues and homeowner concerns
I’m looking for what I call the “invisible factors” that many designers might miss when working remotely:
Where are the manhole covers positioned?
What’s the drainage situation? (Look for water staining, moss, and ground conditions)
Are there overhanging trees from neighbours that’ll drop leaves and create shade?
What can you see from the main viewing points inside the house?
What’s overlooked by neighbours and from which angles?
Which areas show signs of wind exposure? (Leaning plants, damaged fencing)
What existing plants are thriving versus struggling?
All these factors shape what’s possible and what will actually work long term.
Working remotely means I need to be absolutely forensic in my analysis. I can’t just pop outside and check something if I’m uncertain. If the photographs show what looks like clay soil, I need to be confident in that assessment because the entire planting scheme depends on it.
I look at existing plants as botanical clues. Happy azaleas and rhododendrons mean acid soil. Yellow, stunted growth suggests drainage problems or nutrient deficiencies. Thriving lavender and rosemary indicate well-drained, probably alkaline conditions. These plants are telling me everything I need to know if I read the signs correctly.
The videos are particularly valuable because they show the space from a human perspective. Photographs can distort scale and proportion, but video reveals how the garden actually feels when you’re in it. I watch for how the light moves, how enclosed or open different areas feel, and whether there are any subtle level changes that might not be obvious from photos alone.
This remote analysis requires years of experience to get right. I’m essentially building a 3D model of the garden in my mind from 2D information, and that model needs to be accurate enough to design a complete transformation that works the first time. There are no second chances once the homeowners choose a design and the build team arrives.
Step 2: Understanding the Client Brief
The client interview is where everything either comes together or falls apart. I need to really understand not just what they’re asking for, but why they want it and how they’ll actually use the space.
People often think they know what they want, but when you dig deeper, you discover the real issues and opportunities. Someone might say they want a “low-maintenance garden,” but what they actually mean is they don’t want to spend every weekend mowing lawns. They’re still happy to potter about deadheading roses if they enjoy that. So I have to make copious notes during their interviews to make sure I interpret what they mean and even think of things that they probably don’t even know the y want( yet)!
I always ask about their daily routines, who uses the garden and when, what frustrates them about the current space, and what they dream about.
The dreams are important because they reveal priorities, but the frustrations often tell you more about what actually needs solving. I want to know if they’ve got young children who need space to play, teenagers who’ll be in and out with friends, elderly relatives who visit and need easy access, or whether it’s primarily an adult space for entertaining.
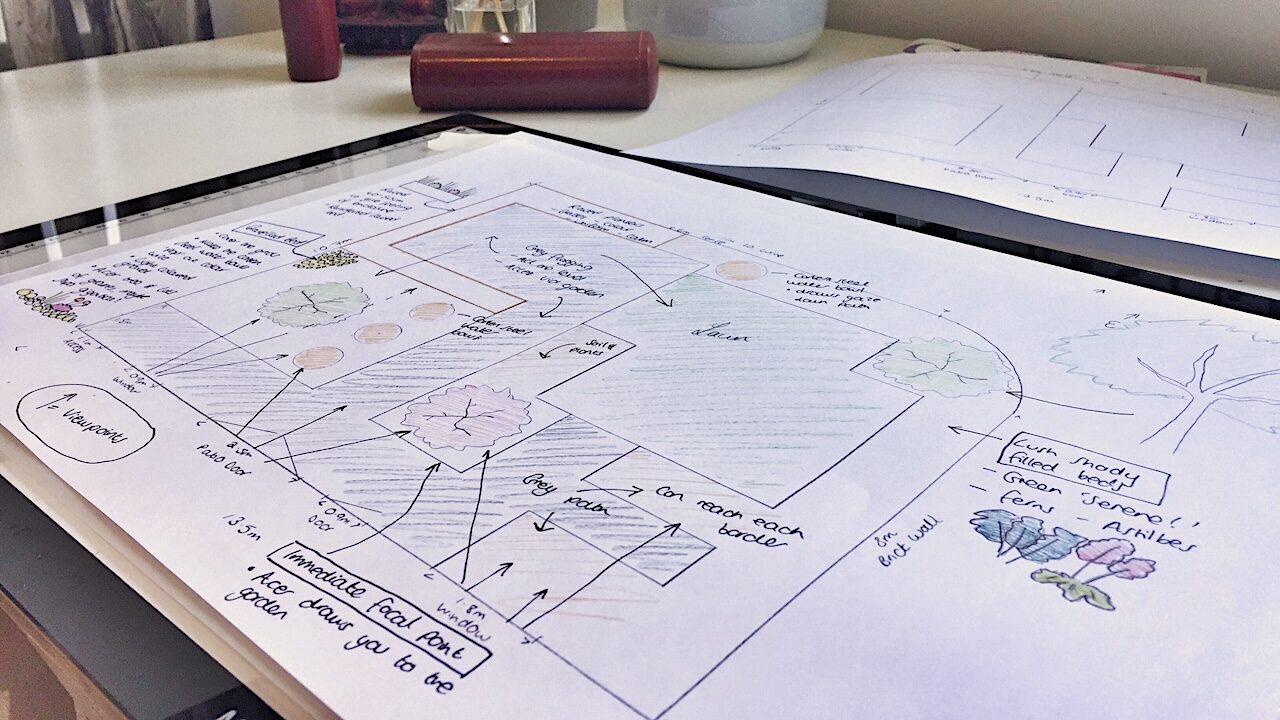
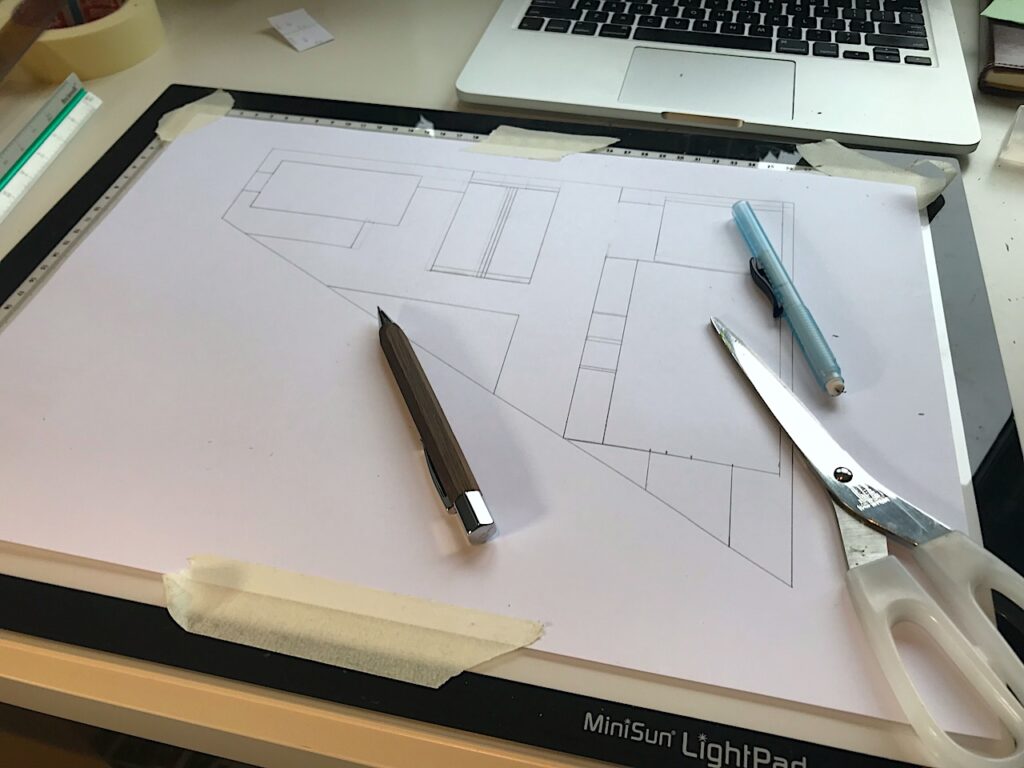
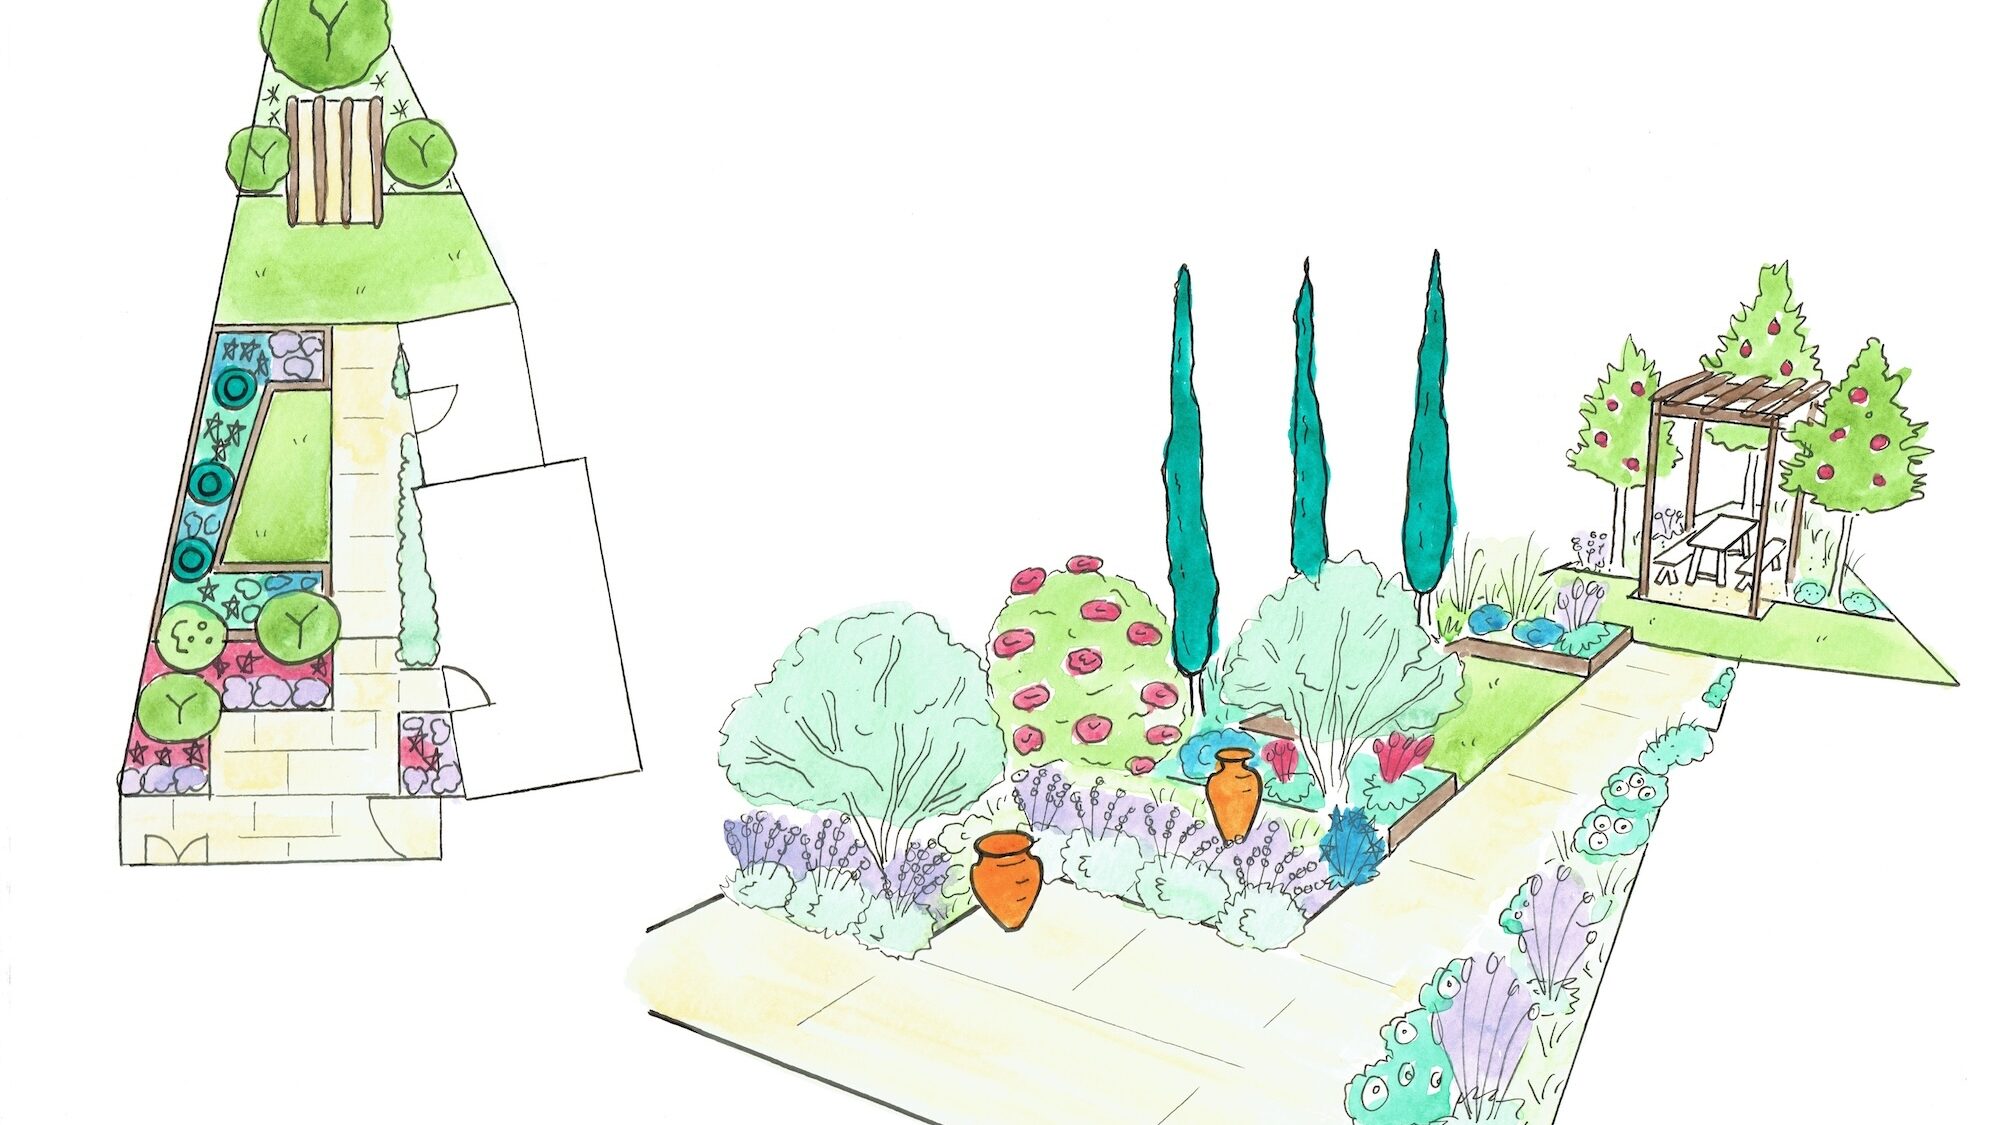
Step 3: Conceptual Design Development
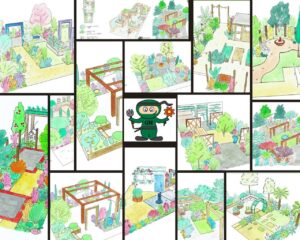
Once I’ve got all that information, I retreat somewhere quiet, often a local café, and start sketching. This is where all the site analysis and client conversations come together into actual design ideas.
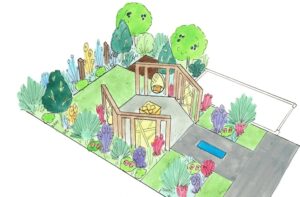
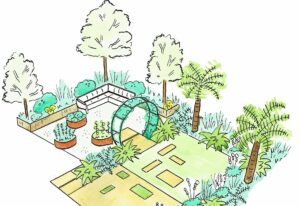
I typically explore three or four completely different approaches to the same space, because there’s never just one solution. Each approach emphasises different aspects of what the clients want and handles the space differently.
At this stage, I’m thinking about the big picture, the overall layout and structure, rather than specific plants or materials. Key questions I’m asking myself:
Where will the main seating area go to catch the evening sun?
How do we create privacy without making the space feel enclosed?
What’s the journey through the garden going to feel like?
How do we handle that awkward level change?
Should we embrace the slope or terrace it?
These fundamental decisions shape everything else that follows.
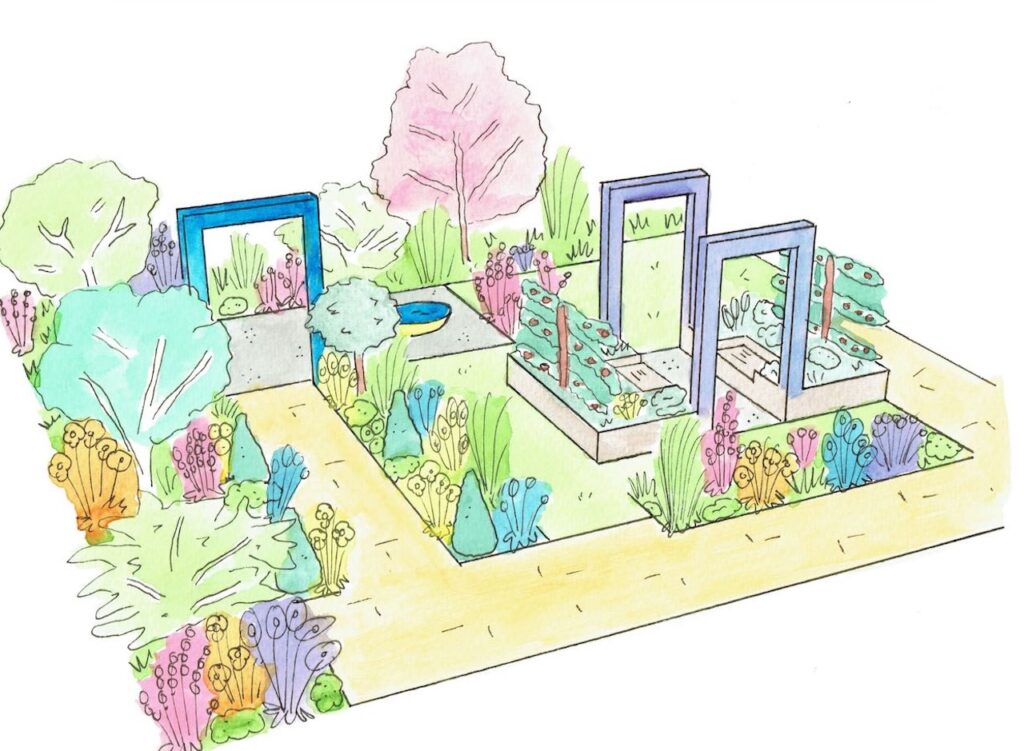
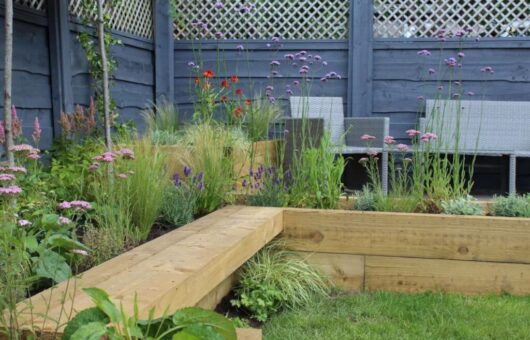
I’m also thinking about what I call the garden’s “bones,” the structural elements that’ll provide year-round interest and define the space even in winter.
Good bones make the difference between a garden that’s spectacular for three months and one that works all year. This structural thinking is what separates professional design from enthusiastic but unstructured plant collecting.
Step 4: Plant Selection Strategy
Plant selection for Garden Rescue has some unique challenges because we need plants that’ll look good immediately but also establish well and provide long-term performance.
I can’t select anything too tender that might not survive the first winter, and I need to consider maintenance requirements because these are real people’s gardens that they’ll be looking after themselves.
I work with what I call the “60/40 rule,” where 60% of the planting is evergreen structure plants such as trees or shrubs that provide year-round presence, and 40% is deciduous and herbaceous material that brings seasonal change and peak interest.
This ratio ensures the garden never looks bare but still has that dynamic quality where it changes through the seasons. Within that framework, I’m selecting for a succession of interest, making sure there’s always something happening whether it’s spring bulbs, summer perennials, autumn colour, or winter structure.
I also consider what I call “plant resilience,” choosing species and varieties that can handle a bit of neglect, that’ll bounce back from the inevitable mistakes new gardeners make, and that won’t need constant intervention.
Buddleja davidii is a Garden Rescue favourite not just because butterflies love it, but because it’s virtually indestructible and responds brilliantly to hard pruning if it gets too big. These resilient plants give homeowners confidence and success, which is far more important than including some fussy specimen that’ll be dead within six months.
What You Don’t See on TV: The Remote Design Challenge
Television is brilliant at showing the transformation, but there’s so much that happens off-camera that’s crucial to the garden’s success.
The biggest challenge that viewers rarely appreciate is that I’m designing these gardens remotely, working from site surveys, photographs, and videos rather than physically visiting before the design is chosen. The pre-production materials I receive are comprehensive, but they’re still an interpretation of a real space, and interpretation requires experience and skill to get right.
When I arrive on site for the first time on filming day, and the homeowners choose my design, that’s genuinely the first time I’ve physically stood in that garden. If I’ve misread the levels, misjudged the scale, or failed to spot something critical in the photos, there’s no going back. The design is chosen, the plants are ordered, the materials are en route, and we’ve got two days to transform the space. The jeopardy is absolutely real.
I’ve had moments of heart-stopping panic when I’ve arrived on site and something looks different to how I’d interpreted it from the photos. A slope that seemed gentle in pictures turns out to be steeper. An area I thought was partially shaded is actually in deep shadow. A “cosy” garden is actually genuinely tiny and needs completely different proportions to what I’d designed.
This is where years of experience become invaluable, because I’ve learned to build in flexibility and interpret site surveys with a critical eye that accounts for photographic distortion and missing information.
One of the other behind the scenes challenges is plant sourcing. We need hundreds of plants, often quite specific varieties, delivered to a residential location within a tight timeframe.
Nurseries don’t always have everything in stock, especially in spring when everyone’s planting. So I’m always super flexible with the horticulturalists that work with the show to get the right plants, or similar ones if available. This is where my decades of plant knowledge come in to know what works or what can be substituted and what should not! This network of relationships is as important as design skills, and it’s built over decades of professional work.
Weather is the great, unpredictable factor that can completely derail even the best planned gardens. Filming in torrential rain makes some tasks impossible and turns others into muddy nightmares.
Extreme heat can stress newly planted specimens before they’ve had a chance to establish. Strong winds make working with large plants and materials dangerous. We’ve learned to have contingency plans and alternative approaches, but ultimately, we’re at nature’s mercy during those two filming days.
The other reality is that not everything survives. Plants can sulk when moved, newly laid turf can struggle in hot weather, and sometimes things just don’t establish as hoped.
This is a gardening reality that we address honestly during filming. I always tell homeowners that gardening isn’t like renovating a kitchen, where once it’s done, it’s done. Gardens are living, changing things that need ongoing care and will evolve over time. Some plants might need replacing, others might grow faster than expected, and that’s completely normal.
What makes this all work despite the challenges is having a systematic process that’s been refined over 200-plus gardens and tested under the pressure of television deadlines. The methodology you’re learning in this article is the same one that allows me to design confidently from remote information, knowing that when I arrive on site, the design will work because the thinking behind it is sound.
Common Mistakes I See and Fix On Camera
Over 100 plus episodes, I’ve encountered virtually every garden design mistake imaginable, and many of them are remarkably common.
Understanding these mistakes and why they happen is just as valuable as knowing what to do correctly, because it prevents you making the same errors in your own garden.
i) Existing Plant Randomness
The most frequent mistake I see is what I call “plant randomness,” where people have bought attractive plants without any overall design logic, creating what looks more like a garden centre display than a coherent garden.
There’s no sense of structure, no repetition to create rhythm, and no thought about how plants relate to each other or the space. Everything’s just dotted about randomly, and while individual plants might be lovely, together they create visual chaos.
The fix is always about editing, grouping plants in odd numbers for natural appearance, and creating coherent planting schemes rather than botanical collections.
Ignoring site conditions is another massive issue. I’ve seen shade loving plants struggling in full sun, Mediterranean species drowning in heavy clay, and acid lovers turning yellow in alkaline soil.
Garden design isn’t just about aesthetic preference, it’s just as much about matching plants to the conditions they’ll thrive in. No amount of feeding and watering will make a sun loving lavender happy in deep shade, or encourage heathers to flourish in chalky soil. Good design works with the site conditions rather than fighting against them.
ii) Awkward Proportions & Scale
Poor scale and proportion plague many amateur gardens. Tiny plants lost in huge beds, enormous shrubs overwhelming small spaces, or paths too narrow to walk comfortably.
Understanding scale requires experience, but the basic principle is straightforward: everything needs to relate appropriately to both the space it’s in and the people using it.
I often see paths that are barely 60cm wide when they need to be at least 1.2 metres for two people to walk comfortably side by side, or beds that are 30cm deep when they need a minimum of 60cm to create any visual impact.
iii) Lack of Year Round & Seasonal Interest
Lack of year round interest is perhaps the most disappointing mistake because it means gardens that are spectacular for a few weeks but dull the rest of the year.
This happens when people focus entirely on summer perennials without considering what happens in winter, or plant nothing but deciduous shrubs that leave the garden looking bare for six months.
The solution is always that 60/40 evergreen to deciduous ratio I mentioned earlier, ensuring structural interest in winter whilst still having seasonal change and peak moments.
iv) Unrealistic Maintenance
Finally, inappropriate maintenance planning causes endless problems. Gardens designed for high maintenance when the owners clearly don’t have time, or worse, gardens that promise low maintenance but actually require specialist knowledge to keep looking good.
The best gardens match their maintenance requirements to their owners’ realistic time and skill levels, creating success and enjoyment rather than guilt and frustration.
The Design Principles That Work in Every Garden
Regardless of size, budget, or style, certain fundamental design principles apply to every successful garden. These aren’t rigid rules that stifle creativity, they’re guidelines that help create coherent, functional, beautiful spaces.
Understanding these principles is what allows you to design confidently rather than just copying what you’ve seen elsewhere.
A) Unity & Cohesion
Unity and coherence ensure a garden feels like one complete entity rather than a collection of unrelated elements. This comes from repeating materials, colours, shapes, or planting styles throughout the space.
If your patio is contemporary pale limestone, then scattering rustic railway sleepers randomly through the garden breaks that unity. Cohesion is about thoughtful consistency that allows individual elements to shine within a unified whole. It’s not lining things up in rows or being painfully formal, its carrying the same colours, textures or elements throughout the entire garden space.
B) Balance and Weight
Balance gives gardens a sense of rightness that’s hard to define but immediately obvious when it’s wrong. This isn’t about rigid symmetry with equal flower beds and rows. It’s actually about the opposite, informal asymmetry. Most urban and residential gardens benefit from asymmetrical balance where different elements of similar visual weight balance each other across the space.
A large tree on one side might be balanced by a group of shrubs on the other, or a solid fence by an open planted area. Your eye should move comfortably around the garden without any area feeling too heavy or too light.
C) Well Considered Proportions
Scale and proportion determine how everything relates, both to the space and to each other. Features need to be appropriately sized for the gardens they’re in.
Large gardens can handle bigger, bolder elements, whilst small spaces need more delicate touches. Seating areas typically occupy about 20 to 30% of small gardens, planting beds should be at least 60cm deep to have visual impact, and paths need to be wide enough for their purpose.
D) Repetition of Plants, Colours & Materials
Rhythm and repetition create flow and movement through the garden, guiding the eye and creating a sense of journey. This might be as simple as repeating the same plant at intervals along a border, using matching pots throughout a space, or echoing shapes and forms in different areas.
Without rhythm, gardens feel static and disjointed. With thoughtful repetition, they feel dynamic and cohesive, encouraging exploration and creating pleasing patterns.
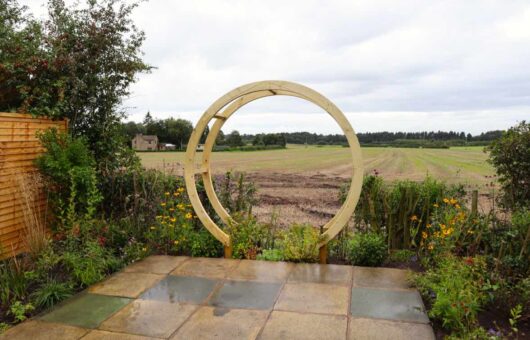
E) Focal Points and Features
Emphasis and focal points give the eye somewhere to rest and create interest. Every garden needs moments that draw attention, whether that’s a beautiful specimen tree, a striking sculpture, a seating area with a view, or simply a particularly stunning plant combination.
These focal points create structure and prevent the garden from becoming visually overwhelming or boring. The key is choosing focal points carefully and not having so many that everything competes for attention and nothing stands out.
Learning This Process Yourself
This five step process isn’t just for television gardens or professional designers, it’s a systematic approach that anyone can learn and apply to their own space.
The difference between this article and my comprehensive training is depth and practice. In my Garden Design for Beginners course, I walk you through each step with detailed video lessons, worked examples, and templates you can use immediately on your own garden.
You’ll learn:
The site analysis checklist I use on every Garden Rescue project
Client brief questions refined over 20 years that help you think through what you really want
Plant selection formulas that take the guesswork out of choosing plants
Layout planning principles that create functional, beautiful spaces
Budget allocation strategies that maximise every pound spent
The course gives you the complete toolkit I’ve developed through 200 plus garden transformations.
29
Garden Design Examples for Small Gardens: 30 Design Templates & Planting Plans
Garden Design Examples for Small Gardens: 30 Design Templates & Planting Plans: In this online gardening course, I’ll walk you through 30 fantastic garden designs, explaining the logic behind the layout, the plant choices, and take-home tips for applying them in your own garden.
Weekend Garden Makeover: A Crash Course in Design for Beginners
Learn how to transform and design your own garden with Lee Burkhills crash course in garden design. Over 5 hours Lee will teach you how to design your own dream garden. Featuring practical design examples, planting ideas and video guides. Learn how to design your garden in one weekend!
Garden Design for Beginners: Create Your Dream Garden in Just 4 Weeks
Garden Design for Beginners Online Course: If you want to make the career jump to becoming a garden designer or to learn how to design your own garden, this is the beginner course for you. Join me, Lee Burkhill, an award-winning garden designer, as I train you in the art of beautiful garden design.
You’ll understand the principles that make designs work, the practical considerations that make them buildable, and the maintenance realities that make them sustainable.
Over 5,000 students have used this methodology to transform their gardens, many starting with no experience whatsoever. They’ve gone from feeling overwhelmed by their outdoor spaces to having clear plans they’re excited to implement.
Some have transformed their own gardens, others have helped friends and family, and quite a few have gone on to establish garden design businesses. What they all have in common is understanding that good design isn’t mysterious talent, it’s systematic thinking combined with knowledge and practice.
Ready to Design Your Dream Garden?
Learn the exact methodology I use on BBC Garden Rescue in my comprehensive Garden Design for Beginners course. Over 5,000 students have transformed their gardens using this systematic approach.
The systematic approach I use on Garden Rescue works because it’s based on understanding rather than guesswork, on proven principles rather than random experimentation.
Every garden I’ve designed, whether for television or private clients, follows this same basic process. The results speak for themselves in gardens that function beautifully, look spectacular, and give their owners genuine pleasure year after year.
You don’t need years of training or expensive qualifications to design a garden you’ll love. What you need is a clear methodology, good information, and the confidence to apply what you learn.
That’s exactly what I provide in my teaching, distilling decades of professional experience into practical, accessible training that gets real results.
Whether you’re facing a blank canvas new build garden, wanting to transform an existing space that’s never quite worked, or dreaming of creating something spectacular from scratch, this design process gives you the framework to make it happen.
The gardens you see on Garden Rescue aren’t magic, they’re the result of systematic thinking, good principles, and proven methods that anyone can learn.
Your garden transformation doesn’t start with a spade in the ground or plants in the soil. It starts with understanding how to look at your space, how to identify what’s possible, and how to create a design that solves real problems whilst creating something beautiful.
So be bold and get designing Ninjas!
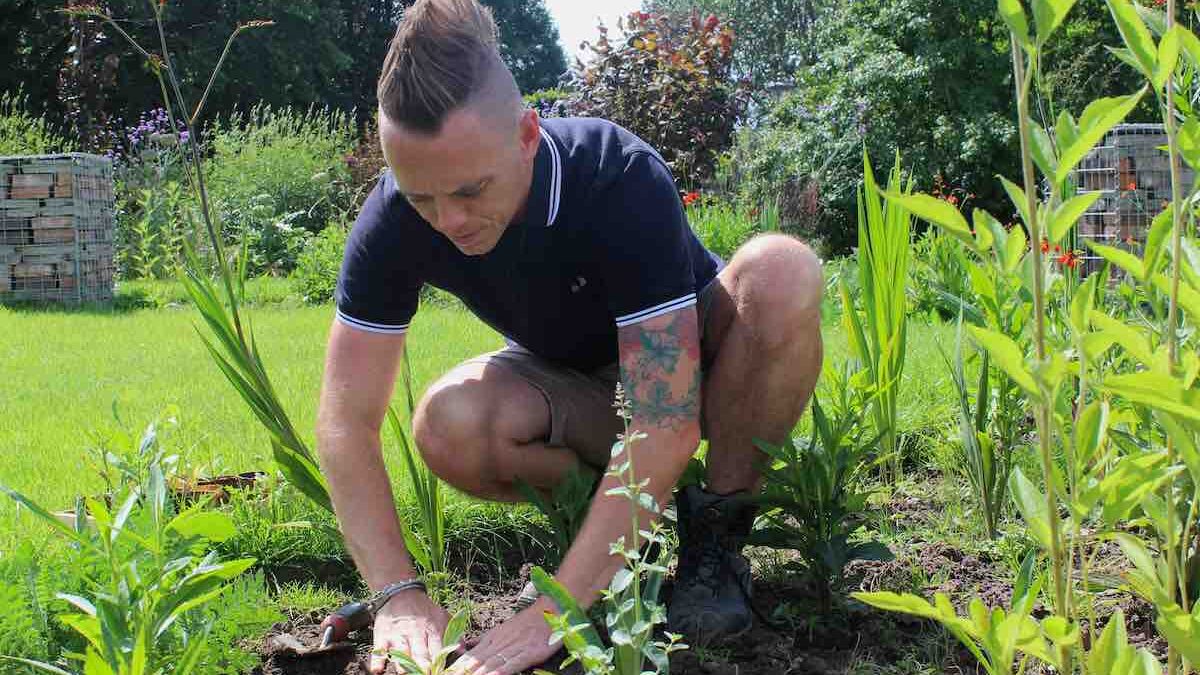
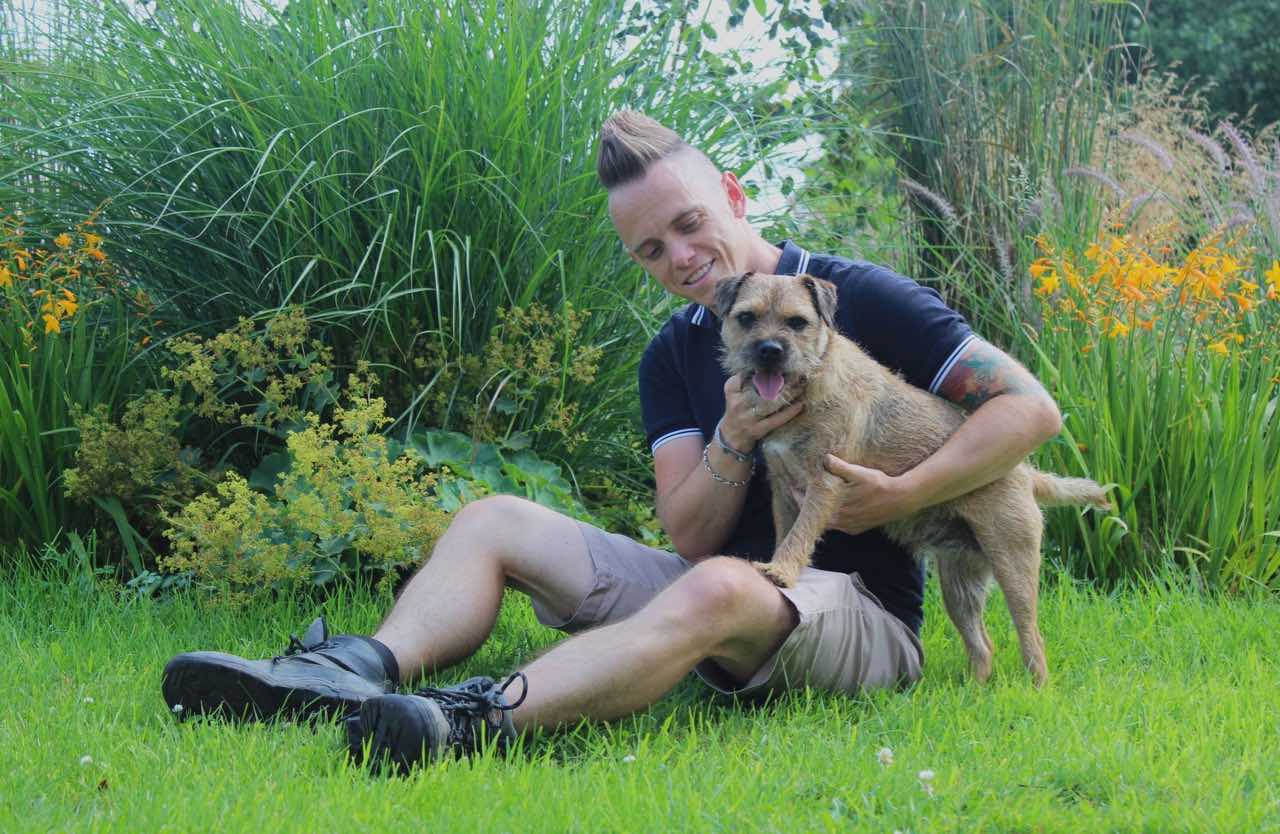
Lee Burkhill
Lee Burkhill, known as the Garden Ninja, is an award-winning garden designer and horticulturist with over 30 years of gardening experience and 15 years as a professional garden designer. A qualified RHS (Royal Horticultural Society) professional, Lee specialises in sustainable garden design and practical horticultural advice. He designs and presents on BBC1’s Garden Rescue and in leading gardening publications. Lee combines three decades of hands-on gardening knowledge with professional design qualifications to help gardeners create beautiful, functional outdoor spaces.