How to Grow Potatoes in the UK: Complete Beginner’s Guide
Lee Burkhill: Award Winning Designer & BBC 1's Garden Rescue Presenters Official Blog
Beginner level
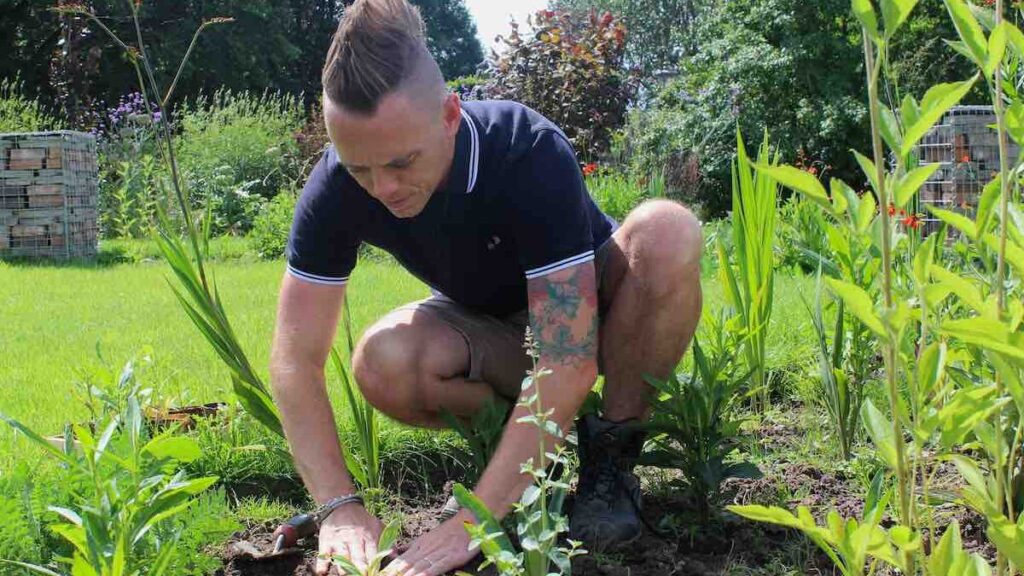
Growing your own potatoes is one of the simplest root vegetables to start with, making it perfect for beginners. Regardless of whether you have a small balcony or a large garden, you can successfully grow potatoes anywhere! Let me guide you on how to cultivate them so you can enjoy fantastic spuds this year.
When should you plant potatoes in the UK? First early potatoes are planted in late March, second earlies go in during early to mid-April, and maincrop varieties are planted from mid-April to early May.
The exact timing depends on your location – plant slightly later in colder northern regions and earlier in milder southern areas. Always plant after the worst frosts have passed, but whilst the soil is still cool.
After designing hundreds of gardens and helping countless new growers get started, I can tell you with absolute certainty that potatoes are the perfect first crop for beginners.
Why? Because growing potatoes is virtually foolproof, requires minimal maintenance, and delivers that incredible feeling of achievement when you dig up your very first harvest. There’s genuinely nothing quite like unearthing a cluster of golden spuds that you’ve grown yourself from a tiny seed potato planted just weeks earlier.
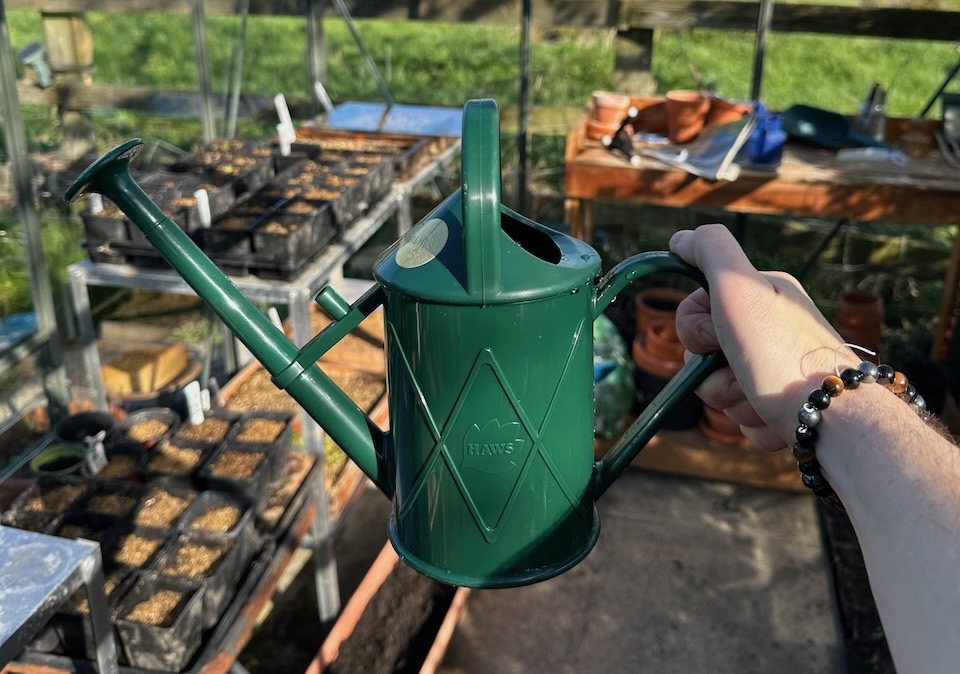
In my own trial garden here in the North West of England, I’ve grown potatoes in every conceivable way over the past 35 years. From traditional trenches to containers, raised beds to grow bags, I’ve tested what actually works for time-pressed beginners versus what’s just gardening folklore. This guide cuts through the noise and gives you the straightforward, tried-and-tested method that guarantees success even if you’ve never grown anything before.
Understanding Potato Types: Your First Decision
Before you buy a single seed potato, you need to understand the three main types available in the UK. This isn’t complicated gardening jargon the type of poatoe you choose tells you when you plant them and how long they take to harvest. The beauty of this system is that you can choose based on what you want to eat and when you want to eat it. First-time growers should always start with first earlies because they’re quickest, have the highest success rate, and avoid most common potato diseases.
Potato Type
When to Plant
Time to Harvest
First Earlies
Late March to early April
10-12 weeks (June-July)
Second Earlies
Early to mid-April
13-15 weeks (July-August)
Maincrop
Mid-April to early May
15-20 weeks (August-October)
1) First earlies are new potatoes. Those gorgeous waxy spuds are perfect for buttery salads, boiling, and are easy to harvest.
2) Second earlies bridge the gap and work brilliantly for general use.
3) Maincrop varieties are your big baking potatoes that store well through winter.
For absolute beginners, I always recommend starting with first earlies because they’re in and out of the ground before blight becomes an issue, and that quick turnaround keeps you motivated.
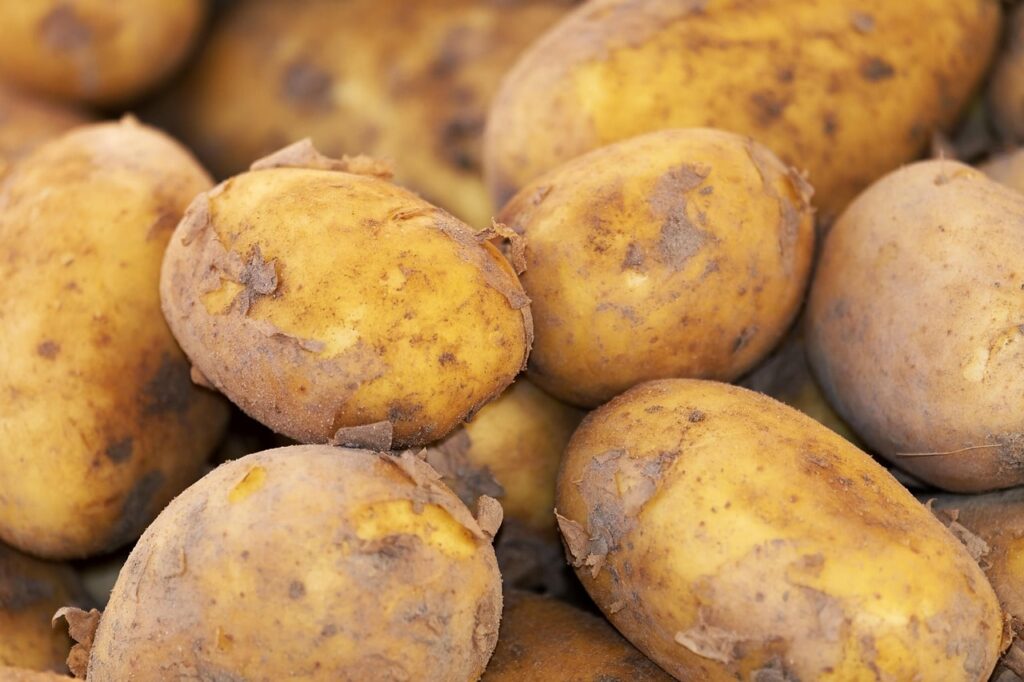
Best Potato Varieties for Beginners
Not all potato varieties are created equal when it comes to ease of growing. Through my work on Garden Rescue and in private gardens, I’ve identified the varieties that consistently perform well for nervous first-timers. These aren’t necessarily the trendiest heritage varieties or the ones with complicated growing requirements, but these are the reliable workhorses that deliver bumper crops without fuss.
Variety
Type
Why Beginners Love It
Rocket
First Early
Fastest cropping. Excellent disease resistance. Grows anywhere including containers. Reliable heavy yields.
Swift
First Early
Lives up to its name. Good all-rounder. Forgiving of mistakes. Delicious waxy texture for salads.
Versatile kitchen favourite. Resistant to common scab. Stores reasonably well. Perfect for learning.
Maris Piper
Maincrop
Classic British variety. Fluffy texture for roasting and chips. Widely available. Proven track record.
If you’re only growing a few plants in containers on a patio, stick with Rocket or Charlotte. Both thrive in restricted spaces and produce reliable crops without demanding perfect conditions. For in-ground growing with a bit more space, Maris Piper gives you those gorgeous, fluffy roasties that make Sunday lunch special.
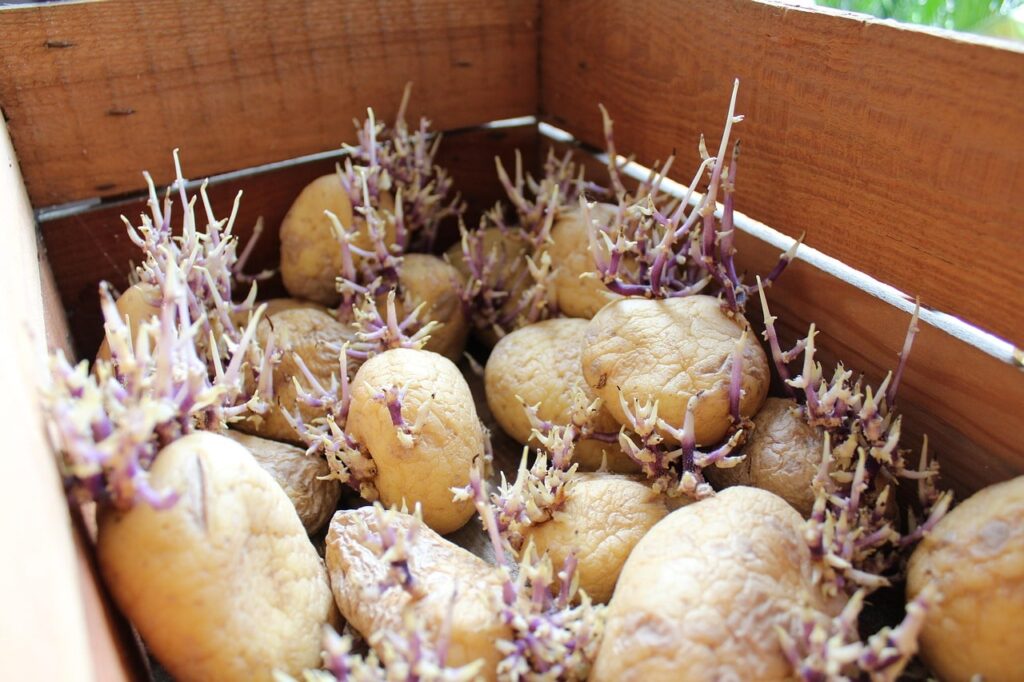
Chitting Your Potatoes: The Essential First Step
Chitting sounds mysterious, but it’s simply encouraging your seed potatoes to sprout before planting. This gives them a head start and results in earlier, heavier crops.
In my experience, chitted first earlies crop about two weeks sooner than unchitted ones, which can mean the difference between harvesting in early June versus late June. For maincrop varieties, chitting is less critical because they’re in the ground for so long anyway.
Here’s the straightforward method I’ve used successfully for decades. When your seed potatoes arrive in late January or February, place them in egg boxes or seed trays with the end that has most “eyes” (small dimples) facing upwards.
Position them somewhere cool but frost-free with plenty of light, such as a spare bedroom windowsill, unheated porch, or garage with a window; all work brilliantly. Avoid hot rooms or direct sunlight, as these encourage weak, spindly growth.
? Garden Ninja Tip: Don’t panic if you forget to chit your potatoes or buy them late. Unchitted potatoes will still grow perfectly well, but they’ll take a couple of extra weeks to crop. I’ve planted completely unchitted maincrop varieties many times with excellent results. Chitting is an advantage, not a requirement.
After four to six weeks, you’ll see sturdy green or sometimes purple shoots about 2cm long emerging from the eyes. That’s your signal they’re ready to plant. If the shoots grow longer than 3cm, they become fragile and easily damaged during planting, so timing matters. I always aim for short, stubby, dark green shoots rather than long pale ones as they’re much tougher and establish faster once planted.
But either way is fine, but don’t forget to actually plant them in the ground!
Planting Potatoes: Ground Method
If you’re growing in the ground, you need a sunny spot with reasonable drainage. Potatoes aren’t particularly fussy about soil, but they perform best in slightly acidic conditions, so don’t add lime before planting. I always dig in plenty of well-rotted compost or manure the previous autumn, which improves soil structure and provides slow-release nutrients. If you’ve missed that window, don’t worry, simply sprinkle some plant feed like chicken pellets or a balanced fertiliser into the planting trench instead.
Dig a trench about 12cm deep and as long as you need.
For first and second earlies, space your seed potatoes 30cm apart with 60cm between rows.
Maincrop varieties need more elbow room, so plant them 40cm apart with 75cm between rows.
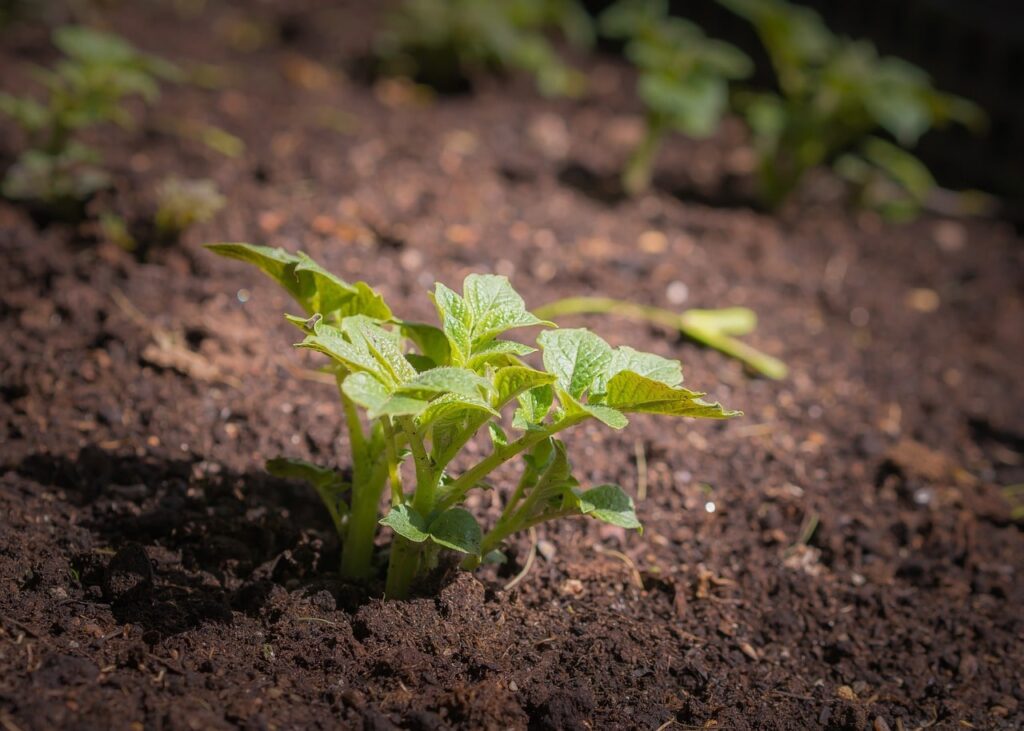
Place each seed potato in the trench with shoots pointing upwards, then cover with soil to create a slight ridge.
Water if the soil is very dry, but generally, there’s enough moisture in the spring soil without additional watering.
The big mistake beginners make is planting too early when the soil is still freezing cold. Potatoes need soil temperature above 7°C to start growing, and any frost that catches emerging shoots will damage them severely. In the mild South, late March works fine for first earlies. In colder northern regions or Scotland, wait until early to mid-April. Use your judgment; if you wouldn’t want to kneel on the soil because it’s too cold, your potatoes won’t want to grow in it either.
Planting Potatoes: Container Method
Growing potatoes in containers is absolutely brilliant for beginners because you have complete control over soil quality, can move them to avoid frost, and the harvest is easier than digging. Any container at least 30cm deep with drainage holes will work. I’ve used purpose-made potato bags, old compost sacks, large pots and even sturdy dustbins. Through trials at Garden Ninja HQ, I’ve found that larger containers yield significantly more, so go for at least 40 litres if possible.
Fill the container about 15cm deep with good-quality multipurpose compost.
Place three to five seed potatoes on the surface (depending on container size), with the shoots pointing upwards, then cover with another 10cm of compost. Water well initially, then keep the compost moist but not waterlogged. As shoots emerge and grow, keep adding more compost around them until the container is filled to within 5cm of the rim. This process, called earthing up, encourages more tubers to form along the buried stems.
Choose the right varieties: First and second earlies work best in containers because they don’t need as much root space as maincrop varieties. Stick with compact varieties like Rocket, Swift or Charlotte for guaranteed success.
Position strategically: Place containers in the sunniest spot available. Potatoes need at least six hours of direct sunlight daily for good yields. I move mine around my patio throughout the season to follow the sun.
Feed regularly: Container compost runs out of nutrients faster than garden soil. Start feeding with tomato fertiliser or liquid seaweed every fortnight once plants are flowering.
Earthing up is the single most important task for successful potato growing, yet beginners often skip it or do it half-heartedly. When shoots reach about 20cm tall, use a spade, hoe or rake to mound soil up around the stems, covering them halfway. Leave just the top 10cm of foliage poking out. This achieves two crucial things: it stops developing tubers from being exposed to light, which turns them green and poisonous, and it encourages more tubers to form along the buried stems.
Repeat this earthing-up process every couple of weeks as plants continue growing. By the time they’re finished, you should have created a ridge about 20-30cm high along each row. Yes, this seems like unnecessary work when you’re doing it, but I promise you’ll thank me at harvest time when you’re digging up double the crop you’d get without earthing up. In containers, keep topping up with more compost as shoots grow until the pot is nearly full.
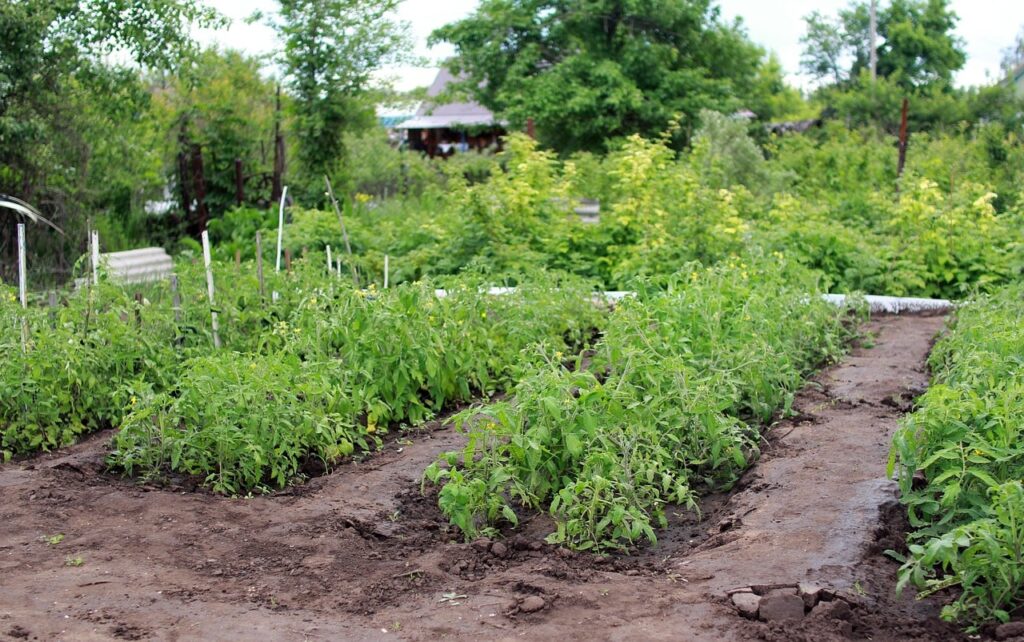
Ongoing Care and Watering
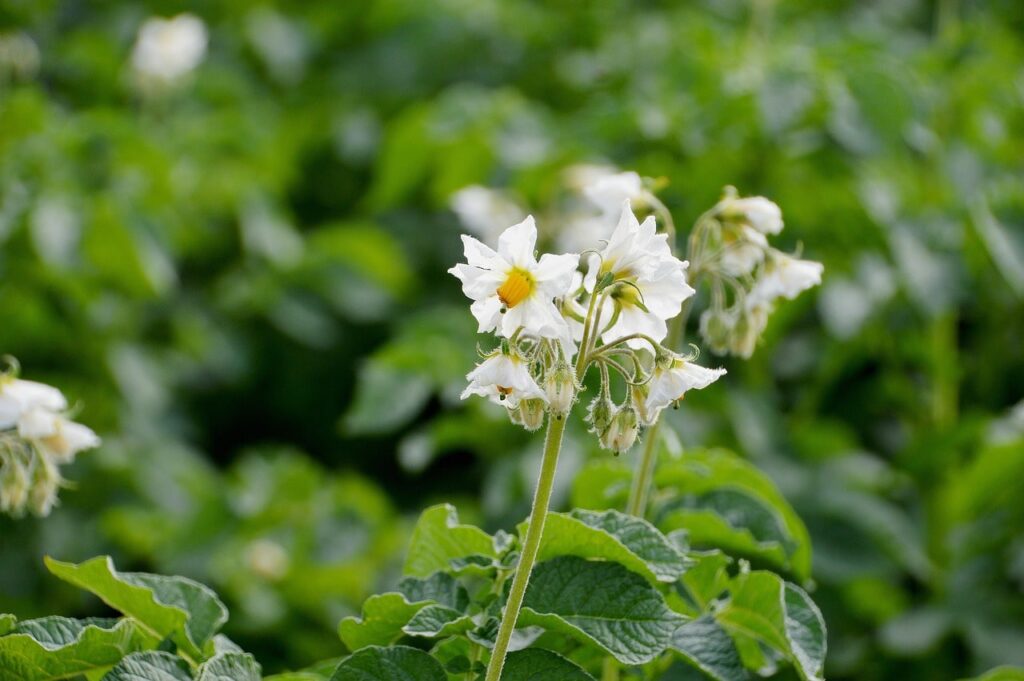
Potatoes are remarkably low-maintenance once planted and earthed up. In typical UK weather, rainfall usually provides adequate moisture, but during dry spells you’ll need to water deeply once or twice per week. The critical period is when tubers are forming, which coincides with flowering. Inconsistent watering during this stage results in those annoying hollow potatoes or weirdly shaped ones, so stay vigilant from flowering onwards.
Weeding is only necessary in the first month or so after planting. Once the foliage fills out, it shades the soil and naturally suppresses most weeds.
Keep an eye out for potato blight – brown patches on leaves that spread rapidly in warm, humid conditions. If you spot it on first earlies, harvest immediately, even if tubers are smaller than ideal. The disease spreads from leaves to tubers, so quick action is essential to save your crop. This is another reason why first earlies are perfect for beginners – they’re usually harvested before blight becomes widespread in July and August.
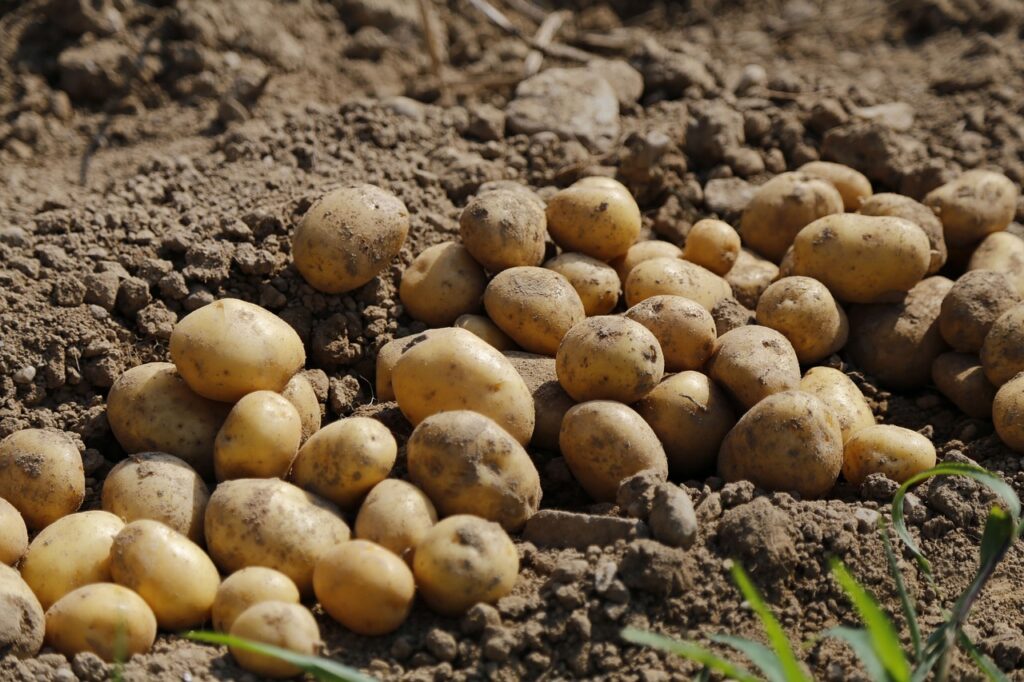
Harvesting Your Potatoes
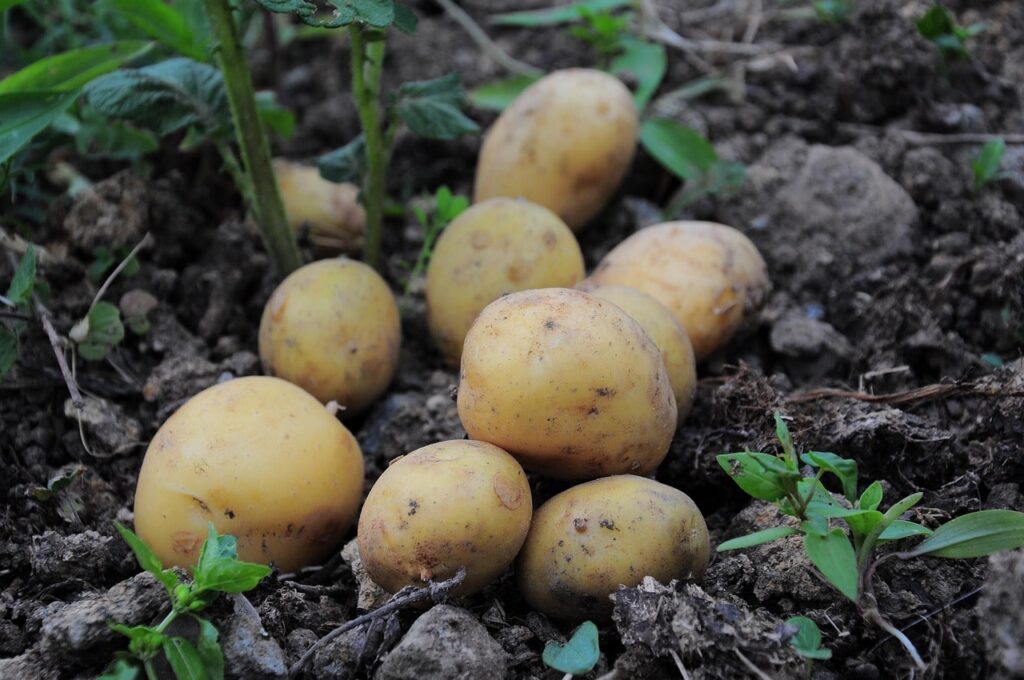
Knowing when to harvest is straightforward once you understand the signals. First earlies are ready when flowers open or buds drop, usually about ten weeks after planting. Before lifting the entire plant, carefully scoop away soil at the base of one stem to check tuber size. If they’re hen’s egg sized or larger, harvest the lot. If still small, cover them back up and wait another week.
New potatoes don’t store well, so only dig up what you’ll eat within a few days, as leaving them in the ground keeps them fresh.
Second earlies follow the same principle but mature two to three weeks later.
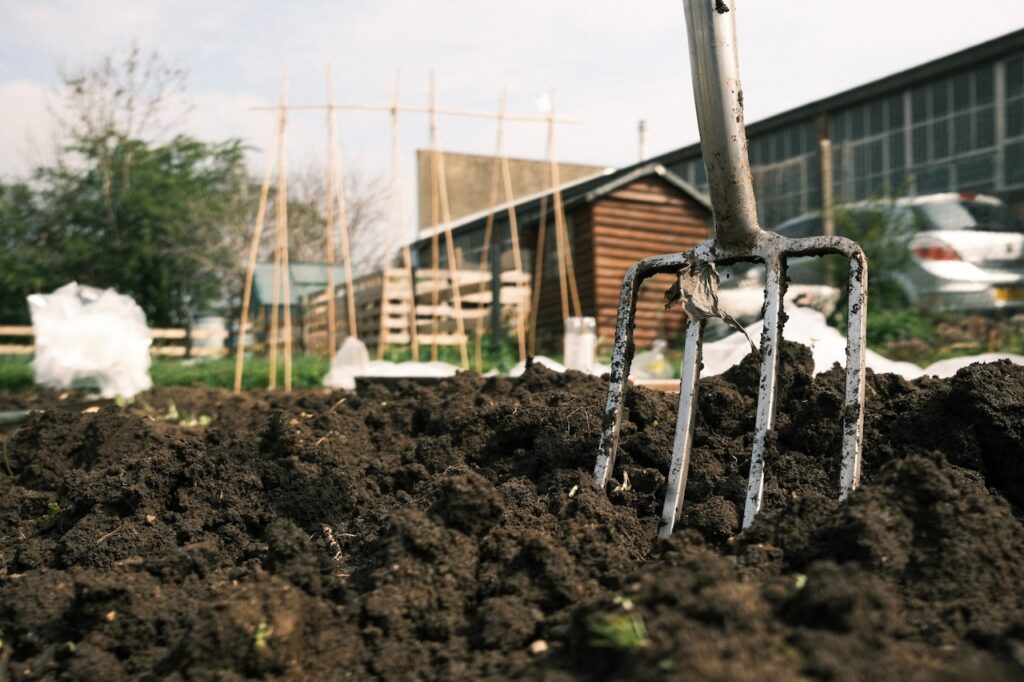
Maincrop potatoes signal harvest time by their foliage turning yellow and dying back, usually 15-20 weeks after planting. Once foliage dies, wait an additional two weeks before harvesting to allow skins to thicken for storage. Cut back the dead foliage to just above ground level, then carefully dig up tubers with a fork, working from the outside of the ridge inwards to avoid spearing potatoes.
For container-grown potatoes, harvesting is wonderfully simple. You tip the container onto a tarp or into a wheelbarrow, then pick through the compost. This is genuinely one of the most satisfying moments in vegetable growing, like finding buried treasure in your own garden. I still get excited every single time I harvest potatoes, even after 35 years of doing it!
Common Beginner Mistakes to Avoid
Through troubleshooting countless gardens, I’ve seen the same mistakes crop up repeatedly with first-time potato growers. The most common is planting supermarket potatoes instead of certified seed potatoes. Shop-bought spuds are often treated with sprout inhibitors and may carry diseases that certified seed potatoes are guaranteed free from. Trust me, the few extra pounds for proper seed potatoes is worth it for the vastly improved results and peace of mind.
Another frequent error is planting all your potatoes at once. Stagger plantings by two weeks to spread out your harvest and avoid being overwhelmed with 20kg of new potatoes all ripening simultaneously. Plant a row or container every fortnight through March and April for continuous cropping from June through September.
Finally, beginners often neglect crop rotation. Never grow potatoes in the same spot two years in a row, because soil-borne diseases build up rapidly. Wait at least three years before returning potatoes to the same ground. If space is tight, growing in containers with fresh compost each year completely sidesteps this issue. Make sure you read my guide on crop rotation to avoid potato issues.
Why Potatoes Are Perfect for First-Time Growers
Looking back over decades of teaching people to grow vegetables, potatoes consistently deliver the best results for nervous beginners. They’re incredibly forgiving of imperfect conditions, don’t require complicated feeding regimes, and produce substantial harvests from minimal input. One seed potato easily yields ten or more eating potatoes, giving you that crucial confidence boost that makes you want to grow more.
The physical act of harvesting potatoes is deeply satisfying in a way that picking lettuce or pulling carrots simply isn’t. There’s an element of treasure hunting, of not knowing quite what you’ll find until you dig, that makes it exciting every single time. And the taste difference between freshly dug homegrown potatoes and shop-bought ones is frankly staggering – once you’ve experienced that earthy sweetness, you’ll understand why gardeners get so evangelical about growing spuds.
Learn How to Design Your Own Garden
Now you understand how to grow your own potatoes, why not consider taking your skills to the next level with some online design training? My Garden Design for Beginners Course is here to help take your garden from average to extraordinary with an affordable online course, no matter how little your experience with plants.
This course offers step-by-step guidance from me, Lee Burkhill, award-winning garden designer and presenter on BBC1’s Garden Rescue. In this course, you’ll go from a garden design novice to a confident designer equipped to tackle any green space.
Planting Techniques – Select and arrange plants like a pro.
Design Styles & Layout Options – Explore different styles to suit every garden.
Course Features:
20 Hours of Study Time
Flexible Online Learning
Engaging Video Lessons & Quizzes
Real-World Case Studies
Certification upon Completion
Taught by Award-Winning Designer Lee Burkhill
Enrol now for just £199 and start your journey toward garden design mastery!
29
Garden Design Examples for Small Gardens: 30 Design Templates & Planting Plans
Garden Design Examples for Small Gardens: 30 Design Templates & Planting Plans: In this online gardening course, I’ll walk you through 30 fantastic garden designs, explaining the logic behind the layout, the plant choices, and take-home tips for applying them in your own garden.
Weekend Garden Makeover: A Crash Course in Design for Beginners
Learn how to transform and design your own garden with Lee Burkhills crash course in garden design. Over 5 hours Lee will teach you how to design your own dream garden. Featuring practical design examples, planting ideas and video guides. Learn how to design your garden in one weekend!
Garden Design for Beginners: Create Your Dream Garden in Just 4 Weeks
Garden Design for Beginners Online Course: If you want to make the career jump to becoming a garden designer or to learn how to design your own garden, this is the beginner course for you. Join me, Lee Burkhill, an award-winning garden designer, as I train you in the art of beautiful garden design.
Start with just a few first early seed potatoes this spring, follow these straightforward guidelines, and I guarantee you’ll be hooked. Before you know it, you’ll be planning next year’s potato crop and experimenting with weird and wonderful heritage varieties. But that first harvest of perfectly formed Rocket potatoes, still warm from the sun and covered in soil, is the moment you become a proper gardener.
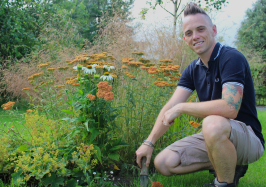
Lee Burkhill, known as the Garden Ninja, is an award-winning garden designer and horticulturist with over 30 years of gardening experience and 15 years as a professional garden designer. A qualified RHS (Royal Horticultural Society) professional, Lee specialises in sustainable garden design and practical horticultural advice. He designs and presents on BBC1’s Garden Rescue and in leading gardening publications. Lee combines three decades of hands-on gardening knowledge with professional design qualifications to help gardeners create beautiful, functional outdoor spaces.