-

How to Get Rid of Moles: Organic Methods That Actually Work
 Lee Burkhill: Award Winning Designer & BBC 1's Garden Rescue Presenters Official Blog

Discover how to get rid of moles humanely using organic methods that actually work in UK gardens. This comprehensive guide reveals natural deterrents including strong-scented bulbs like daffodils and alliums, garlic treatments, and castor oil solutions. Learn why humane mole control is more effective than lethal methods, with seasonal strategies and practical tips for encouraging these beneficial creatures to relocate naturally without harming your garden's ecosystem.
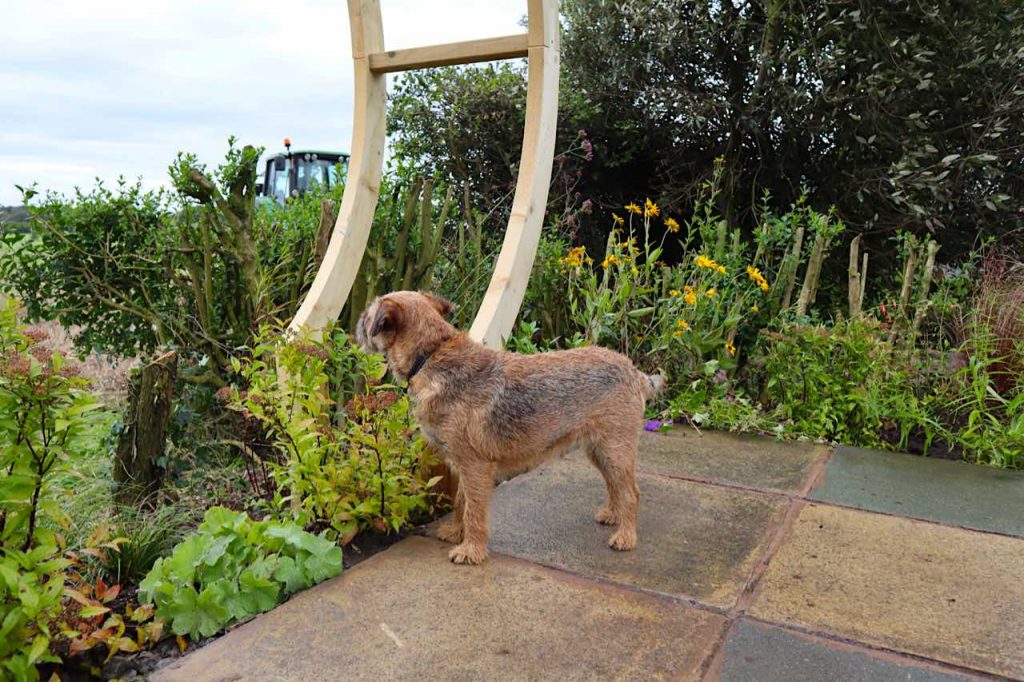
Moles, whilst adorable when they appear above ground, can be a pain when it comes to lawns and keeping your garden pristine. Those velvet-coated diggers that can turn your pristine lawn into something resembling a moonscape overnight.
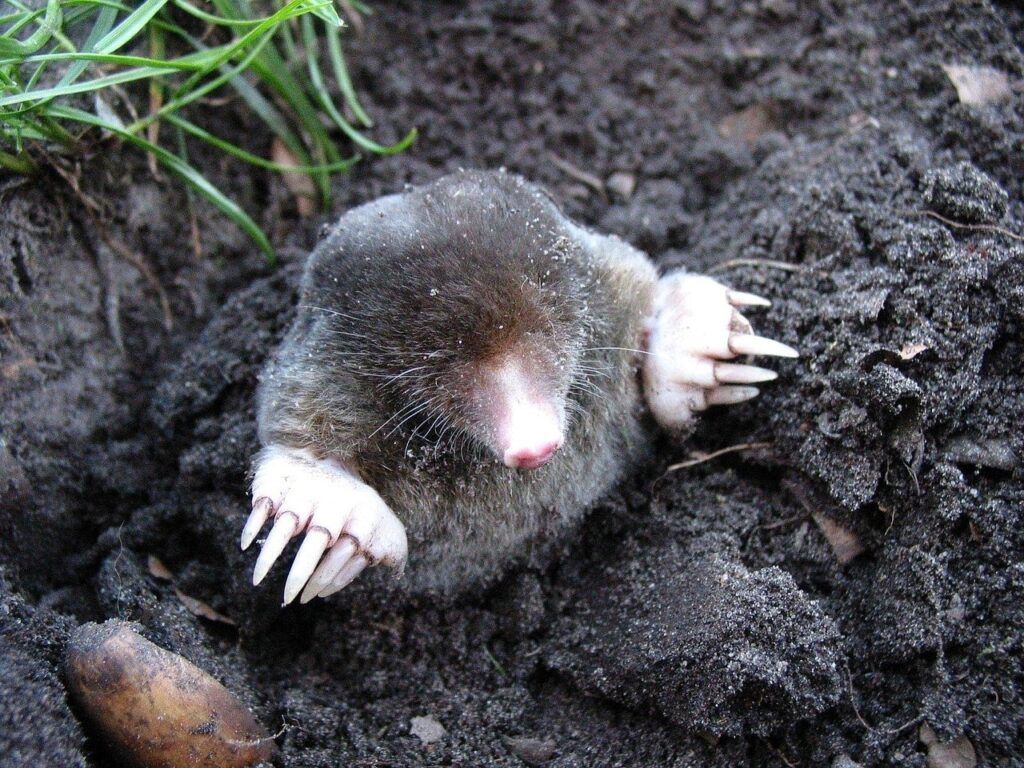
I get asked about mole control constantly, and I’m going to level with you: moles aren’t actually the enemy. They’re brilliant creatures that do a fantastic job aerating your soil and eating slug larvae, leatherjackets, and other pest insects that would otherwise munch through your plants.
However, I also completely understand the frustration of spending hours getting your lawn looking decent only to wake up and find it covered in molehills. The good news? You don’t need to harm these little diggers to encourage them to set up shop elsewhere.
There are loads of organic, humane methods that actually work without resorting to traps, poisons, or any of that nasty business. In this guide, I’m sharing the most effective approaches, with a particular focus on using strong-scented bulbs as natural deterrents.
Let’s get stuck in, Ninjas!
This page contains affiliate links for products I use and love. If you take action (i.e. subscribe, make a purchase) after clicking a link, I may earn some gardening commission, which helps me keep the Garden Ninja Blog free for all.
Understanding Moles: One Garden, Usually One Mole
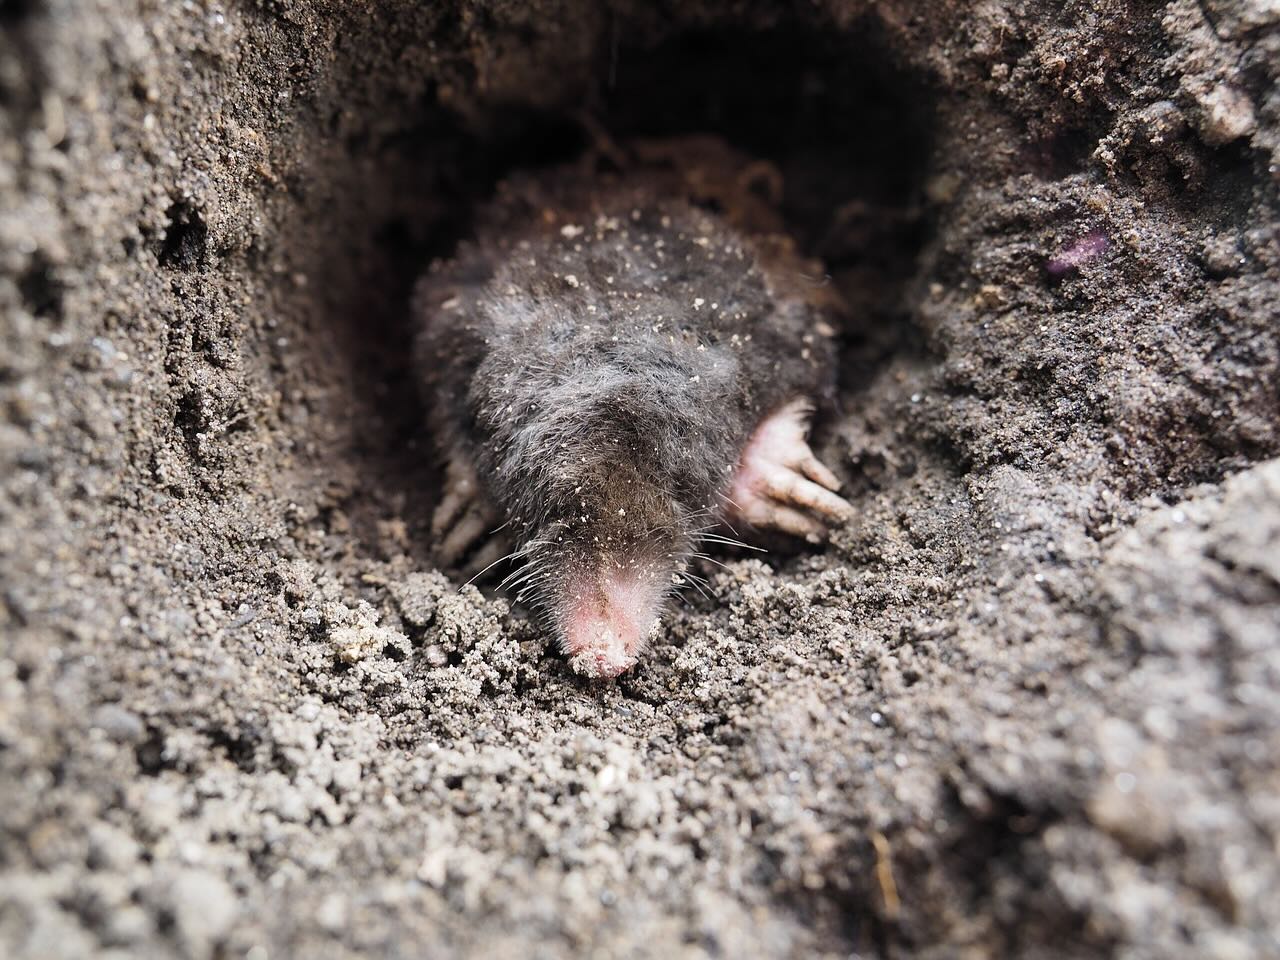
Before jumping into control methods, it’s worth understanding what we’re dealing with. Here’s what’ll blow your mind: all those molehills you’re seeing are probably caused by just ONE mole.
That’s right, a single mole! They’re incredibly territorial and solitary outside of breeding season, so you’re not dealing with an army; you’re dealing with one enthusiastic individual who happens to have really good digging skills.
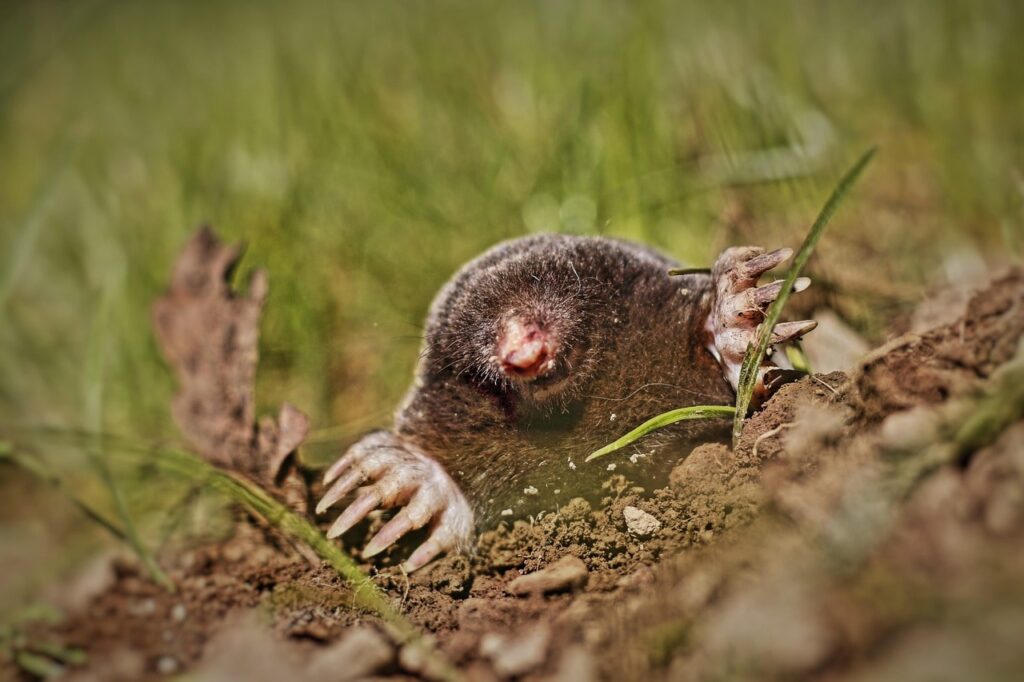
Moles are small mammals about 15cm long with dense blackish-brown fur, massive front paws built for digging, and an insatiable appetite.
They’re carnivorous, feeding on earthworms, insects, and larvae. They don’t eat your plants at all!
Any plant damage is purely accidental, caused by their tunnelling disturbing the roots. They need to eat about half their body weight daily to survive, which is why they’re so active, and those molehills appear so quickly.
Peak activity times occur in late winter and early spring, when the soil is moist and earthworms are most active near the surface. This is when you’re most likely to spot fresh molehills appearing across your lawn.
Why Organic and Humane Methods Work Better
I could tell you how to kill moles, but I won’t. It’s unnecessary and against everything I believe in as a gardener who works with nature. Killing a mole doesn’t solve your problem in the long term because another will move into the vacant territory within weeks.
Organic deterrents work by making your garden less attractive or encouraging natural predators to relocate. Better for wildlife, better for your soil, and it’s simply the right thing to do.
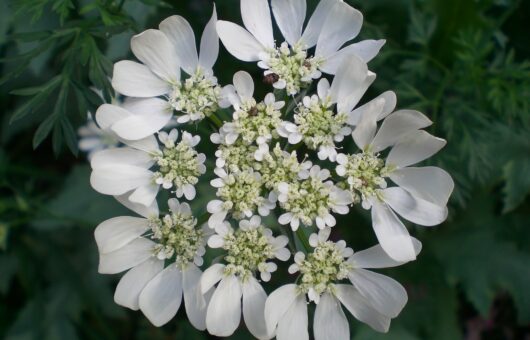
The Power of Strong-Scented Bulbs: Your First Line of Defence
This is where things get properly interesting, Ninjas. Moles have an absolutely incredible sense of smell, which they use to locate food underground in complete darkness. Their sensitive snout is also their Achilles’ heel, because plants that produce strong scents, particularly those underground from their bulbs, can make areas deeply unpleasant for them to forage in.
The beauty of using bulbs as mole deterrents is that you’re solving two problems at once: you get stunning spring flowers that brighten up your garden, whilst simultaneously creating a natural barrier that encourages moles to hunt elsewhere. It’s win-win gardening at its finest!
Daffodils (Narcissus)
Daffodils are your secret weapon against moles. The bulbs contain toxic alkaloids called lycorine, which make them poisonous to most animals; moles instinctively avoid areas where these bulbs are present.
This isn’t something they need to learn; it’s hardwired into them. Plant daffodils liberally around the perimeter of your lawn and throughout borders where mole activity is problematic.

How to Use: Plant bulbs in autumn at a depth three times their diameter (approximately 15cm deep for most varieties). Create borders of daffodils around problem areas, or naturalise them throughout your lawn. The more, the better! A dense planting of 50-100 bulbs will be far more effective than a sparse scattering of a dozen.
Select both early, mid and late-flowering varieties of spring bulbs for extended protection and a longer flowering season. Varieties like ‘Tête-à-tête’ and ‘February Gold’ for early spring, ‘Carlton’ for mid-spring, and ‘Thalia’ for late spring will give you coverage from February through April.
Alliums (Ornamental Garlic)
Alliums produce that distinctive garlic smell that moles absolutely detest. Their sensitive noses can’t stand it! From the massive purple globes of Allium ‘Globemaster’ down to the cheerful yellow of Allium moly, these architectural beauties are brilliant mole deterrents whilst also being stunning garden plants that pollinators love.
How to Use: Plant bulbs in autumn about 10-15cm deep throughout borders and around lawn edges. Mix different heights and flowering times for maximum impact. The brilliant thing about alliums is that their scent persists in the soil even after flowering has finished, so they continue to work as deterrents throughout the year.
Allium bulbs multiply over time, so your initial investment becomes increasingly effective each year. Plant them densely in problem areas, spacing bulbs about 15-20cm apart. The foliage can look a bit tatty as it dies back after flowering, so position them behind other plants that will hide the dying leaves whilst still allowing the bulbs to work their magic underground.
Fritillarias (Crown Imperial)
Fritillaria imperialis, commonly called Crown Imperial, has a distinctive foxy smell that moles find deeply unpleasant. These tall, dramatic plants with crowns of nodding orange or yellow bells are brilliant architectural specimens that also happen to repel moles effectively.
I’ll be honest, I can’t stand the smell of these bulbs when they’re in flower; there’s a definite love-or-hate vibe to them, but they do deter moles as well, so pick your battles.

How to Use: Plant bulbs in autumn, about 20cm deep, tilted slightly on their side on a bed of sharp sand to prevent waterlogging (they’re prone to rot if drainage isn’t spot on). Position them strategically around problem areas. These are expensive bulbs, so use them wisely as focal points around the perimeter of lawn areas or in borders where mole activity is worst. One well-placed Crown Imperial can be effective over a 2-3 metre radius.
Hyacinths
Hyacinths produce one of the most powerfully fragrant flowers in the spring garden, and that intense perfume makes areas less appealing to foraging moles. Plus, they smell absolutely gorgeous to humans, so it’s a proper win-win situation!
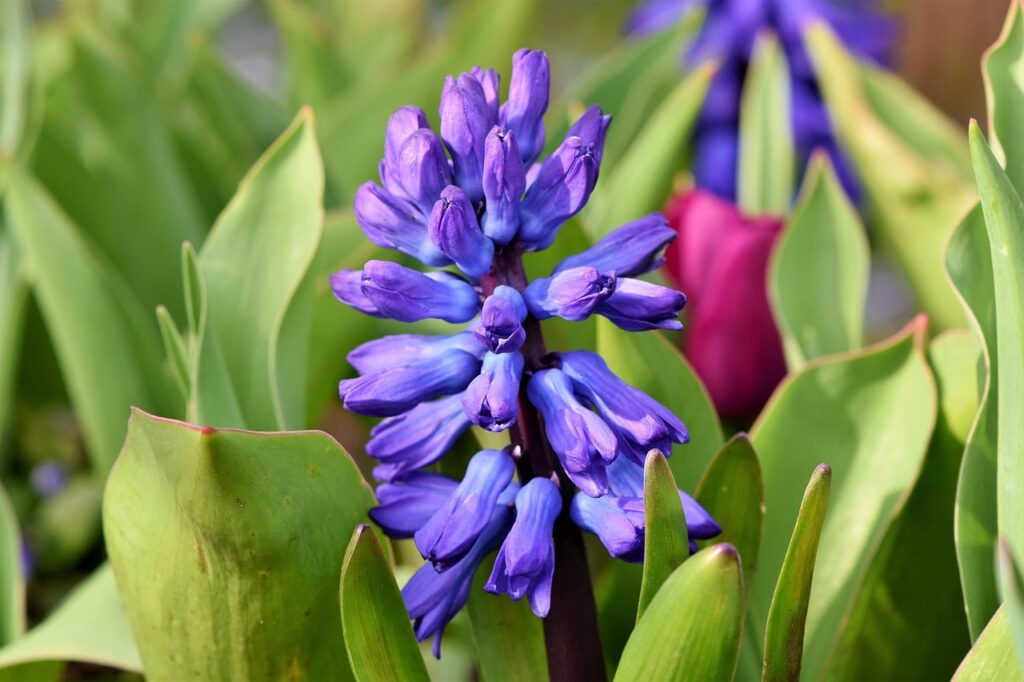
How to Use: Plant bulbs in autumn, about 10cm deep, in groups around lawn edges and throughout borders. Mix colours for visual impact whilst benefiting from the scent deterrent. After flowering, the scent lingers in the soil, and if you leave bulbs in place to naturalise, they’ll provide years of both beautiful flowers and mole deterrence.
Other Organic Deterrent Methods That Actually Work
Beyond bulbs and garlic, several other organic approaches can help encourage moles to relocate. The key is to use multiple methods together for a cumulative effect, rather than relying on just one approach.
i) Coffee Grounds: The Gardener’s Free Weapon
Used coffee grounds are an excellent deterrent for moles, and they’re free if you’re a coffee drinker like me here at Garden Ninja HQ! The strong, acidic smell that moles dislike, combined with the fact that they improve your soil as they break down, makes this a proper win-win solution.
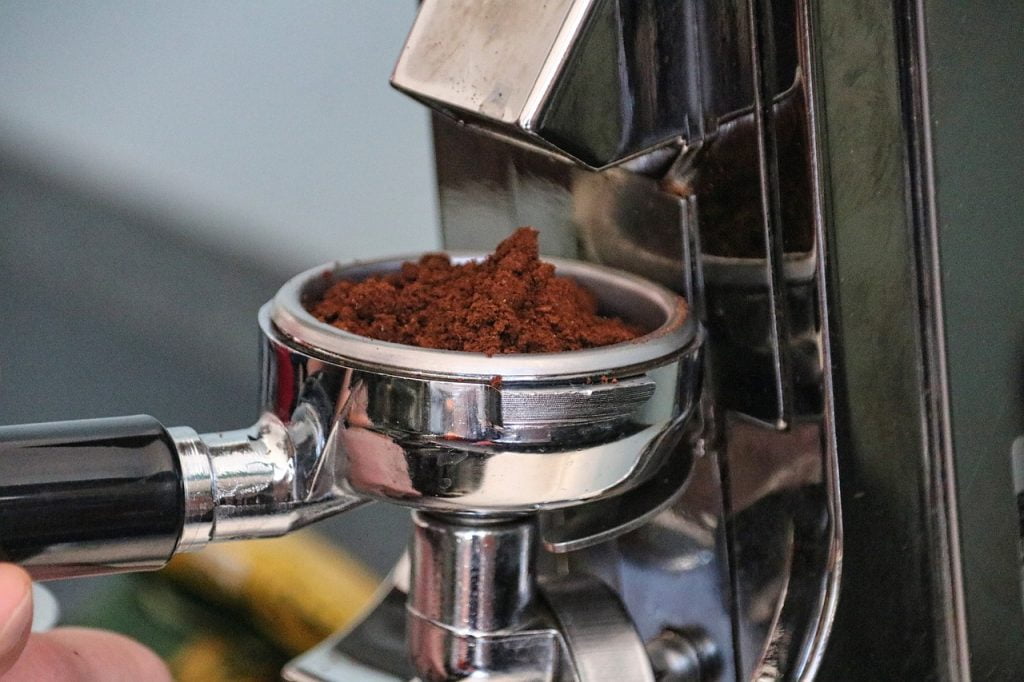
How to Apply: Collect used coffee grounds from your morning brew (or ask your local coffee shop nicely; most are happy to give them away). Allow them to dry slightly so they’re not dripping wet. Locate active mole tunnels by probing between fresh molehills with a stick or metal rod.
Once you’ve found the tunnel, push generous handfuls of coffee grounds into it, ensuring they fall down into the passage rather than sitting on top of the soil.
Application Frequency: Repeat this weekly during active mole periods. After heavy rain, you’ll need to reapply as the grounds wash deeper into the soil (which actually helps distribute them through the tunnel system).
Bonus Benefits: Coffee grounds not only deter moles but also help discourage slugs and snails, improve drainage in clay soils, add organic matter, and provide a slow-release nitrogen boost for nearby plants.
Some gardeners swear by sprinkling them around hostas and other slug-prone plants for dual protection. The slightly acidic nature makes them particularly good for acid-loving plants like rhododendrons, camellias, and blueberries.
ii) Vibration and Noise Deterrents: Making Your Garden Uncomfortable
Moles are extremely sensitive to vibrations and noise. They naturally avoid areas with regular disturbance, which is why you rarely see molehills on football pitches or in the middle of children’s play areas. You can exploit this sensitivity to make your garden less attractive. I
find using my ride-on mower and mowing over the hills helps keep my own mole population under control. But any petrol-powered mower will have the same effect on scaring them elsewhere if used frequently.

Natural Disturbance Methods: The most effective (and free) approach is simply using your garden regularly. Frequent lawn mowing creates vibrations that moles find deeply unpleasant. Children playing, bouncing on trampolines, or running around all help deter moles. Even regular walking around your garden contributes to making it less appealing. The more active your garden is, the less attractive it becomes to these shy, solitary creatures.
Shop-Bought Sonic Repellers: Solar-powered or battery-operated sonic mole repellers are available from most garden centres. These devices emit vibrations through the soil at regular intervals, creating an uncomfortable environment for moles. Position them around the perimeter of your lawn and in problem areas, spacing them according to the manufacturer’s instructions (usually about 15-20 metres apart for effective coverage).
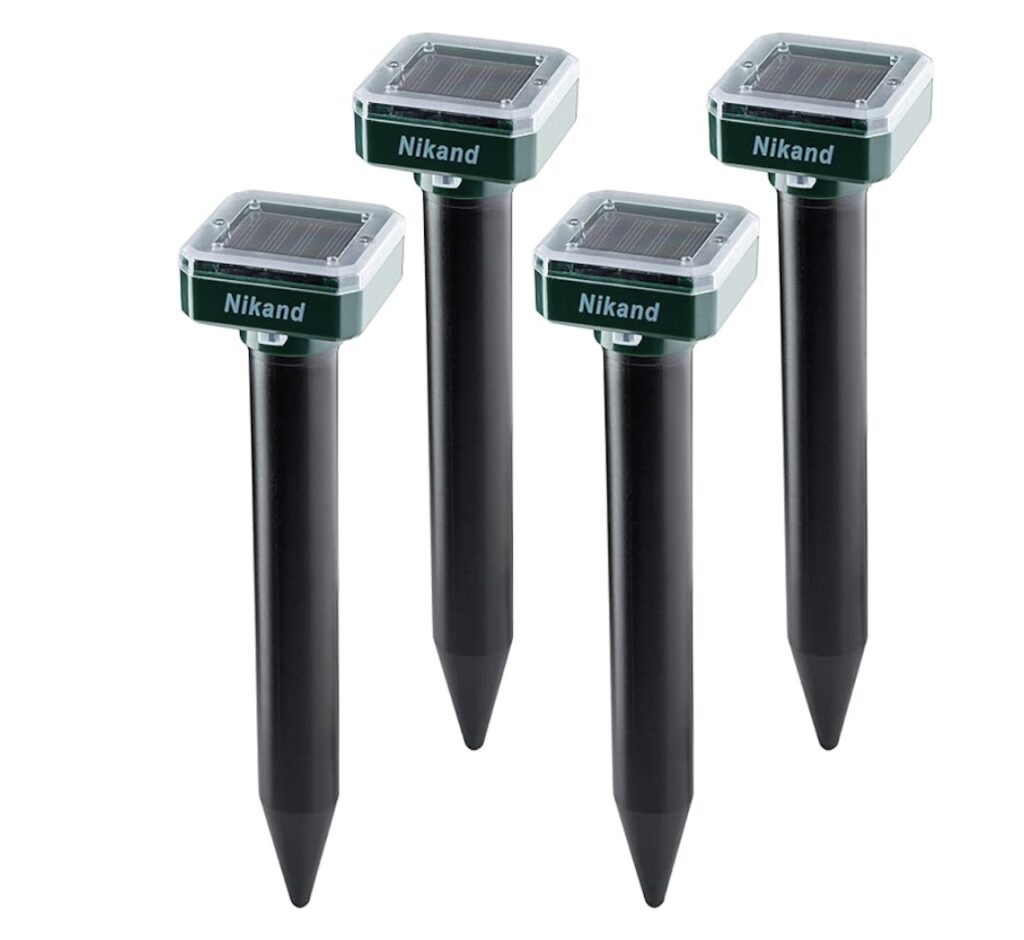
Reality Check: Sonic repellers have mixed success rates. They may simply push the mole from one part of your garden to another rather than off your property entirely. They’re worth trying as part of a multi-pronged approach, but don’t rely on them as your sole solution.
Some gardeners report excellent results; others see little difference. The effectiveness often depends on soil type (they work better in clay soils that transmit vibrations well) and how determined your resident mole is.
DIY Noise Solutions: Some gardeners swear by placing wind chimes, empty bottles buried at angles, or even children’s pinwheels around the garden. The theory is that wind creates vibrations and noise that travel through the ground. Evidence is anecdotal at best, but they’re cheap to try and won’t do any harm!
iii) Beneficial Nematodes: The Long Game
This is a genius approach that works by reducing the mole’s food supply rather than directly deterring the creature itself. Beneficial nematodes are microscopic organisms that occur naturally in soil, and you can buy them here.
Specific species target and reduce populations of grubs, leatherjackets, chafer beetle larvae, and other soil-dwelling pests that make up a significant part of the mole’s diet. However, they are incredibly expensive and also stop other wildlife from being able to prey on them too!
How They Work: When you apply beneficial nematodes to your soil, they seek out pest larvae and enter them, releasing bacteria that kill the host within 48 hours. This dramatically reduces the mole’s available food supply. As food becomes scarce, the mole naturally relocates to more productive hunting grounds rather than starving in your garden.
Application Method: Purchase beneficial nematodes specifically for mole control from reputable garden centres or online suppliers (they need to be fresh and alive).
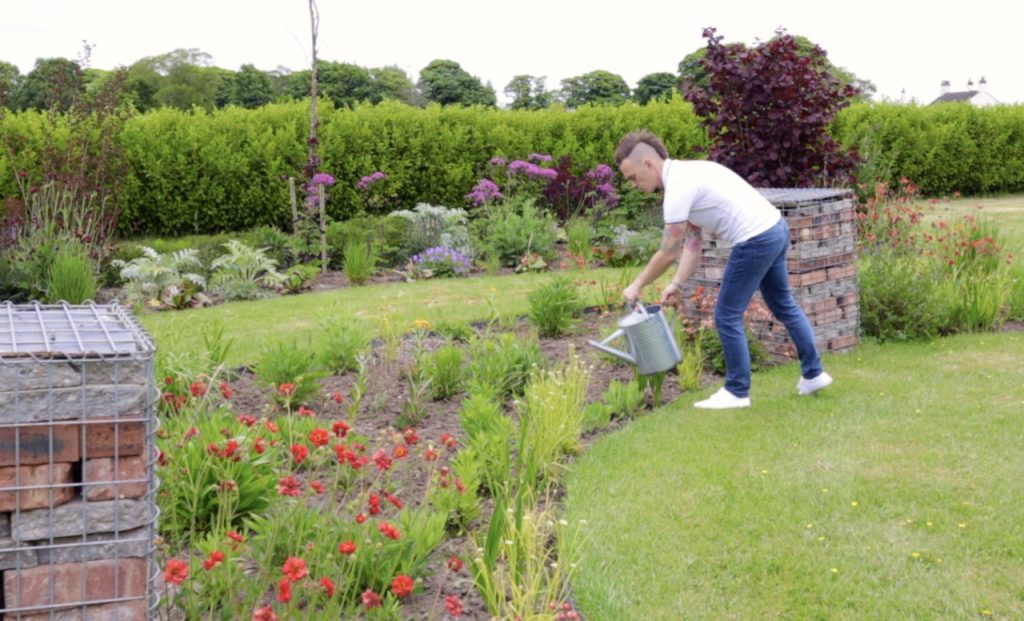
Mix with water according to the packet instructions, ensuring you use the correct dilution rate. Apply to affected areas using a watering can with a coarse rose during the cooler parts of the day (early morning or evening). Soil temperature should be above 5°C but ideally below 25°C for best results.
Critical Aftercare: Keep the soil moist (not waterlogged) for at least a week after application to allow the nematodes to establish and move through the soil profile. Water lightly each day if there’s no rain. Avoid applying them in bright sunshine as UV light kills them before they can enter the soil.
Timeframe: This is definitely a long-term strategy rather than a quick fix. Don’t expect instant results. It typically takes 4-6 weeks to see a noticeable reduction in mole activity as the food supply gradually decreases. Apply nematodes twice a year (spring and autumn) for best results and to maintain low pest populations that won’t attract moles back.
iv) Hair Clippings and Pet Fur: The Predator Scent Method
This is an old gardener’s trick that has some merit. The theory is that human hair and dog fur carry scent that moles associate with predator activity, making them uncomfortable in treated areas.
How to Use: Collect hair from hairbrushes, barber shops, or groomers (most groomers are happy to save clippings for gardeners). Push generous handfuls into mole tunnels. Some gardeners also create small pouches of hair in old tights or muslin bags and bury these at 15-20cm depth around problem areas.
Effectiveness: Evidence is mostly anecdotal, but it’s free and harmless to try. The scent fades relatively quickly, so you’ll need to reapply every few weeks, especially after rain. It works better in combination with other methods rather than as a standalone solution. In my experience, mole deterrent balls are better for scent. If following this route, you can see the ones I’ve used in the past here.
Why Manual Traps Are Bad: The Harsh Reality
Let’s talk about something important that often gets glossed over when it comes to dealing with moles: mole traps. You’ll see them sold in garden centres, and various pest control companies will offer trapping services. However, I want to be completely honest with you about why manual traps are problematic and why you should avoid them.
The Cruelty Factor
Traditional spring-loaded mole traps (like scissor traps or barrel traps) are designed to kill moles as they pass through their tunnels. The marketing says they’re “quick and humane,” but the reality is often very different. These traps frequently maim rather than kill instantly, causing prolonged suffering.
Moles can be caught by limbs rather than the body, leading to injuries that result in slow death from shock, blood loss, or starvation if they’re unable to free themselves.
Even “live capture” traps, which are marketed as humane alternatives, are deeply problematic. Moles have such high metabolic rates that they need to eat every few hours. The RHS guidelines state that live-capture traps must be checked twice daily to prevent starvation and stress, but many gardeners don’t realise this or remember to check regularly. A mole left in a trap for even 12 hours can die from starvation or stress.
Mole Traps Only Stop One Mole
Here’s the thing that trap manufacturers don’t advertise prominently: killing or removing a mole rarely solves your problem permanently. Moles are so territorial that vacant territories are quickly recolonised by other moles from neighbouring areas. You might successfully trap and remove your resident mole, only to find a replacement moves in within 2-4 weeks. You’ve killed a creature unnecessarily and still have molehills. It’s a lose-lose situation.
The Skill Factor
Effective trap placement requires genuine expertise. You need to correctly identify active tunnels (as opposed to temporary foraging tunnels), understand mole behaviour, and position traps precisely. Most DIY gardeners lack this knowledge, resulting in poorly positioned traps that either fail to work or cause unnecessary harm. Professional mole catchers spend years learning their trade; it’s not something you can master from a YouTube video.
The Legal Grey Area
In the UK, moles aren’t protected under the Wildlife and Countryside Act in most circumstances, but there are increasing calls for regulation of mole control methods. Some counties have restrictions on certain trap types. Using certain poisons or methods can be illegal depending on your location. The legal landscape is shifting towards greater protection, and what’s legal now might not be in a few years.
The Ethical Alternative
Everything I’ve shared in this guide—from scented bulbs to natural deterrents—works by encouraging moles to relocate naturally rather than killing them.
This acknowledges the fact that moles are beneficial creatures:
- Moles naturally aerate soil helping with drainage
- Moles consume pest larvae
- Moles play a vital role in a healthy ecosystem
They’re not pests in the traditional sense; they’re just inconvenient when they happen to set up territory in your prize lawn.
If you genuinely have a severe mole problem that you cannot manage through organic deterrents (and you’ve given those methods a proper try over several months, not just a couple of weeks), then consider hiring a professional pest controller who uses the most humane methods available. But please, don’t buy traps from the garden centre and try to DIY it. The suffering you might cause isn’t worth it.
Creating a Long-Term Management Strategy
No magic bullet’ll instantly make moles disappear forever and never return. Successful mole management is about making your garden progressively less appealing over time through a combination of methods used consistently. It’s a marathon, not a sprint. Here’s your comprehensive seasonal action plan:
Spring (March-May): Peak Battle Season
This is when moles are most active, breeding season is underway, and fresh molehills seem to appear overnight like mushrooms after rain. This is your most intensive management period.

Week-by-week actions:
- Apply castor oil treatment every 2-3 weeks across affected areas
- Check for new molehills twice weekly and apply garlic granules to any fresh tunnels
- Spread molehill soil across the lawn before mowing
- Plant any spring-flowering bulbs (daffodils, alliums) that are finishing flowering into problem areas where they can establish for next year
- Apply beneficial nematodes in late April/early May when soil warms up
Summer (June-August): Consolidation Phase
Mole activity often decreases in summer as they tunnel deeper to follow earthworms down to moisture. But don’t get complacent; maintain your deterrents!
Summer tasks:
- Plant garlic cloves in borders around lawn areas in June. These will grow through autumn and winter, ready to deter moles the following spring
- Continue castor oil treatments monthly in problem areas
- Apply beneficial nematodes during cool, damp spells
- Maintain regular lawn mowing (weekly if possible) to create vibrations
- Water less frequently but more deeply to make surface soil drier and less worm-rich
Autumn (September-November): Critical Planting Window
This is THE most important season for long-term mole management. The bulbs you plant now will be working underground all winter and spring, creating barriers that last for years.
Autumn priorities:
- Plant generous quantities of daffodils, alliums, fritillarias, and hyacinths in October-November
- Focus on creating borders around lawn perimeters (minimum 2 rows deep, 15-20cm apart)
- Naturalise daffodils throughout lawn areas where mole activity has been worst
- Plant 50-100 bulbs minimum for effective coverage; more is genuinely better
- Apply garlic granules to any active tunnels
- Spread coffee grounds around problem areas

Winter (December-February): Underground Warfare
Moles remain active but tunnel deeper to follow their food sources. Your autumn-planted bulbs are working their magic underground, releasing scents moles instinctively avoid.
Winter monitoring:
- Check for fresh molehills after mild, wet periods (when moles come nearer to the surface)
- Apply garlic granules to any new tunnel systems
- Collect coffee grounds through winter ready for spring application
- Use molehill soil for seed sowing or potting compost
- Plan next season’s bulb planting based on where activity has been worst
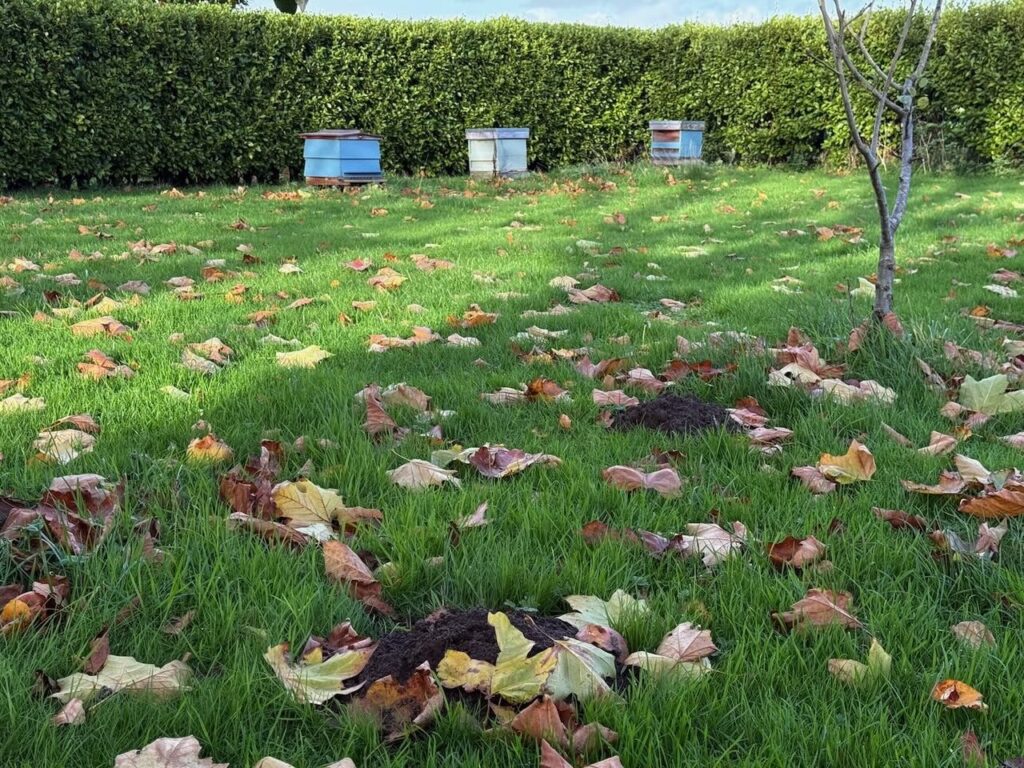
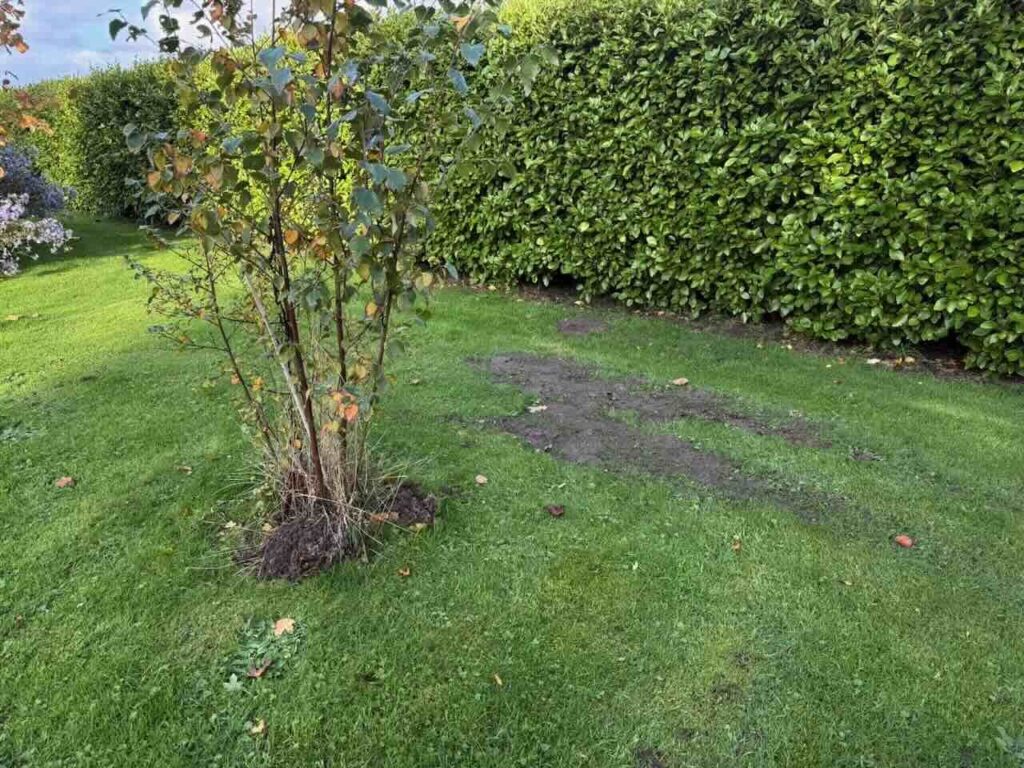
Dealing with Molehills: Practical Damage Control
Right, let’s address the elephant in the room (or rather, the molehill on the lawn). Even with brilliant deterrent strategies, you’ll likely deal with some molehills during the management period. Here’s how to handle them effectively:
Don’t Make This Rookie Mistake
Never stamp molehills down or try to collapse tunnels by jumping on them or rolling them flat. It’s tempting, I know! But moles are professional diggers with nothing but time on their hands (or paws). They’ll simply re-dig the tunnel and create another molehill, often in exactly the same spot. You’ve wasted your energy and achieved precisely nothing except annoying yourself.
The Smart Approach
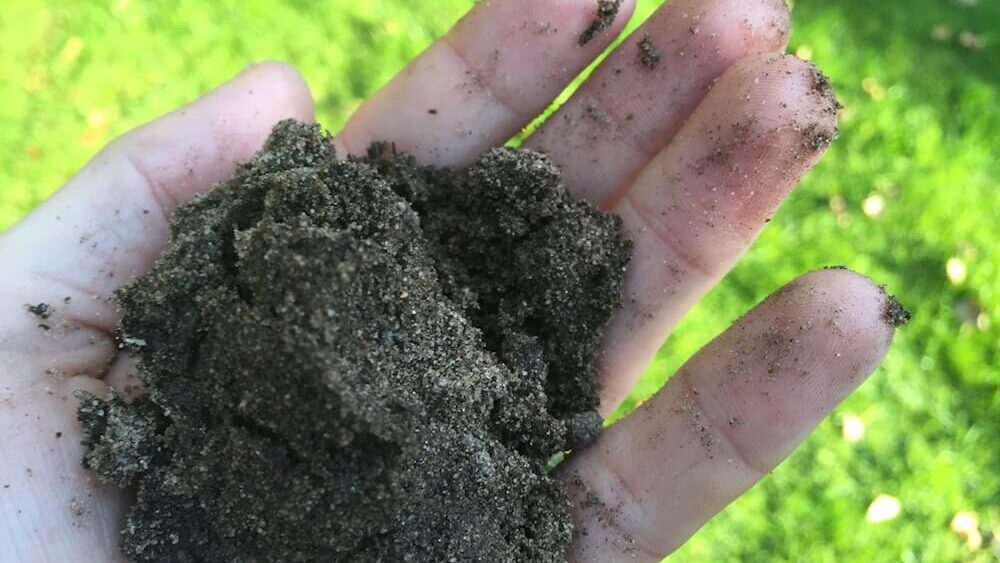
Before mowing, use a garden rake or shovel to spread the soil from molehills evenly across the surrounding lawn. Brush it out thinly rather than leaving clumps. This fine, stone-free soil is actually premium topsoil that’ll improve your lawn’s texture and provide nutrients. You’re essentially getting free top-dressing! Rake it smooth, and when you mow over it, the grass will grow through beautifully within a couple of weeks.
Collecting for Later Use
Alternatively, collect molehill soil in a bucket or wheelbarrow. This beautiful, fine-textured soil is brilliant for:
- Seed sowing (it’s already perfectly fine and stone-free)
- Potting up cuttings and small plants
- Top-dressing containers
- Improving heavy clay soil when mixed with compost
- Filling small depressions in borders
Store it in bags or covered containers, and you’ve got free potting compost for the year. Waste not, want not!
Repairing Serious Damage
For more extensive damage where tunnels have caused subsidence or surface collapse:
- Fill the collapsed area with the excavated soil from nearby molehills
- Firm gently with your feet, but don’t compact it solidly
- Rake level with the surrounding ground
- Overseed any bare patches with appropriate grass seed
- Water in if the weather is dry
- Keep off the area for 2-3 weeks while the grass establishes
With this method, you can repair quite significant damage quickly. Within 4-6 weeks, you’ll barely be able to see where the worst molehills were.
The Philosophy of Acceptance
Sometimes the best approach is acceptance with management rather than total elimination. This means:
Focus deterrents on priority areas: Use the intensive organic methods (bulbs, garlic, castor oil) around your main lawn, formal beds, and vegetable garden where molehills are genuinely problematic.
Accept activity in less important areas: If you’ve got a wild corner, an orchard area, or rough grass that doesn’t need to be pristine, let the moles do their thing there. They’re not hurting anything and they’re doing beneficial work.
Change your perspective: Instead of seeing every molehill as an affront, see them as free topsoil delivery and a sign of healthy soil life. I know that sounds like hippy nonsense, but genuinely, shifting your mindset reduces stress.
Work with natural systems: Gardens that try to dominate and control every aspect of nature end up being high-maintenance nightmares. Gardens that work with natural systems, accepting a bit of wildness, are ultimately healthier, more resilient, and less stressful to maintain.
When to Seek Professional Help
Suppose you’ve genuinely tried all the organic methods in this guide consistently for 6-12 months and you’re still getting unmanageable levels of mole activity that’s genuinely damaging your garden’s function (not just its appearance). In that case, it might be time to consult a professional pest controller. Choose one who:
- Uses the most humane methods available
- Understands wildlife management rather than just pest elimination
- Offers advice on habitat modification to prevent recolonisation
- Provides guarantees about follow-up treatments
But honestly? Most mole problems can be managed to an acceptable level with the organic approaches outlined in this guide, provided you’re patient and consistent.
Final Thoughts: Working With Nature Always Wins
The fundamental principle of organic gardening is working with natural systems rather than trying to dominate them with chemicals, killing, and control. Moles fit perfectly into this philosophy. They’re remarkable creatures that have evolved over millions of years to fulfil an ecological niche, and whilst their activities can be annoying when they clash with our desire for pristine lawns, they’re ultimately beneficial members of your garden’s ecosystem.
By using strong-scented bulbs, natural deterrents, and a bit of patience and persistence, you can reduce mole activity to manageable levels without harming these velvet-coated engineers. Your garden will be better for it—your soil will be healthier, your local ecosystem will be more balanced, and you’ll have the satisfaction of knowing you’ve solved the problem ethically and sustainably.
So get those daffodil and allium bulbs ordered in bulk, keep some coffee grounds handy, mix up that castor oil treatment, and embrace a more tolerant approach to your underground neighbours. Your garden’s ecosystem—and your conscience—will thank you for it.
Happy gardening, Ninjas! Now get out there and make peace with your moles whilst still protecting your prize lawn. It’s possible to do both! ?


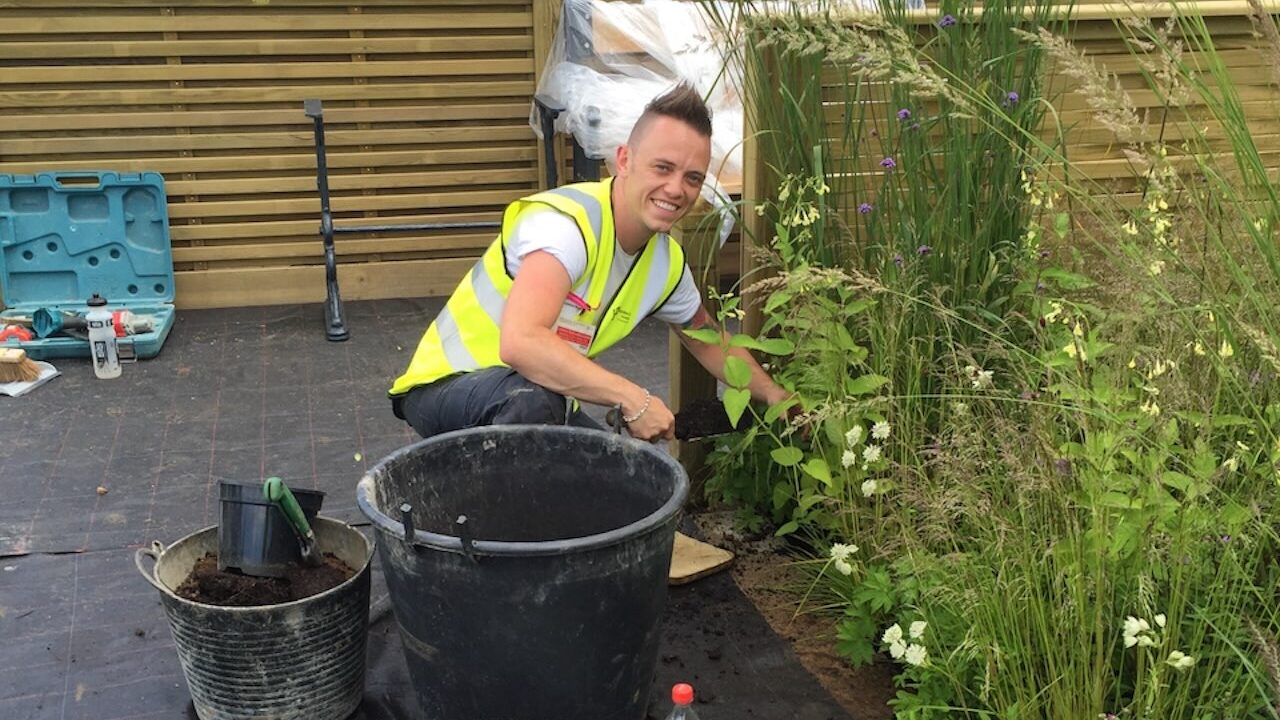
Lee Burkhill
Lee Burkhill, known as the Garden Ninja, is an award-winning garden designer and horticulturist with over 30 years of gardening experience and 15 years as a professional garden designer. A qualified RHS (Royal Horticultural Society) professional, Lee specialises in sustainable garden design and practical horticultural advice. He designs and presents on BBC1’s Garden Rescue and in leading gardening publications. Lee combines three decades of hands-on gardening knowledge with professional design qualifications to help gardeners create beautiful, functional outdoor spaces.
View all posts by Lee Burkhill


Categories
Other posts
-

Start here: to begin your gardening journey! Read more
-
What Plants to Grow and Sow in September: Your UK Gardening Guide Read more
-
How to sow seeds – beginners guide to growing plants Read more
-
Pleached Trees; planting and support guide Read more
-
Artificial Turf Reviewed – is fake grass bad for the environment? Read more
-
How to Design a Long Thin Garden: Transform Your Corridor into a Stunning Journey Read more