-

Garden Soil Testing for Beginners: Do You Really Need It?
 Lee Burkhill: Award Winning Designer & BBC 1's Garden Rescue Presenters Official Blog
Do you need to test your soil before planting? In this comprehensive guide, I'm going to cut through the confusion and give you the honest answer about garden soil testing. You'll discover exactly when testing matters (and when it absolutely doesn't), learn simple DIY tests you can do today with household items, understand what professional testing actually reveals, and most importantly, learn how to read your soil's story so your plants can finally thrive. Let's dig in!
Short answer: If your garden is already thriving with happy, healthy plants, you probably don’t need soil testing. However, if you’re starting a brand new plot, battling persistent plant problems, or growing fussy plants like rhododendrons or blueberries, testing your soil is absolutely essential for success.
Why Most Gardeners Skip Soil Testing (And Whether You Should Too)
Let’s cut through the confusion about soil testing, Ninjas! As someone who’s designed hundreds of gardens and spoken to thousands of beginner gardeners on BBC Radio Manchester, I can tell you that soil testing is one of the most misunderstood topics in gardening.
Here’s the truth: soil quality dramatically affects your gardening success, yet most beginners rush straight into planting without understanding what’s beneath their boots. On the flip side, some gardeners get so obsessed with testing that they never actually get around to growing anything!

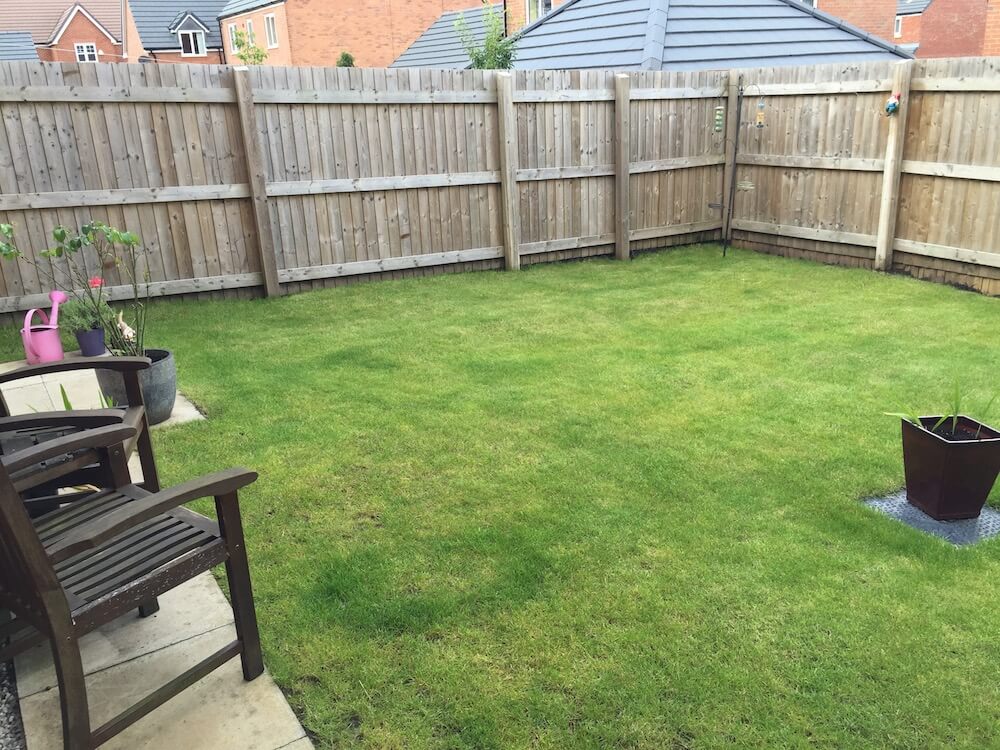
The reality is wonderfully simple. If you’ve inherited an established garden where plants are growing successfully year after year, congratulations! Your soil is clearly doing its job, and you don’t need to test it. The plants themselves are telling you everything you need to know.
Does that established rose bush flower reliably? Those perennials coming back stronger each spring?
That’s nature’s own soil report, and it’s saying “all systems go.” Testing in this scenario would be rather like taking your car to a mechanic when it’s running beautifully. Sure, you might learn some interesting details, but it won’t change what you’re doing.
However, there are specific situations where soil testing transforms from an optional extra to an absolute necessity. New plots and new build gardens are the prime example because you’re stepping into unknown territory. Perhaps you’ve just moved into a new build property where builders have dumped goodness knows what and called it topsoil, or maybe you’re converting a neglected corner of the garden into a productive vegetable patch.
In these situations, testing your soil before you plant saves you enormous amounts of time, money, and heartache down the line. I’ve lost count of how many consultations I’ve had with frustrated gardeners who’ve spent hundreds on plants only to watch them struggle because the soil simply wasn’t right.
If you’re interested in understanding more about different soil types and their characteristics, I’ve got a comprehensive guide that breaks it all down.
Problem areas are another clear signal that testing is worthwhile. If there’s a particular spot in your garden where plants consistently fail, turn yellow, or refuse to grow no matter what you try, the soil is likely the culprit. Rather than playing an expensive guessing game with different plants and amendments, a simple test reveals exactly what’s going on beneath the surface. It’s like having X-ray vision for your garden!
Finally, if you’re planning to grow acid-loving plants such as rhododendrons, camellias, azaleas, or blueberries, soil testing isn’t just recommended but absolutely crucial. These plants are incredibly fussy about pH levels and will sulk terribly, turn yellow, or simply die in the wrong conditions.
Trust me, I’ve seen plenty of beautiful rhododendrons reduced to sad, chlorotic specimens because someone planted them in alkaline soil without checking first. A £5 testing kit could have saved that £40 plant!

The Simple DIY Jar Test: Understanding Your Soil Composition
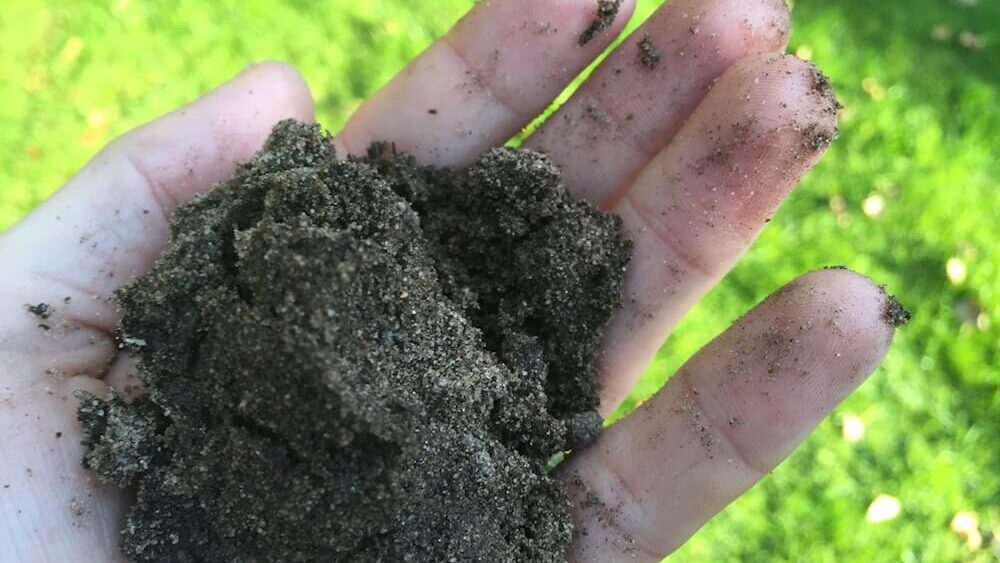
This test is brilliant because it costs nothing and shows you exactly what your soil is made of. Soil isn’t just dirt; it’s a complex mixture of sand, silt, and clay particles, and the proportions of these components dramatically affect how your soil behaves with water and nutrients. Here’s how to conduct this revealing test in your own kitchen.
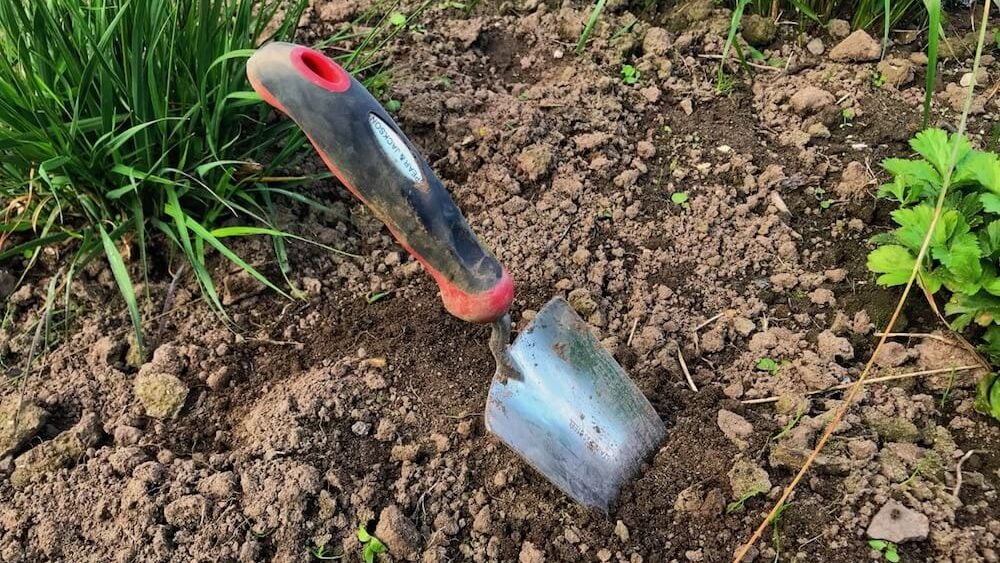
Start by collecting a soil sample from your garden, taking it from about 10-15cm below the surface. You want roughly a cupful of soil, and make sure you remove any stones, roots, or obvious debris. Pop this into a clean glass jar that holds about 500ml, fill it two-thirds full with water, and add a teaspoon of washing-up liquid. The detergent helps separate the particles so they’ll settle properly rather than clumping together.
Now, screw the lid on tightly and give that jar an absolutely good shake. I’m talking a proper vigorous shake for about a minute until everything is completely suspended in the water and looks like muddy soup. Once you’ve done this, set the jar somewhere it won’t be disturbed and prepare to be patient. This is where the magic happens, but it takes time.
After one minute, you’ll see the heaviest particles, the sand, settling at the bottom. Mark this level on the jar with a piece of tape or a marker pen. After two hours, the silt will have settled on top of the sand, so mark this second level. Finally, after 24 hours, the finest clay particles will have settled at the very top, creating a third layer. Sometimes you’ll even see organic matter floating on the water’s surface.
Now for the interpretation. Measure the depth of each layer, and you’ll instantly see what type of soil you have. If the sand layer is thickest, you have sandy soil, which drains quickly but struggles to hold nutrients. A dominant silt layer indicates silty soil, which is lovely and fertile but can compact easily. If clay is your thickest layer, you’ve got clay soil, which holds nutrients brilliantly but can be heavy, sticky, and slow draining.
Most UK soils are either sandy or clay-based, with the lucky few having balanced loam with roughly equal proportions of all three. For more guidance on working with clay soil specifically, I’ve written an entire article about improving and planting in heavy clay conditions.
The DIY Vinegar and Baking Soda pH Test
Testing your soil’s pH level tells you whether it’s acidic, neutral, or alkaline, which is crucial information because pH affects how plants access nutrients. The brilliant news is you can get a rough idea using ingredients you probably already have in your kitchen cupboards. This test won’t give you an exact reading like a professional test would, but it’s remarkably useful for getting the general picture.
Collect two soil samples from your garden, again from about 10-15cm below the surface. You need enough soil to fill two small containers, perhaps half a cup in each. Remove any stones or organic debris and try to get a representative sample from the area you’re testing. If you’re testing different parts of the garden, keep the samples separate and label them.

For the vinegar test, place one soil sample in a container and add white vinegar until the soil is covered. If the soil fizzes and bubbles, congratulations, your soil is alkaline (above pH 7.0). The fizzing happens because the acid in the vinegar reacts with alkaline compounds in the soil. If absolutely nothing happens, your soil is either neutral or acidic, so move on to the second test.
For the baking soda test, take your second soil sample and add enough water to make it muddy, like a thick paste. Then sprinkle baking soda (bicarbonate of soda) on top. If this mixture fizzes and bubbles, your soil is acidic (below pH 7.0). No reaction means your soil is likely neutral or slightly alkaline. Between these two tests, you’ll get a good indication of where your soil sits on the pH scale.
Most garden plants are wonderfully tolerant and thrive in soil between pH 6.0 and 7.0, which is slightly acidic to neutral. This range allows them to access all the nutrients they need without any being locked up or made unavailable. However, if you want to grow those acid-loving beauties like rhododendrons, heathers, camellias, or blueberries, you’ll need soil below pH 6.0. Conversely, plants like lavender, clematis, and many vegetables prefer slightly alkaline conditions above pH 7.0.
When Professional Soil Testing Makes Sense
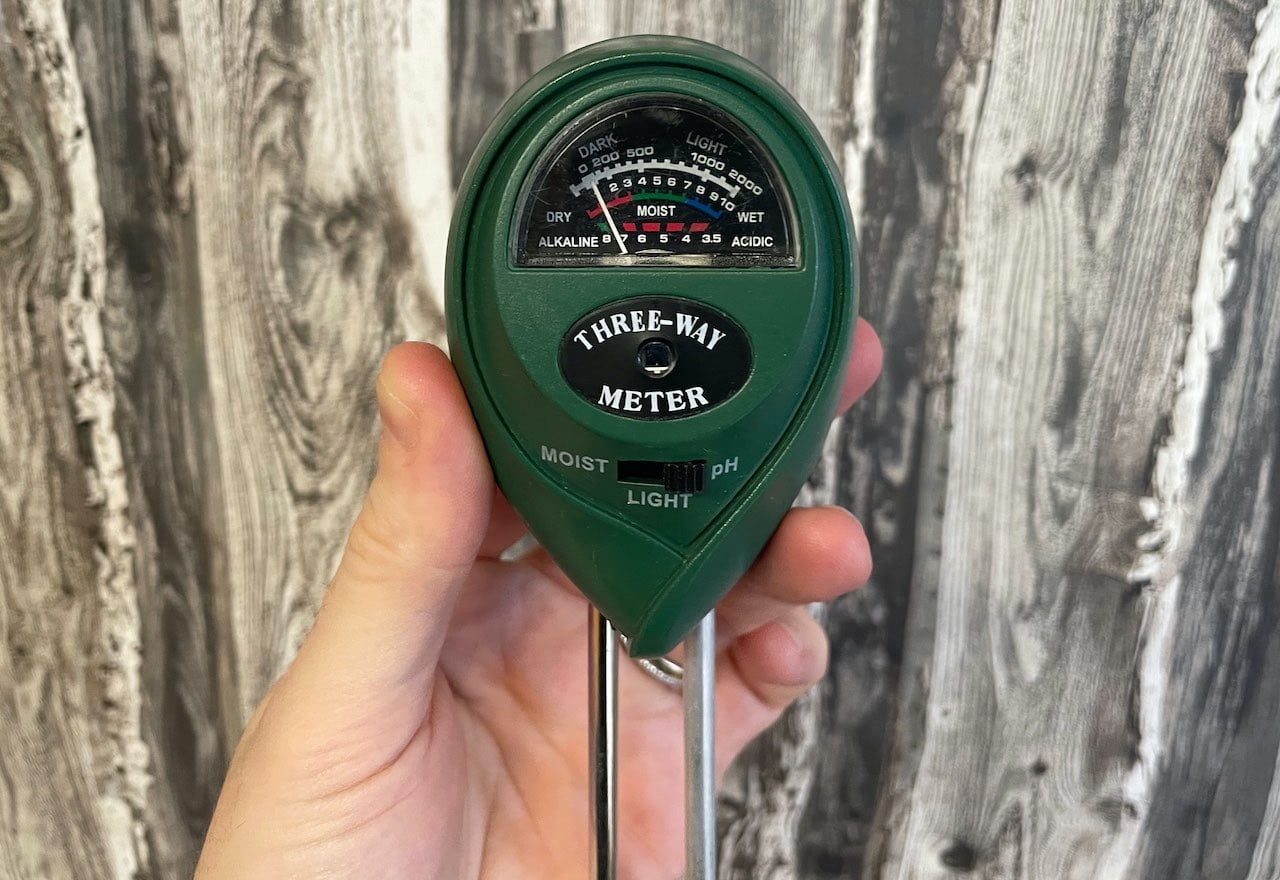
Whilst the DIY tests I’ve shared are fantastic starting points, there are situations where investing in professional testing absolutely justifies its cost. Professional tests typically run between £20 and £50, depending on what you’re testing for, and they provide precise measurements along with detailed recommendations. Here’s when that investment makes genuine sense rather than being just an interesting data point.
If you’re planning a major garden redesign or installing expensive planting schemes, professional testing can save you literally thousands of pounds in wasted plants and amendments. Imagine spending £2,000 on specimen trees and shrubs only to discover they’re completely unsuited to your soil. A £30 test suddenly looks rather sensible, doesn’t it?
Professional tests tell you exact pH levels (not just whether it’s acidic or alkaline), precise nutrient levels for nitrogen, phosphorus, and potassium, organic matter content, and sometimes even heavy metal contamination if you’re gardening in urban areas or former industrial sites.
Vegetable growers often benefit enormously from professional testing because productive vegetables are hungry plants with specific requirements. Knowing exactly what nutrients your soil contains allows you to amend it precisely rather than guessing or over-fertilising, which can actually harm plant growth and leach into waterways. If you’re serious about growing your own food, particularly if you want to go organic, professional testing gives you the roadmap for building truly fertile soil.
Persistent unexplained problems are another clear indicator that professional testing is worthwhile. If plants are consistently showing nutrient deficiency symptoms but DIY fixes aren’t working, a comprehensive soil test might reveal unexpected issues like micronutrient deficiencies or imbalanced nutrient ratios. Sometimes the problem isn’t what’s missing but what’s present in excessive amounts, which can be just as damaging.
Understanding Your Soil Test Results: What They Actually Mean
Right, so you’ve tested your soil, whether through DIY methods or professional analysis. Now comes the crucial bit: understanding what those results mean for your gardening and what actions, if any, you need to take. Let’s break down the key measurements and translate them into practical gardening language.
Starting with pH, which we’ve discussed already, the ideal pH ange for most garden plants sits between 6.0 and 7.0. If your soil falls into this range, honestly, you can stop worrying about pH and focus on other aspects of garden care. It’s like having a car with perfect tyre pressure; you don’t need to do anything except check it occasionally.
Acidic Soil
Soil below pH 6.0 is acidic, which is brilliant if you’re growing rhododendrons, azaleas, heathers, or blueberries, but problematic for most vegetables and many popular garden plants. The good news is you can raise pH by adding garden lime, but do this gradually, testing as you go.
Alkaline Soil
Soil above pH 7.5 is alkaline, which suits Mediterranean plants, lavender, and many herbs, but makes life difficult for acid-lovers. Lowering pH is trickier than raising it, often requiring sulphur or ericaceous compost over time.
Soil Types
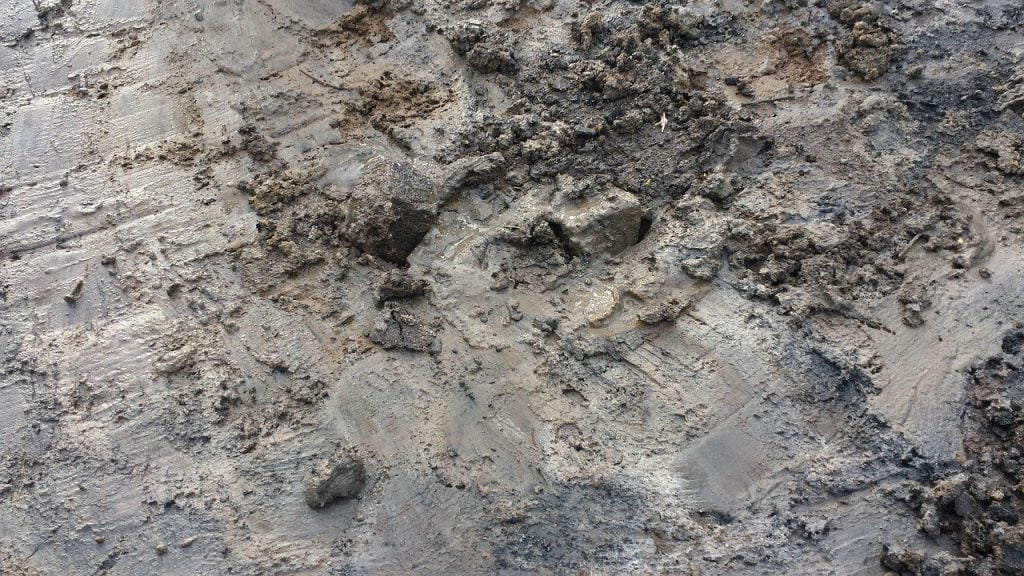
The next thing to consider is what “clay soil” actually means for your gardening ,rather than just being an abstract concept. Clay soil consists of incredibly fine particles that pack together tightly, creating soil that’s rich in nutrients and holds water brilliantly. Sounds wonderful, right? The challenge is that clay drains slowly, can become waterlogged in winter, and bakes rock-hard in summer, sometimes cracking alarmingly.
For clay soil, your watering approach needs to be less frequent but deeper, allowing water to properly penetrate rather than running off the surface. In winter, avoid walking on clay beds when they’re sodden as you’ll compact them further.
The solution for clay isn’t trying to change it entirely, which is nearly impossible, but improving its structure with organic matter mulched on top. Check out my guide on improving soil quality with compost and mulch for detailed advice on this approach.
Sandy soil, on the other hand, has large particles with big spaces between them. Water drains through quickly, which prevents waterlogging but means nutrients wash away easily and the soil dries out rapidly during hot weather. With sandy soil, you’ll need to water more frequently but with less water at each application.
Nutrients leach away quickly, so little and often feeding works better than large applications. Adding organic matter helps tremendously by improving the soil’s ability to hold both water and nutrients. The beauty of sandy soil is that it warms up quickly in spring and is easy to work at almost any time, unlike temperamental clay.
If professional testing reveals nutrient levels, you’ll typically see measurements for nitrogen (N), phosphorus (P), and potassium (K). These are the big three that plants need in relatively large quantities. Nitrogen promotes leafy green growth, phosphorus supports root development and flowering, and potassium helps overall plant health and disease resistance. Balanced levels of these nutrients mean you don’t need to add fertiliser unless you’re growing particularly hungry plants like vegetables or roses. Low levels indicate which specific nutrient to add rather than using a general-purpose fertiliser that might already contain nutrients your soil has in abundance.
Troubleshooting: Connecting Plant Symptoms to Soil Problems
Understanding the connection between what you’re seeing on your plants and what’s happening in your soil is like being a garden detective. Often, persistent problems aren’t about pests or diseases but about the soil’s inability to provide what plants need. Here’s how to read the clues your plants are giving you.
Yellowing leaves, particularly when the veins remain green, often indicate chlorosis caused by iron deficiency. Here’s the twist, though: your soil might have plenty of iron, but if the pH is too high (too alkaline), that iron becomes locked up in a form plants can’t access. This is incredibly common with rhododendrons, camellias, and blueberries planted in neutral or alkaline soil. The plant is essentially starving, surrounded by food it can’t eat. The solution isn’t adding more iron but correcting the pH with ericaceous compost or sulphur.
Stunted growth with dark green or purplish leaves often points to phosphorus deficiency, which is particularly common in new gardens or heavily clay soils where phosphorus becomes bound up and unavailable. Cold soil temperatures can also temporarily cause phosphorus deficiency symptoms even when the nutrient is present, which is why early sowings sometimes struggle. Adding bone meal provides phosphorus in a slow-release form that gradually becomes available to plants.
Poor flowering or fruiting despite healthy leafy growth often suggests high nitrogen relative to phosphorus and potassium. This is particularly common in vegetable gardens where gardeners have enthusiastically added nitrogen-rich fertilisers or manure. The plants are putting all their energy into producing leaves rather than flowers or fruit. The solution is to stop nitrogen applications and add potassium-rich feeds like wood ash or a high-potash fertiliser.
Brown leaf edges and tips, especially during the growing season, often indicate either drought stress or potassium deficiency. With clay soil that appears wet, this might seem contradictory, but remember that clay can hold water tightly, making it unavailable to plant roots even though the soil feels damp. Sandy soil obviously suffers from actual drought. Improving soil structure helps both situations by either improving drainage in clay or water retention in sand.
Plants wilting repeatedly despite regular watering might indicate poor drainage in clay soil or, conversely, extreme drainage in sandy soil. The jar test we covered earlier helps diagnose this. For persistent wilting in clay soil, improve drainage by incorporating organic matter on the surface and consider whether that particular plant is simply unsuited to heavy soil. With sandy soil, increasing organic matter content helps retain moisture around roots.
General poor performance across multiple plant types often suggests heavily depleted or damaged soil, which is particularly common in new build gardens where subsoil has been spread on top or construction has severely compacted the ground. In these situations, no amount of fertiliser will solve the problem because the soil structure itself is compromised. The solution requires patience: regular mulching with quality organic matter, growing green manures, and avoiding walking on beds.
If you’re battling new build garden challenges, there are some excellent discussions in my beginner gardeners’ mistakes article about choosing appropriate plants while building soil health.
Quick Reference: When to Test Your Soil
| Situation | Testing Needed? | Recommended Test Type |
|---|---|---|
| Established garden growing well | No | Plants are your indicator |
| Brand new plot or garden | Yes | DIY jar test + pH test minimum |
| New build garden | Yes | Professional testing recommended |
| Persistent problem area | Yes | Professional testing |
| Growing acid-loving plants | Yes (pH essential) | DIY pH test minimum |
| Starting vegetable garden | Recommended | Professional testing for nutrients |
| Major garden redesign | Yes | Professional testing |
| Unexplained plant failures | Yes | Professional testing recommended |
The Bottom Line on Soil Testing
Here’s what I want you to take away from this guide, Ninjas. Soil testing isn’t something every gardener needs to do, and it’s certainly not something you need to obsess over if your garden is already growing happily. However, when you’re starting fresh, tackling problem areas, or growing plants with specific requirements, testing your soil is one of the smartest investments you can make. It’s the difference between gardening with your eyes closed and gardening with a clear roadmap.
The DIY tests I’ve shared here cost virtually nothing and provide remarkably useful information about your soil’s basic characteristics. They’re perfect for getting started and making initial decisions about plant selection and soil improvement. For more complex situations or when you’re making significant investments in your garden, professional testing adds precision that can save you considerable money and frustration.
Remember that soil isn’t just the stuff plants grow in; it’s a living, breathing ecosystem that responds to how you treat it. Whether your test reveals clay, sand, acidic, or alkaline conditions, there are always plants that will absolutely thrive in what you have. The secret to successful gardening isn’t creating perfect soil everywhere but understanding what you’ve got and working with it rather than against it.
Now get out there and get to know your soil! Start with the simple jar test if you’re curious about soil composition, or grab some vinegar if you’re wondering about pH. Your plants will thank you for taking the time to understand their underground world.
Happy gardening!
Happy gardening!


Lee Burkhill
Lee Burkhill, known as the Garden Ninja, is an award-winning garden designer and horticulturist with over 30 years of gardening experience and 15 years as a professional garden designer. A qualified RHS (Royal Horticultural Society) professional, Lee specialises in sustainable garden design and practical horticultural advice. He designs and presents on BBC1’s Garden Rescue and in leading gardening publications. Lee combines three decades of hands-on gardening knowledge with professional design qualifications to help gardeners create beautiful, functional outdoor spaces.
View all posts by Lee Burkhill


Categories
Other posts
-

Start here: to begin your gardening journey! Read more
-
Beginners guide to Chelsea Flower Show: what to see & how to avoid the queues Read more
-
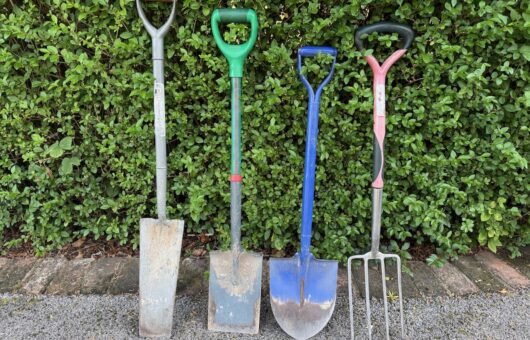
The Best Garden Spades and Forks to Buy: 2025 Complete Tool Guide Read more
-
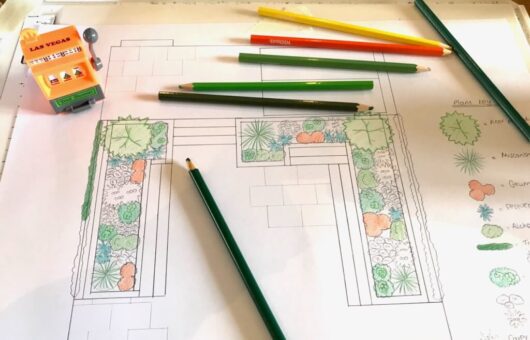
How to Design a Long Thin Garden: Transform Your Corridor into a Stunning Journey Read more
-
Alternatives to Lawns in the Garden: what else can I use? Read more
-
The wind down to the garden design year Read more