Why Is My Peace Lily Turning Black? Complete Troubleshooting Guide
Lee Burkhill: Award Winning Designer & BBC 1's Garden Rescue Presenters Official Blog
Beginner level
Black leaves appearing on your peace lily seemingly overnight? That mushy, soggy texture spreading through your once-gorgeous plant? The culprit is usually cold temperatures meeting overwatering, but the fix is straightforward once you understand what's actually happening to those roots.
Quick Answer: Peace Lily Black Leaves Solution
Peace lily leaves turning black usually indicates overwatering combined with cold temperatures, causing root rot. Move the plant to a warmer location (minimum 15°C), allow the compost to dry out almost completely, then resume watering only when the top inch feels dry. Cut off all black leaves cleanly at the base. New, healthy growth should emerge within 2-3 weeks.
Understanding Why Peace Lilies Develop Black Leaves
After receiving hundreds of questions about peace lilies through my Garden Ninja forum and during my work on BBC Garden Rescue, I can tell you that black leaves on peace lilies are one of the most common houseplant problems UK gardeners face. The good news is that in most cases, your plant is salvageable if you act quickly and address the underlying cause rather than just treating the symptoms.
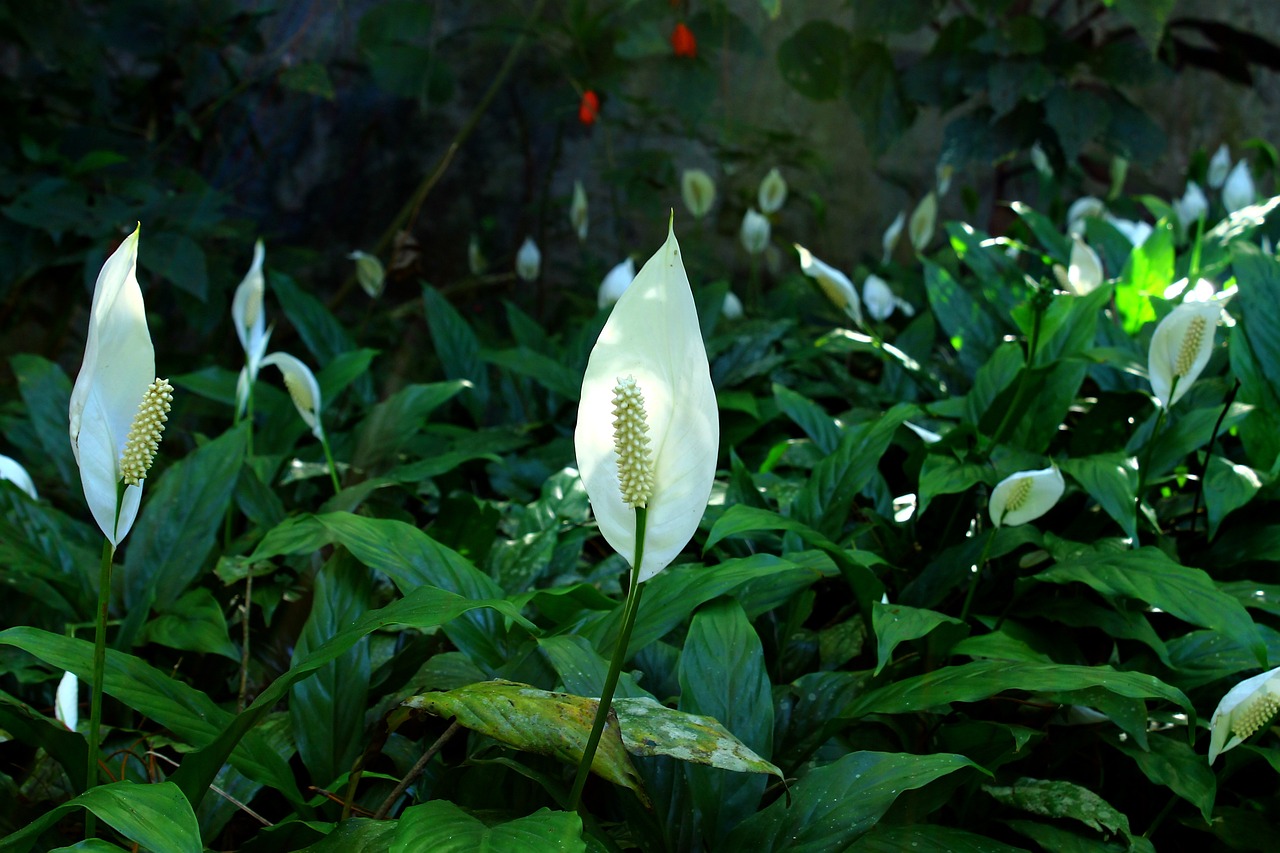
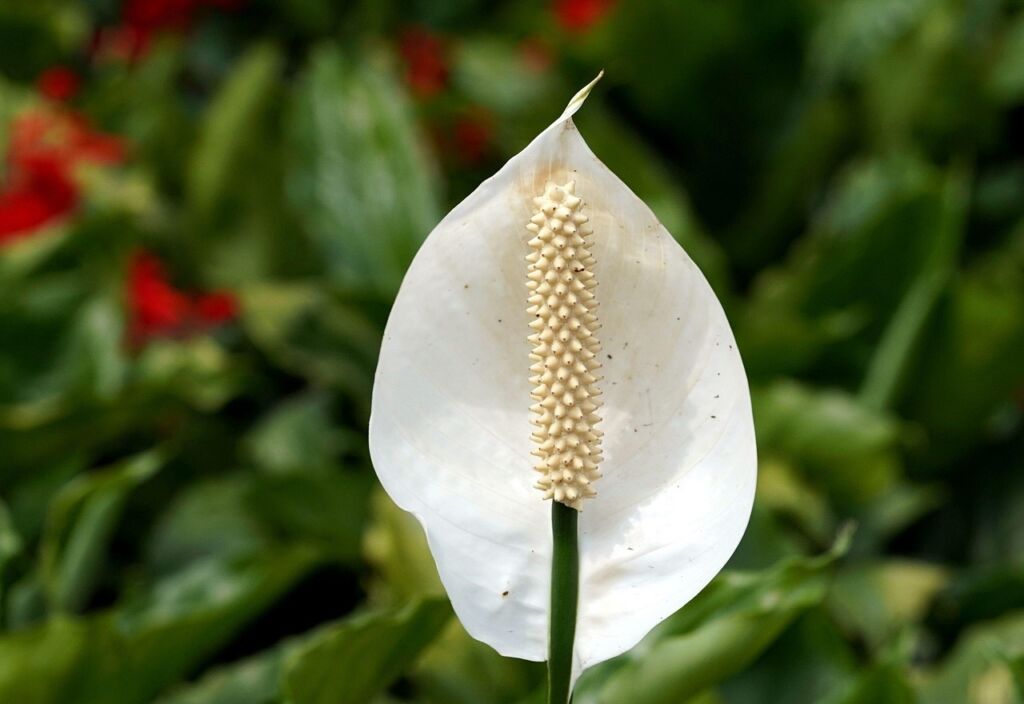
Peace lilies (Spathiphyllum) are tropical plants native to the rainforests of Central and South America, where they grow in consistently warm, humid conditions with dappled light filtering through the forest canopy. Understanding this natural habitat is crucial because it reveals exactly why these plants struggle in typical British homes, particularly during autumn and winter when our houses become colder and drier.
The appearance of black leaves signals that your peace lily is experiencing significant stress, and this stress almost always relates to temperature, water, or a combination of both. Unlike many plant problems that develop gradually, peace lily blackening can occur surprisingly quickly, sometimes transforming healthy green leaves to black mush within just a few days. This rapid deterioration often causes panic, but the plant’s robust root system means recovery is usually possible if you intervene promptly.
The Three Main Causes of Black Peace Lily Leaves
Whilst there is one usual cause of Peace Lilies turning black, usually overwatering from eagar gardeners and houseplant owners, there are two additional issues that could cause your Lily to turn black and wilt. Let me explain all three for you.
1) Overwatering Combined with Cold Temperatures: The Primary Culprit
This combination accounts for approximately 80% of black leaf cases I encounter through the Garden Ninja forum. Peace lilies absolutely detest sitting in cold, soggy compost, yet this is exactly the condition many British gardeners inadvertently create during winter months. The problem typically develops like this: you maintain your summer watering schedule as temperatures drop, the plant’s growth slows dramatically in the cooler conditions, water uptake decreases, and the compost remains wet for extended periods.
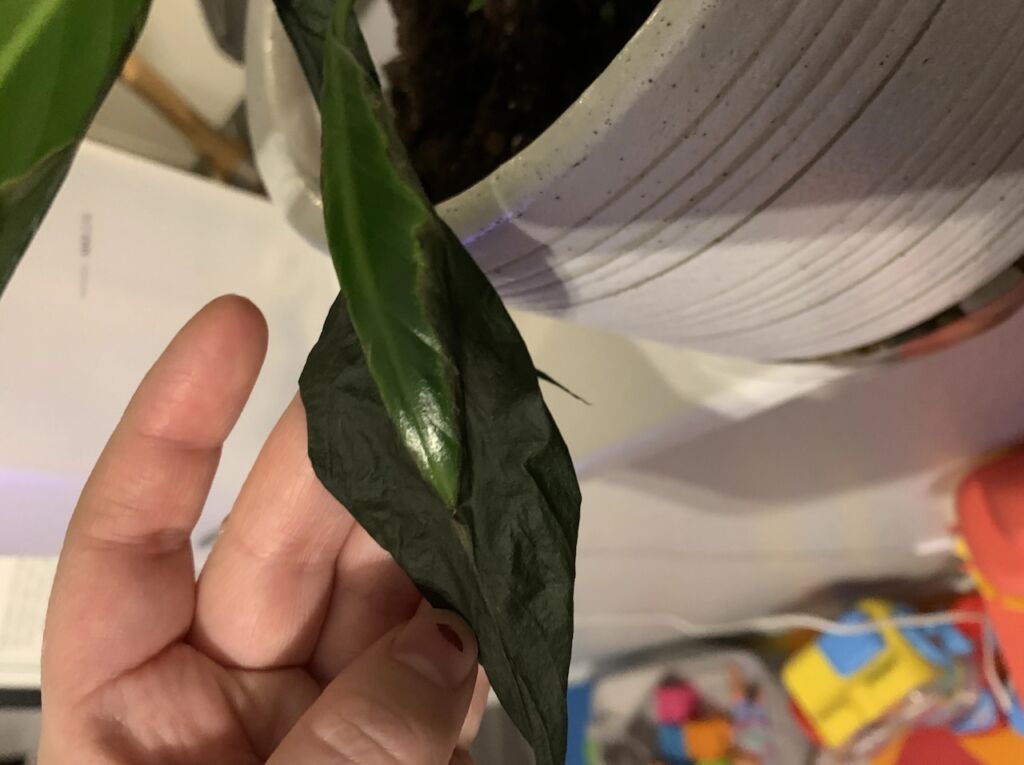
When roots sit in waterlogged compost at temperatures below 15°C, they begin to rot. This root rot prevents the plant from taking up water and nutrients properly, and the damage manifests first in the oldest, largest leaves, which turn black from the tips inward or develop large black patches that spread rapidly.
The blackening often has a mushy, wet texture rather than dry and crispy, which distinguishes it from other problems like underwatering or fertiliser burn.
The location of your peace lily matters enormously during British winters. That lovely spot on the windowsill might have been perfect during summer, but come October, it becomes a cold trap. Single-glazed windows, draughty hallways, conservatories that aren’t heated overnight, or anywhere the temperature drops below 15°C regularly, will cause problems for peace lilies that are kept too wet.
2) Bacterial Leaf Spot: The Rapid Spreader
Bacterial infections present differently from cold damage, though the two often work together. Bacterial leaf spot typically appears as black or dark brown spots with yellow halos that spread outward from a central point. These spots often have a water-soaked appearance and may develop a foul odour as the infection progresses.
Unlike cold damage, which usually affects entire leaves, bacterial infections often start as small spots that rapidly enlarge and merge together.
This problem usually follows some form of damage to the plant, whether from cold exposure, physical injury, or insect damage that creates entry points for bacteria. The infection spreads rapidly in conditions of poor air circulation, high humidity, and when water sits on the leaves for extended periods. Overhead watering or misting that leaves water sitting in the leaf axils overnight creates perfect conditions for bacterial problems to develop.
3) Fluoride Toxicity: The Less Common Culprit
In areas with heavily fluoridated tap water, peace lilies can develop black leaf tips and margins as a response to fluoride accumulation in the plant tissues. This differs from the other causes because it typically affects only the leaf margins and tips initially, creating a characteristic browning that gradually darkens to black. The blackening is dry and crispy rather than wet and mushy, and it progresses slowly over weeks rather than days.
This problem is less common in the UK than in some other countries, but it does occur, particularly in areas where water companies add higher levels of fluoride. The damage accumulates over time as fluoride builds up in the plant, so symptoms often don’t appear until you’ve been watering with fluoridated water for several months.
Step by Step Recovery Process
If your Peace lily has turned black, there are some quick steps you can take to help get it well and green again. I’ll run through these in order so you can start with the fastest and then the longer-term fixes.
Immediate Emergency Actions (Do These Today)
First, move your peace lily away from any cold spots immediately. Find the warmest room in your house, ideally somewhere that maintains a consistent 18-22°C.
Avoid placing it directly next to radiators, which create their own problems with dry air, but do ensure it’s in a genuinely warm environment. Kitchens and bathrooms are often ideal because they tend to stay warmer and have higher humidity than other rooms.
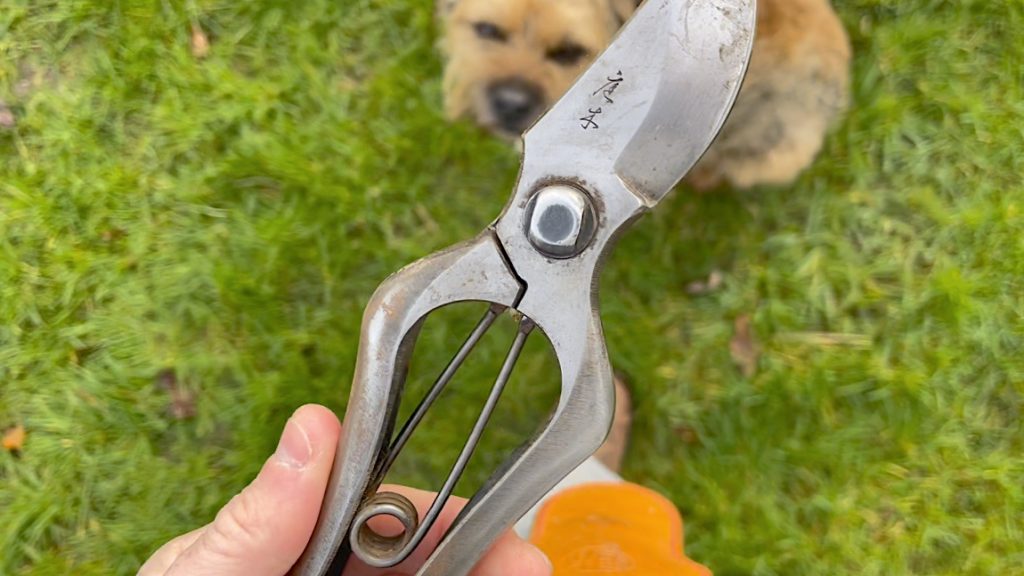
Remove all affected leaves using clean, sharp scissors or secateurs. Cut each black or blackening leaf off cleanly at the base where it emerges from the crown. Don’t leave stubs, as these can rot and cause further problems. It might look drastic to remove multiple leaves, but peace lilies are remarkably forgiving and will produce new growth once conditions improve. Dispose of the removed leaves rather than composting them, particularly if you suspect bacterial infection.
Adjusting Your Watering Regime
The golden rule for peace lily watering is to let the compost dry out significantly between waterings, particularly during cooler months. Push your finger into the compost to a depth of about 5cm. If it feels even slightly moist, don’t water yet. Wait until it feels dry at this depth, then water thoroughly until excess drains from the bottom of the pot.
During British winters, most peace lilies in typical home conditions need watering only every 10-14 days, sometimes even less frequently. This is a dramatic reduction from summer watering schedules, and failure to adjust is the primary cause of winter problems. The plant will tell you when it needs water by developing a slight droop, which is perfectly fine and actually healthier than keeping the compost constantly moist.
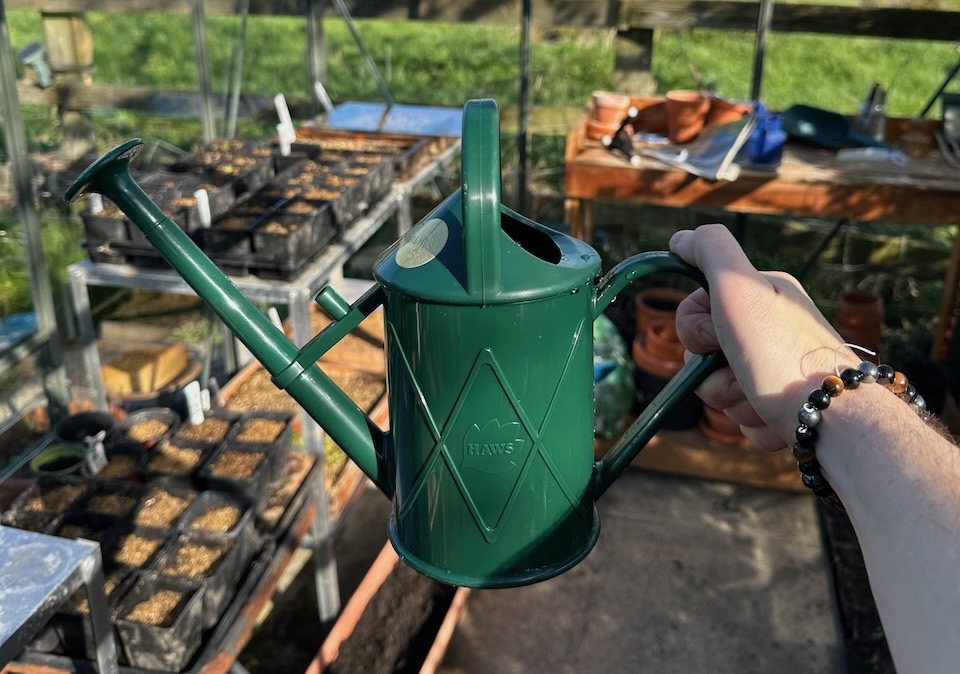
When you do water, use tepid water rather than cold straight from the tap. Room temperature water reduces the shock to the plant’s roots and helps prevent the temperature-related stress that contributes to blackening. Water thoroughly but then ensure excess drains away completely. Never leave the pot sitting in a saucer of water, as this creates exactly the waterlogged conditions that cause root rot.
Creating Optimal Recovery Conditions
Humidity helps peace lilies recover, but avoid misting the foliage whilst the plant is stressed, as this can spread bacterial problems and create conditions for fungal issues. Instead, create humidity by standing the pot on a tray of pebbles with water, ensuring the pot base sits above the water level. As the water evaporates, it creates a humid microclimate around the plant without wetting the foliage.
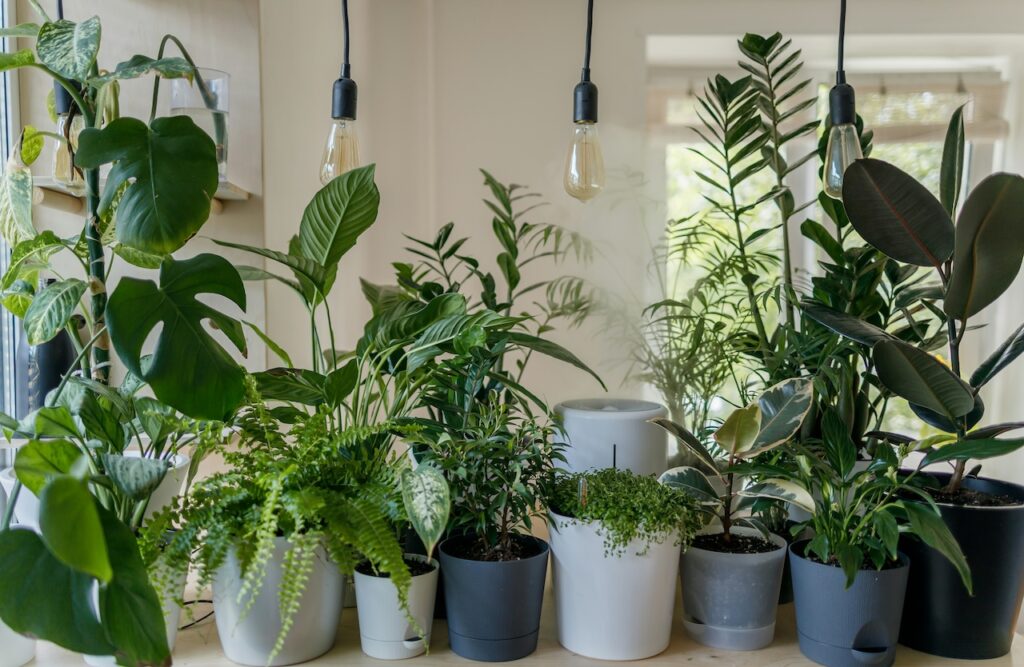
Light levels matter during recovery. Peace lilies prefer bright, indirect light rather than direct sun or deep shade. A spot near a window but not directly in the sun’s path is ideal. During winter, when light levels are naturally lower, moving the plant closer to a window can help, but watch for cold draughts from poorly insulated windows.
Air circulation reduces bacterial and fungal problems without creating draughts that chill the plant. A ceiling fan on low speed or simply opening the door to the room periodically helps. Avoid placing the plant in stagnant air, such as unused rooms or corners where air doesn’t move, as these conditions favor disease development.
Common Recovery Mistakes That Make Things Worse
Below are a selection of the most common mistakes that peace lily owners make when trying to quick fix their blackened leaves, but in fact they only serve to make the plant more stressed and more black!
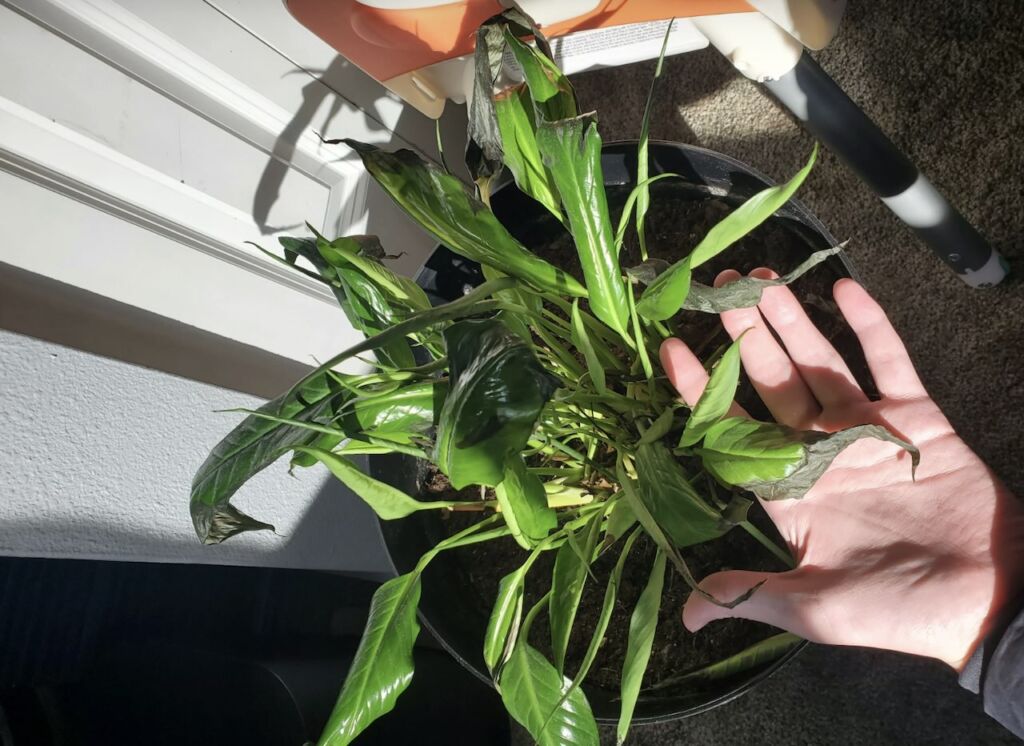
Over-Enthusiastic Watering to Compensate
Many gardeners see stressed, wilting peace lily and assume it needs more water, not realizing the wilting is actually caused by too much water damaging the roots. This creates a vicious cycle where overwatering causes wilting, which prompts more watering, which causes more root damage and more severe wilting. Always check the compost moisture before watering rather than relying on the plant’s appearance alone.
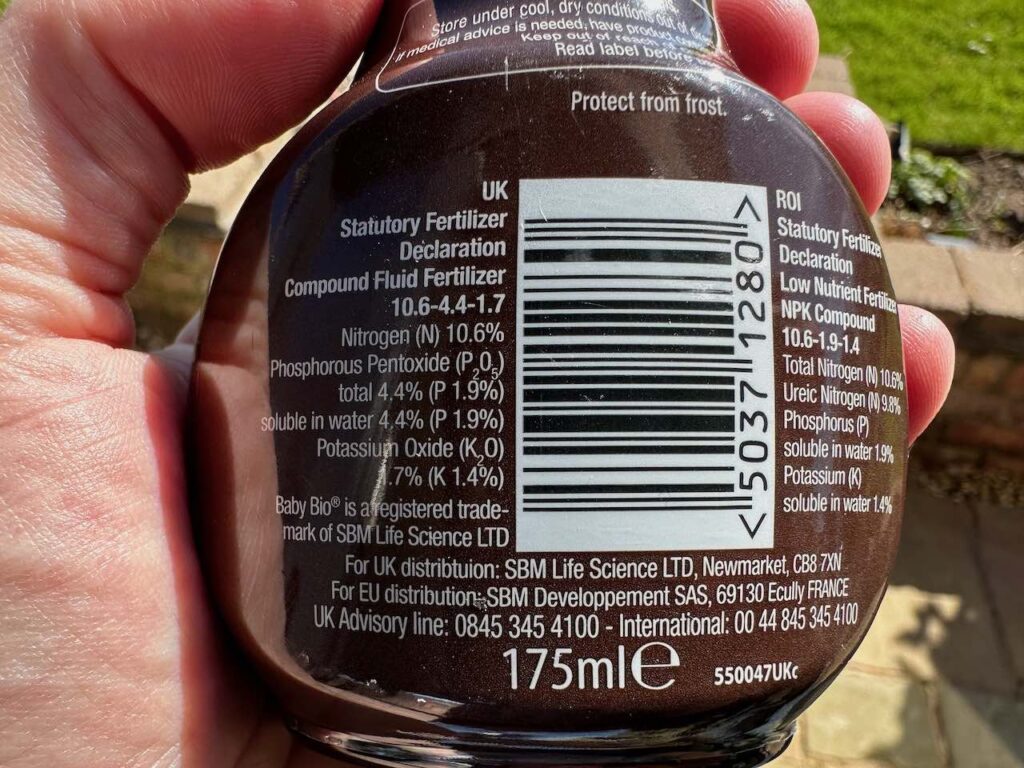
Fertilising Stressed Plants
Resist any temptation to feed a peace lily that’s recovering from black leaf problems. Stressed plants cannot take up nutrients properly, and fertiliser salts in the compost can cause additional root damage. Wait until the plant shows clear signs of recovery with healthy new growth emerging before resuming any feeding programme.
Drastic Temperature Changes
Moving a cold-stressed peace lily from a 10°C conservatory directly next to a radiator provides maximum warmth creates new problems. Sudden temperature changes stress the plant further, and radiator heat dries the air excessively. Gradual temperature increases and stable conditions work far better than dramatic environmental shifts.
Ignoring the Pot and Compost Quality
Peace lilies in heavy, poorly draining compost will struggle regardless of watering frequency. If your plant sits in dense, clay-like compost that stays wet for weeks, consider repotting into a proper houseplant compost that contains perlite or bark for drainage. Similarly, pots without drainage holes make moisture control nearly impossible and should be avoided entirely.
Related Peace Lily Problems and Solutions
It’s not just black leaves that give houseplant owners nightmares, there are a few other leaf problems with Peace Lilies which you may encounter, so let me take you through what may cause them and some solutions Ninjas!
Brown Leaf Tips on Otherwise Healthy Plants
If your peace lily has brown, crispy tips but the rest of the leaf remains healthy and green, you’re likely seeing underwatering, low humidity, or fluoride damage rather than the cold/overwatering problem that causes black leaves. Brown tips can be trimmed with scissors to improve appearance, and adjusting your watering schedule or switching to rainwater or filtered water usually resolves the issue.
Yellow Leaves on Peace Lilies
Yellowing leaves typically indicate different issues than blackening. Lower leaves naturally yellow and die as they age, which is completely normal. However, multiple yellow leaves appearing simultaneously often signals lighting problems (too much direct sun) or nutritional deficiencies. This differs from the black, mushy appearance of cold/water damage.
Peace Lily Not Flowering
Non-flowering peace lilies frustrate many gardeners, but this is actually a different problem entirely from leaf blackening. Peace lilies need bright, indirect light and slight pot-binding to flower well. They also require a period of cooler temperatures (around 15°C) to initiate flower bud formation, though obviously not cold enough to cause the leaf blackening problems we’ve discussed.
Expert Tips from 20 Years of Peace Lily Troubleshooting
Through my work on BBC Garden Rescue and helping thousands of gardeners through the Garden Ninja forum, I’ve learned several tricks that significantly improve peace lily survival rates in British homes.
The seasonal location strategy works brilliantly. Keep your peace lily in cooler rooms during summer when warmth isn’t an issue, then move it to the warmest room during autumn and winter. This migration might seem like extra work, but it prevents the cold damage that causes most black leaf problems.
The weight test for watering eliminates guesswork. Lift your peace lily pot when the compost is thoroughly dry and remember how light it feels. Then lift it when freshly watered. This weight difference teaches you exactly when the plant needs water far more reliably than any schedule or moisture meter. After a few weeks, you’ll know instantly whether watering is needed just by lifting the pot.
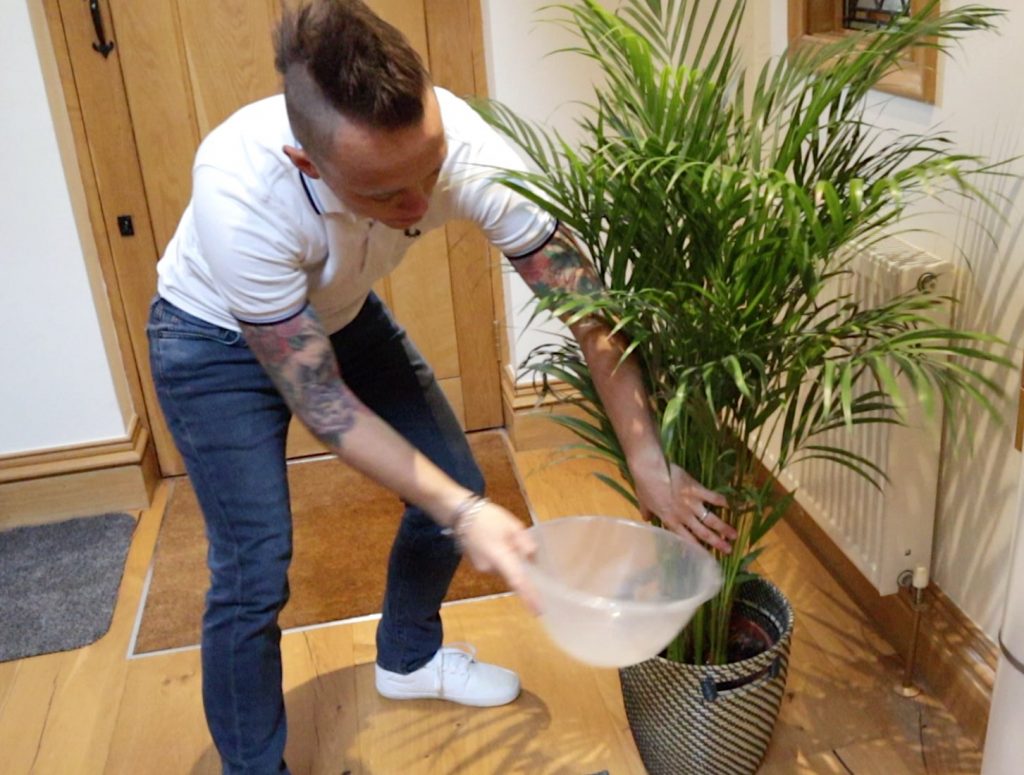
Bottom watering during winter reduces the risk of water sitting cold in the compost surface. Place the pot in a sink or basin with 5cm of tepid water and allow the compost to draw up moisture from below for 20-30 minutes. This ensures thorough watering without leaving the surface sodden, and the tepid water temperature prevents cold shock to the roots.
Frequently Asked Questions
Can I save a peace lily with completely black leaves?
Yes, if the crown (the central growing point where new leaves emerge) is still firm and healthy. Even plants that have lost all their leaves can regenerate from a healthy crown. However, if the crown feels mushy and has a foul odor, the plant is unlikely to recover.
How long does recovery take after removing black leaves?
New leaf emergence typically begins within 2-3 weeks if conditions improve, though visible leaves take 4-6 weeks to unfurl fully. Complete recovery to a full, lush plant usually requires 2-3 months, depending on how many leaves were lost and the plant’s overall size.
Should I cut black leaves off or leave them?
Always remove black leaves promptly. They will not recover, and leaving them increases the risk of bacterial or fungal problems spreading to healthy tissue. Clean removal allows the plant to redirect energy into producing new, healthy growth.
Will my peace lily flower after recovering from black leaves?
Yes, once fully recovered and given proper care, your peace lily should resume its normal flowering pattern. However, don’t expect flowers immediately after recovery. The plant needs to rebuild its energy reserves and leaf mass first, which typically takes 3-4 months.
Is it normal for some leaves to turn black while others stay healthy?
Yes, particularly if the problem caught early. The oldest, largest leaves typically show symptoms first because they’re most vulnerable to stress. Younger leaves in the crown often remain healthy and will sustain the plant through recovery.
Learn more about growing & Garden Design
Why not consider expanding your plant and garden design knowledge with one of my online gardening courses? My Garden Design for Beginners Course is here to help you transform your garden from average to exceptional with an affordable online course, no matter how little your experience with plants.
This course offers step-by-step guidance from me, Lee Burkhill—award-winning garden designer and presenter on BBC1’s Garden Rescue. In this course, you’ll go from a garden design novice to a confident designer equipped to tackle any green space.
Planting Techniques – Select and arrange plants like a pro.
Design Styles & Layout Options – Explore different styles to suit every garden.
Course Features:
20 Hours of Study Time
Flexible Online Learning
Engaging Video Lessons & Quizzes
Real-World Case Studies
Certification upon Completion
Taught by Award-Winning Designer Lee Burkhill
Enrol now for just £199 and start your journey toward garden design mastery!
29
Garden Design Examples for Small Gardens: 30 Design Templates & Planting Plans
Garden Design Examples for Small Gardens: 30 Design Templates & Planting Plans: In this online gardening course, I’ll walk you through 30 fantastic garden designs, explaining the logic behind the layout, the plant choices, and take-home tips for applying them in your own garden.
Weekend Garden Makeover: A Crash Course in Design for Beginners
Learn how to transform and design your own garden with Lee Burkhills crash course in garden design. Over 5 hours Lee will teach you how to design your own dream garden. Featuring practical design examples, planting ideas and video guides. Learn how to design your garden in one weekend!
Garden Design for Beginners: Create Your Dream Garden in Just 4 Weeks
Garden Design for Beginners Online Course: If you want to make the career jump to becoming a garden designer or to learn how to design your own garden, this is the beginner course for you. Join me, Lee Burkhill, an award-winning garden designer, as I train you in the art of beautiful garden design.
Lee Burkhill, known as the Garden Ninja, is an award-winning garden designer and horticulturist with over 30 years of gardening experience and 15 years as a professional garden designer. A qualified RHS (Royal Horticultural Society) professional, Lee specialises in sustainable garden design and practical horticultural advice. He designs and presents on BBC1’s Garden Rescue and in leading gardening publications. Lee combines three decades of hands-on gardening knowledge with professional design qualifications to help gardeners create beautiful, functional outdoor spaces.